Crochet

I’ve known how to knit for quite a while but have always been fascinated with the amazing things you can make with Crochet. There are the classic and well known Granny Squares turned into amazing blankets and afghans, intricate lace, the wonderful world of Amigurumi and everything else in-between.

Ergonomic Handles are more comfortable to hold

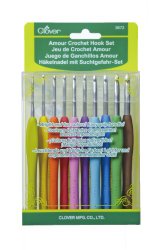
You can’t start to learn something without the right tools. Recently, I ordered some crochet hooks and a pouch to store them in. There are many different types of crochet hook you can buy, but after some research I decided to buy the Clover Ergonomic Hooks as they looked sturdy with lots of reviews about how great they are compared to their thinner counterparts.

This set features a soft easy grip that is warm to the touch and gives the user the most comfortable finger placement as well as tireless functionality.

The polished Aluminum hook is the perfect shape for smooth crocheting.

Each of the 10 sizes features a different bright and fun colored handle. The sizes are B-2.25mm, C-2.75mm, D-3.25mm, E-3.50mm, F-3.75mm, G-4.00mm, 7-4.50mm, H-5.00mm, I-5.50mm, and J-6.00mm.

Holds 8 crochet hooks safely and securely

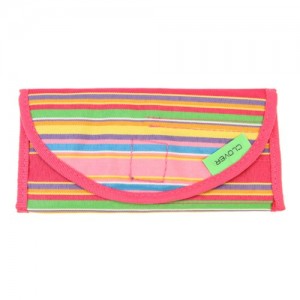
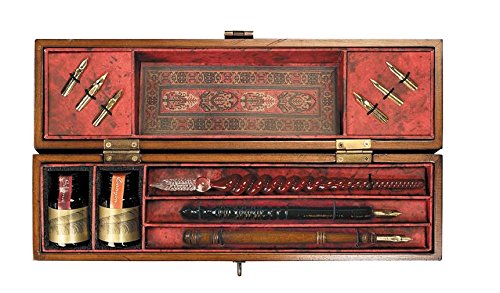
Interestingly, the case matched the one I have to store my Knitting Needles (you can find out more about them here), so I was really pleased about that. Obviously a much smaller version to accommodate the size of the hooks and perfect to throw in your bag for crochet-on-the-go.

It’s called the Clover Getaway Case for Soft Touch Crochet Hooks

Lots of room and well made

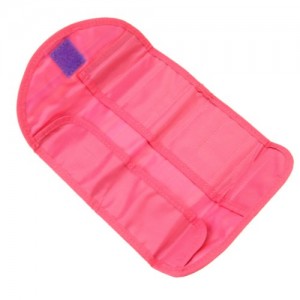
There is only space for 8 hooks but I have managed to pop the other two on top and fold down the inside flap. Once the pouch is rolled up it holds them all securely, so I haven’t found this to be a problem.

Considering you’ll most likely have a couple of projects on the go anyway, will help solve the storage problem.

The timing of my order was perfect as my Mother-in-Law was visiting and set me up and running on the basics – starting chain and practicing the single crochet stitch (sc) back and forth. I even managed to change color.

However, she couldn’t stay forever so I had to practice on my own and also find some more help. Thank goodness for the wonderful world wide web. You can pretty much find anything you want especially videos to help you learn many things – crochet, luckily for me, being one of them.

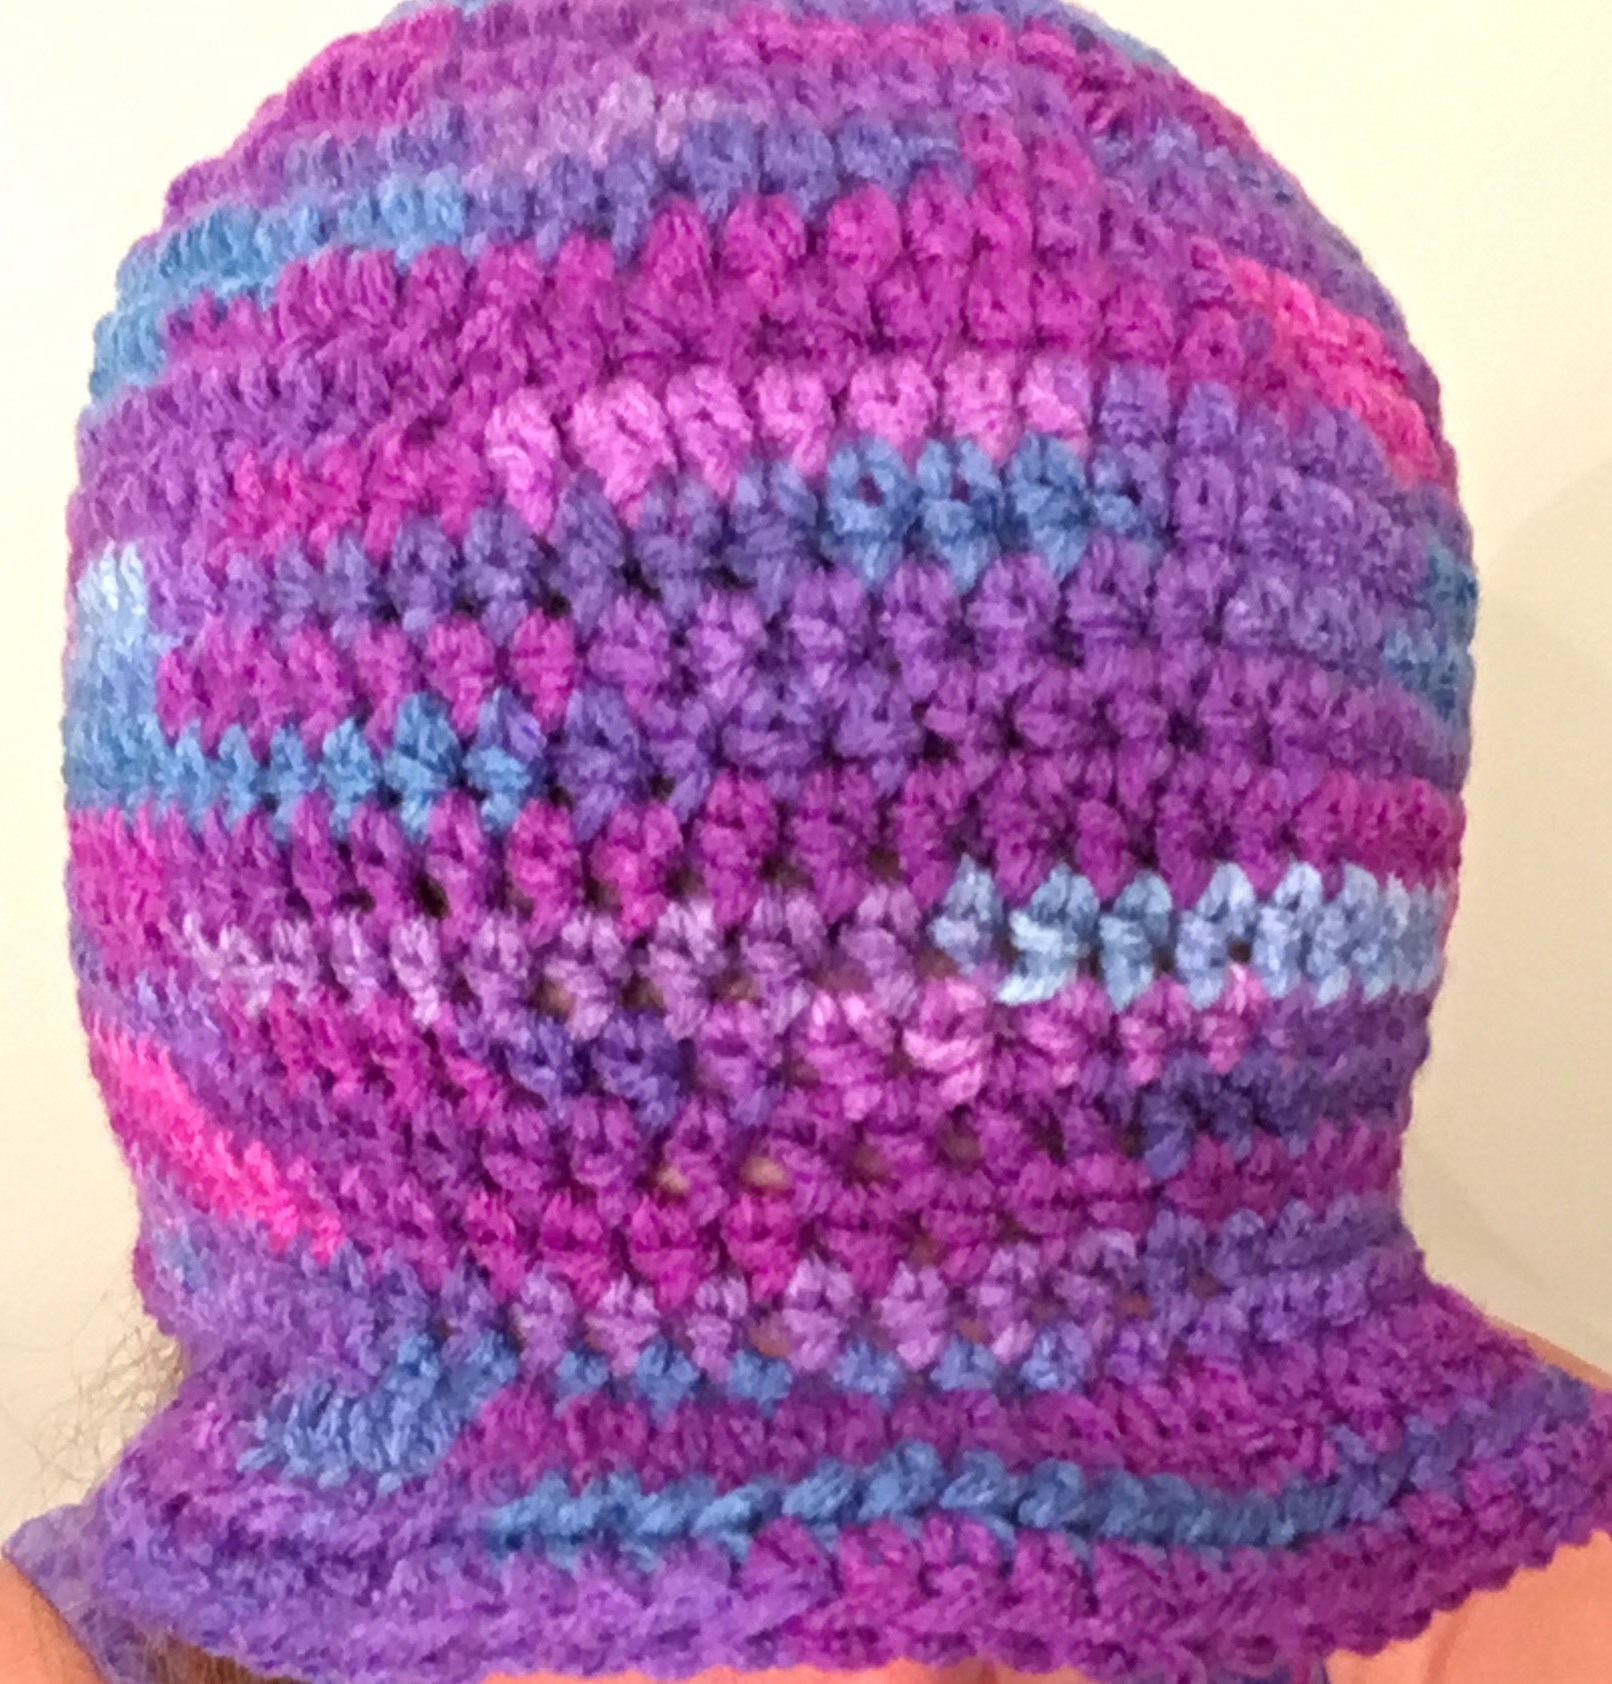
I’m part of a knitting/crochet community on Ravelry and someone suggested the best beginner crochet tutorials she had found with really clear instructions were with help from the Crochet Geek. She really explains the stitches well, has slow motion segments in her videos, so you can really following along, and before you know it I’d made my first crochet hat. Considering I’d only been doing crochet three weeks up to that point, I astounded myself. Give it a try…if I can do it you can too!

Read more

How to make realistic rivets in Photoshop

I decided to try my hand at making some realistic looking rivets in Photoshop and share the steps here so you can go ahead and make some too.

I’m using Adobe Photoshop CS5. So if you’re ready, open up Photoshop and get ready to learn how to make realistic rivets that can be used on many things.


Start by opening up a new file.

File → New. As this is a test document set the size to the following dimensions:-

Set up your file using these dimensions

Double click the background layer to unlock it.

Fill the space with either a pattern or a style of your choosing.

Add a new layer. Check the color you have set as the foreground and change it to a grey color. I used #a3a0a8.

With the new layer active, select the Ellipse Tool and drag the mouse to make four circles near the edge of your pattern. They will autofill with your selected foreground color. You may want to make a new layer per circle so that you can move them about in your scene, especially if you want to line them up one under each other. To make a perfect circle don’t forget to hold down the shift key as you drag the mouse.

They don’t look much like rivets just yet so we’re going to add some effects to these flat looking circles to make them stand out and add some shine.

Read more

Poem: Vagabond’s House

Vagabond’s House 

by Don Blanding


When I have a house . . . as I sometime may . . .
I’ll suit my fancy in every way.
I’ll fill it with things that have caught my eye
In drifting from Iceland to Molokai.
It won’t be correct or in period style,
But . . . oh, I’ve thought for a long, long while
Of all the corners and all the nooks,
Of all the bookshelves and all the books,
The great big table, the deep soft chairs,
And the Chinese rug at the foot of the stairs
(It’s an old, old rug from far Chow Wan
That a Chinese princess once walked on).

My house will stand on the side of a hill
By a slow, broad river, deep and still,
With a tall lone pine on guard nearby
Where the birds can sing and the storm winds cry.
A flagstone walk, with lazy curves,
Will lead to the door where a Pan’s head serves
As a knocker there, like a vibrant drum,
To let me know that a friend has come,
And the door will squeak as I swing it wide
To welcome you to the cheer inside.

For I’ll have good friends who can sit and chat
Or simply sit, when it comes to that,
By the fireplace where the fir logs blaze
And the smoke rolls up in a weaving haze.
I’ll want a wood box, scarred and rough
For leaves and bark and odorous stuff,
Like resinous knots and cones and gums,
To toss on the flames when winter comes.
And I hope a cricket will stay around,
For I love it’s creaky lonesome sound.

Read more

The Art of Letter Writing

With the advancement of technology, the art of letter writing with a pen and paper is dwindling fast but a few of us are still trying to keep the tradition alive.

Are you fed up of only receiving bills and junk mail in your mailbox? It’s always nice to receive a surprise card or letter that has been handwritten instead of the boring stuff that you’re not really interested in, so why not surprise someone by putting pen to paper.

I’m in a small group of six people who send a Round Robin of handwritten letters that has been going on for about a year now. It’s fun and I don’t just get one letter to read but five.

How does it work?

Person number one writes a letter (maximum two pages) about anything they like  – what they have been doing since receiving the last letter, any vacations they are planning or have been on, hobbies they do, book recommendations, recipes etc. They then send it to the second person on the list.

When the second person has received the envelope they write their letter, read person one’s letter and then add their letter to the original and post both letters to person number three.

Mail all the letters you have received, adding your own to the envelope and then wait for it to come back to you.

Person number three then reads both letters in the envelope, writes their letter and adds it to the envelope. Three letters now wing their way onto person number four. Person number four does the same and sends all the letters on to person number five and so it continues until all the people in the group have received, read and written letters.

Once a letter has been received by a recipient they have up to two weeks to read and respond with their own letter. There’s usually a sheet of everyone’s addresses so each person knows who they need to send the complete package to. This should always stay in the envelope as a reference sheet. Any changes can be made to the address list should anyone move home during the round of letters.

Once all the letters have been sent back to the very first person in the group, they remove their first letter, read all the letters they have not yet seen and then add a completely new letter to the package. They then send it on to person two who removes their letter and adds a new one. This continues round and around until it completes a second journey and the whole process starts again. This way of sending letters is often called a Round Robin.

As you get to see your original letter you can then re-read what you wrote to everyone so you don’t forget or repeat yourself.

Why not give the art of letter writing a try and spice up someone’s mailbox. You’ll give them a nice surprise as they won’t be expecting it – especially when it’s hiding in with the junk mail and you may even inspire them to put pen to paper and write back to you which will cheer up your mailbox too.

Writing Set
Make it even more fun and interesting by investing in a writing set

How to use the 3D Bridge Camera in DAZ Studio and Photoshop

There is an easy way to transfer image maps to Photoshop so that you can add your own textures or patterns to an item of clothing by using the 3D Bridge Camera available within DAZ Studio.


Open DAZ Studio and click on the Wardrobe tab. Select the item of clothing and add to the scene. Click on File → Initialize 3D Photoshop Bridge. This should add the Bridge to your scene panel.

Open Photoshop, and if you haven’t already done so, create a new workspace. Then select File → Automate → Daz Studio 3D Bridge.

Open the 3D Bridge in Photoshop so that you can import and export image maps from DAZStudio

This will then open the following dialog box

The 3D Bridge in Photoshop allows you to import and export image maps as well as scenes.

Double check that you have an item of clothing open in a scene in DAZ Studio and then click Import Image Maps in Photoshop. A dialog box will pop up showing the available image maps that you are able to import from DAZ Studio.

Select image maps to import

If you are happy to import all the image maps shown then leave the Select All box ticked. This will then import your image maps into your new Photoshop document. If you untick the box you can select which files you wish to import manually. After you click the Import button you should see something similar to this in Photoshop:-

Depending on how many image maps you selected will depend on how many files are imported into Photoshop. It is important to do this step with only the item of clothing in DAZ Studio or the 3D Bridge will import everything in the scene and it will be harder to select what you need from the import menu.

Now you can add your own pattern or texture to the item of clothing. You can find out how to do that in my article Making Textures for 3D Models

Once you are happy with your textures click on export image maps and your new pattern will appear on the clothing back in DAZ Studio.

Now you can continue building your scene in DAZ Studio, add a figure and see what your new creation looks like.

Now you know how to use the 3D Bridge Camera in DAZ Studio and Photoshop – what are you going to make?

Sketch Sunday: Caricature

For this Sunday Sketch I drew a caricature style figure and again looked at various shading and hatching techniques.


For this sketch I used the following:-

  • Different grades of graphite pencils: 2H, HB, 2B, 4B and 6B
  • Strathmore Windpower Drawing Sketchbook
  • a kneaded eraser
  • pencil sharpener

First of all draw a square on your sketchpad as a border. This will help contain the drawing area and make it easier to keep the proportions aligned well for your caricature to sit and to help you shade the background easier.

Next with an HB pencil lightly sketch the outline of the hair. Add outlines to show the position of the ears. At the midway point add eyebrows and eyes.

Lightly sketch in the nose and mouth.

Outline the neck, the collar of the shirt and the shirt.

Before continuing check that you are happy with the position of all elements and amend anything using the eraser.

Now it’s time to add the shading using various pencils, such as HB, 2B, and 4B. For example, an HB makes lighter lines than 2B or 4B.

Read more

Sketching in the Wolfsonian

Each month The Wolfsonian Museum open their doors to budding artists wishing to practice their drawing skills.

My husband and I attended our first session at the end of February. I haven’t used a pencil and paper in a while but they provided the tools and we were ready to pick a subject to draw. I didn’t want to draw just anything so I wandered around for a while looking for something that looked interesting.

My first sketch attempt going back to using pencil and paper.

The drawing is from a painting depicting the Battle of La Marne Verdun in the current exhibition ‘Myth and Machine: The First World War in Visual Culture’. The painting was large but I focused on one small section which had amazing light flooding the scene.

It was a completely different experience. I’ve been so used to drawing on tablet devices that it felt strange to use a real pencil. Not only that, as the museum was open to the public I felt a little self conscious drawing as people wandered around. Occasionally they would look over my shoulder and I wanted to say, “I’m not a real artist. Focus on that painting on the wall by someone who knew what they were doing”. I decided not to be distracted by what I thought people were thinking and just concentrated on what I was doing.

It’s an unfinished drawing but it was a good test piece. The proportions are not quite right – his hand is too big, his jacket is too short, but for a first attempt (and my first foray into public drawing) I was happy that it actually looked like a person if not a completely true representation of the original. I’m looking forward to exploring using pencil and paper again and hopefully improving my technique.

A painting depecting the Battle of La Marne
The original – a painting depicting the Battle of La Marne

The session inspired us so much that we ended up visiting our local art shop for supplies. I’m looking forward to seeing improvements in my drawings and Sketching in the Wolfsonian again at the end of March.

Windpower Drawing Sketchbook
Strathmore Windpower Drawing Sketchbook

The sketchbook I selected was a Strathmore Wind power Drawing Pad. This line of artist papers has been made with 100% wind power – a pollution free renewable energy resource. Strathmore is the first (and only) manufacturer in the United States to make paper entirely from wind generated electricity. This heavyweight drawing paper is perfect for finished works of art. The bright white paper is ideal for working with pencil pen charcoal or pastel.

Generals Sketching Pencil 4B

We selected a few charcoal pencils, some interesting erasers and a flat 4B Sketching pencil.

The erasers were very interesting. They each have a specific use depending on what type of pencil you are using and the effect you are trying to achieve. My favorite so far is the Kneaded Eraser.

Artgum by Prismcolor
Artgum by Prismacolor

Artgum block shaped, dual purpose eraser and dry cleaner. Containing fine dry powder it cleans the drawing surface by absorbing the graphite and dirt.

Kneaded rubber
Kneaded rubber

Kneaded Eraser – this one is excellent for highlighting and cleaning chalks, charcoal, pastels and colored pencils.

Plastic Eraser – easily removes pencil marks from a range of surfaces.

What Hides Within

Welcome…you managed to find me in the vast w.w.w universe, so now you’re here you may be wondering whether you should invest your valuable time and little grey cells exploring further. I hope this mini tour helps you discover a sample of some of the topics that hide within…


Cycling – As I’ve had some kind of bicycle most of my life, my posts on this subject will be a mix of my adventures and the places I visit as well as how my bicycle has become a big part of my everyday life. The useful products that I’ve discovered to help make cycling fun and some pictures of my journey. Check out my latest post My Purple Electra Townie Bicycle

Drawing – I never thought I could draw (I still think that…I mean I’m no Michelangelo) but then I started drawing with various apps on my iPad and the more I practiced the more confident I became that maybe I did have some hidden talent. My husband says he can see a certain style in my drawings and I just think everything looks like a cartoon (well apart from the ones that are trying to be a cartoon) but I will share my doodles here from time-to-time and maybe I will inspire you to unlock your inner Michelangelo.

You can find more of my drawings here

I’m venturing back into the wonderful world of using a pencil and paper which comes with it’s own quirks so look out for my articles on that subject soon.

Read more

Why Travelling Banana?

Are you curious about the name Travelling Banana?

Did you know there are ancient Egyptian hieroglyphs that depict people with bananas?

There was a time if I went on a journey I would pop a banana in my bag in case I needed an energy boost. However, sometimes I would forget it was there – so the banana would come with me on my adventures and invariably end up back home uneaten and a little worse for wear.

Each time I would take a banana with me it would become known as the Travelling Banana, an expression my husband came up with.

My tagline, Creative Exploring, covers the diverse range of topics that I am interested in and the creative pursuits that I am exploring such as drawing, photography, art, writing, knitting and technology. I also cover my cycling adventures and throw in a recipe or two along the way.

Enjoy!