I thought I’d try to make some lace in Photoshop and then define it as a brush preset so that I can stroke a path around some material to make a lace edge. I’m using Photoshop CS5.
Open a new Document – File → New Document and set the workspace to 270 x 270 px.
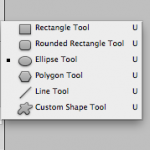
Next, select the Custom Shape Tool
In the options bar, click the Polygon options menu and check smooth corners, star and smooth indents boxes. Change the indent sides by to 10% and the number of sides to 12.
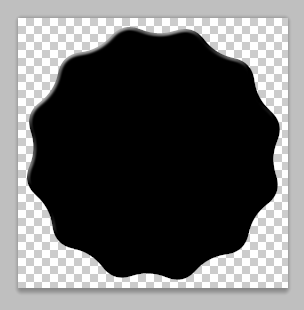
Set the foreground color to black and then drag your mouse so that the polygon shape fits within the document.
Polygon Shape
Pick the Ellipse tool and ensure that paths is selected on the options bar. Draw an elliptical path inside the polygon shape.
Select the brush tool and pick a hard round brush. Set it’s size to 20 px and its spacing to 180%.
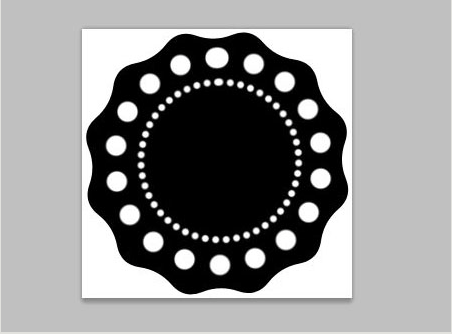
Create a new layer above the polygon layer. Set the foreground color to white. Select the ellipse tool and click on the Paths tab. Drop down the pop out menu and select stroke path. Choose Brush from the menu and the simulate pressure box remains unchecked. Click OK and you should now see the following image.
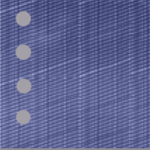
After stroking the path you should now have a circle of white dots.
Check that the ellipse tool is still selected and draw a smaller path in the middle of the polygon. Select the brush tool again and change the size to 7 px. Spacing should be set to 150%. In the preview you should see a smaller chain of dots.
I decided to try my hand at making some realistic looking rivets in Photoshop and share the steps here so you can go ahead and make some too.
I’m using Adobe Photoshop CS5. So if you’re ready, open up Photoshop and get ready to learn how to make realistic rivets that can be used on many things.
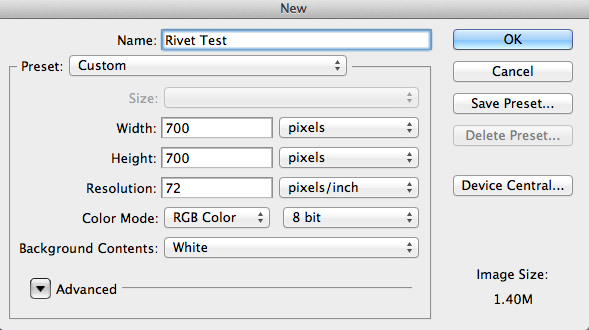
Start by opening up a new file.
File → New. As this is a test document set the size to the following dimensions:-
Set up your file using these dimensions
Double click the background layer to unlock it.
Fill the space with either a pattern or a style of your choosing.
Add a new layer. Check the color you have set as the foreground and change it to a grey color. I used #a3a0a8.
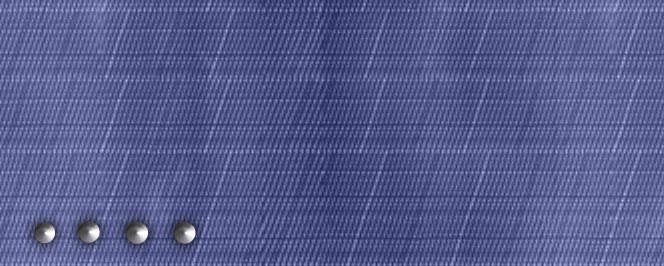
With the new layer active, select the Ellipse Tool and drag the mouse to make four circles near the edge of your pattern. They will autofill with your selected foreground color. You may want to make a new layer per circle so that you can move them about in your scene, especially if you want to line them up one under each other. To make a perfect circle don’t forget to hold down the shift key as you drag the mouse.
Holding down the shift key whilst using the ellipse tool will create round circles
They don’t look much like rivets just yet so we’re going to add some effects to these flat looking circles to make them stand out and add some shine.
There is an easy way to transfer image maps to Photoshop so that you can add your own textures or patterns to an item of clothing by using the 3D Bridge Camera available within DAZ Studio.
Open DAZ Studio and click on the Wardrobe tab. Select the item of clothing and add to the scene. Click on File → Initialize 3D Photoshop Bridge. This should add the Bridge to your scene panel.
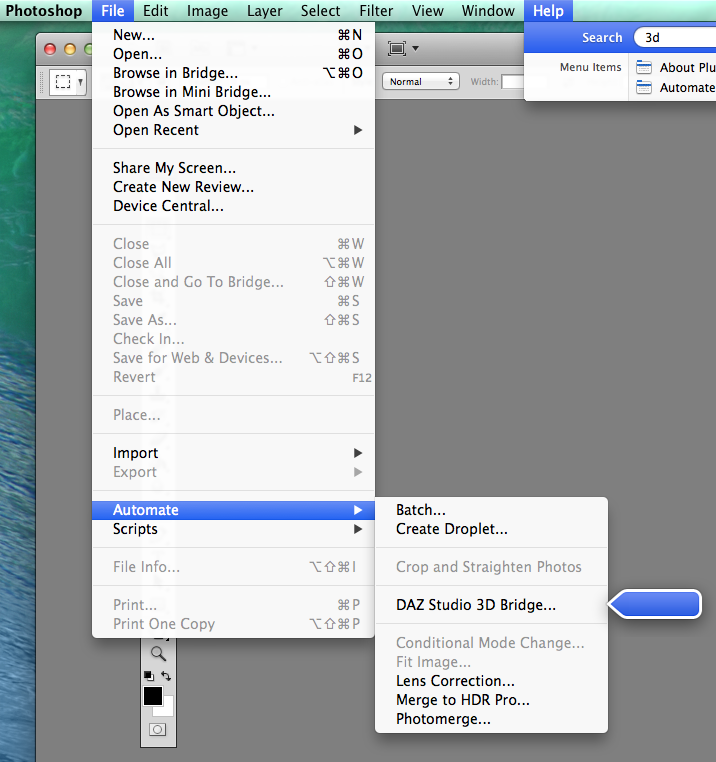
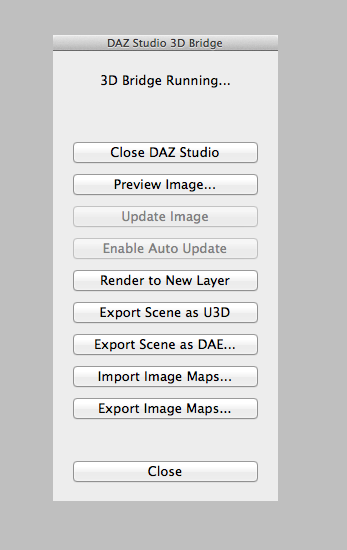
Open Photoshop, and if you haven’t already done so, create a new workspace. Then select File → Automate → Daz Studio 3D Bridge.
Open the 3D Bridge in Photoshop so that you can import and export image maps from DAZStudio
This will then open the following dialog box
The 3D Bridge in Photoshop allows you to import and export image maps as well as scenes.
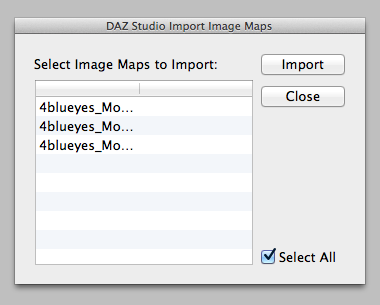
Double check that you have an item of clothing open in a scene in DAZ Studio and then click Import Image Maps in Photoshop. A dialog box will pop up showing the available image maps that you are able to import from DAZ Studio.
Select image maps to import
If you are happy to import all the image maps shown then leave the Select All box ticked. This will then import your image maps into your new Photoshop document. If you untick the box you can select which files you wish to import manually. After you click the Import button you should see something similar to this in Photoshop:-
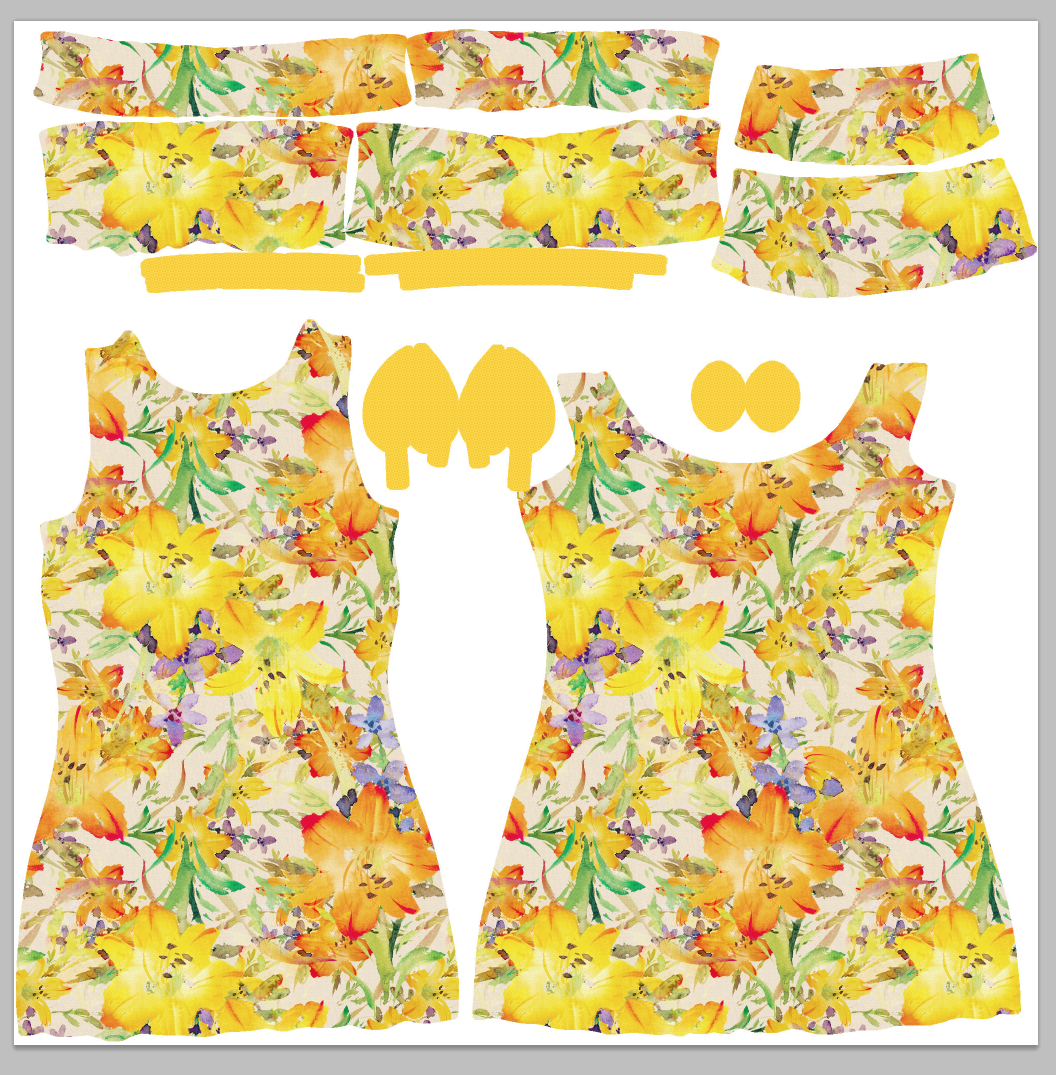
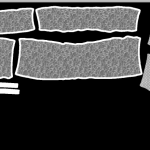
The image map with the original pattern on the outfit
The bump map
The transparency
Depending on how many image maps you selected will depend on how many files are imported into Photoshop. It is important to do this step with only the item of clothing in DAZ Studio or the 3D Bridge will import everything in the scene and it will be harder to select what you need from the import menu.
Now you can add your own pattern or texture to the item of clothing. You can find out how to do that in my article Making Textures for 3D Models
Once you are happy with your textures click on export image maps and your new pattern will appear on the clothing back in DAZ Studio.
Now you can continue building your scene in DAZ Studio, add a figure and see what your new creation looks like.
Now you know how to use the 3D Bridge Camera in DAZ Studio and Photoshop – what are you going to make?
Each month The Wolfsonian Museumopen their doors to budding artists wishing to practice their drawing skills.
My husband and I attended our first session at the end of February. I haven’t used a pencil and paper in a while but they provided the tools and we were ready to pick a subject to draw. I didn’t want to draw just anything so I wandered around for a while looking for something that looked interesting.
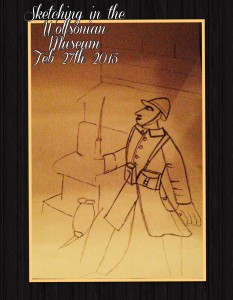
My first sketch attempt going back to using pencil and paper.
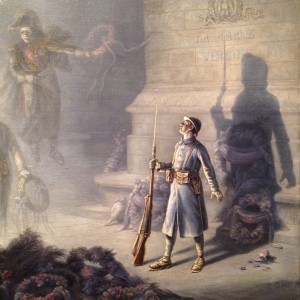
The drawing is from a painting depicting the Battle of La Marne Verdun in the current exhibition ‘Myth and Machine: The First World War in Visual Culture’. The painting was large but I focused on one small section which had amazing light flooding the scene.
It was a completely different experience. I’ve been so used to drawing on tablet devices that it felt strange to use a real pencil. Not only that, as the museum was open to the public I felt a little self conscious drawing as people wandered around. Occasionally they would look over my shoulder and I wanted to say, “I’m not a real artist. Focus on that painting on the wall by someone who knew what they were doing”. I decided not to be distracted by what I thought people were thinking and just concentrated on what I was doing.
It’s an unfinished drawing but it was a good test piece. The proportions are not quite right – his hand is too big, his jacket is too short, but for a first attempt (and my first foray into public drawing) I was happy that it actually looked like a person if not a completely true representation of the original. I’m looking forward to exploring using pencil and paper again and hopefully improving my technique.
The original – a painting depicting the Battle of La Marne
The session inspired us so much that we ended up visiting our local art shop for supplies. I’m looking forward to seeing improvements in my drawings and Sketching in the Wolfsonian again at the end of March.
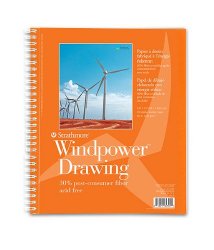
Strathmore Windpower Drawing Sketchbook
The sketchbook I selected was a Strathmore Wind power Drawing Pad. This line of artist papers has been made with 100% wind power – a pollution free renewable energy resource. Strathmore is the first (and only) manufacturer in the United States to make paper entirely from wind generated electricity. This heavyweight drawing paper is perfect for finished works of art. The bright white paper is ideal for working with pencil pen charcoal or pastel.
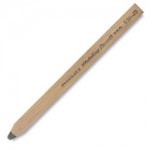
Generals Sketching Pencil 4B
We selected a few charcoal pencils, some interesting erasers and a flat 4B Sketching pencil.
The erasers were very interesting. They each have a specific use depending on what type of pencil you are using and the effect you are trying to achieve. My favorite so far is the Kneaded Eraser.
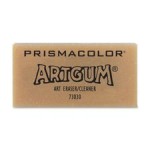
Artgum by Prismacolor
Artgumblock shaped, dual purpose eraser and dry cleaner. Containing fine dry powder it cleans the drawing surface by absorbing the graphite and dirt.
Kneaded rubber
Kneaded Eraser – this one is excellent for highlighting and cleaning chalks, charcoal, pastels and colored pencils.
Plastic Eraser – easily removes pencil marks from a range of surfaces.