There is an easy way to transfer image maps to Photoshop so that you can add your own textures or patterns to an item of clothing by using the 3D Bridge Camera available within DAZ Studio.
Open DAZ Studio and click on the Wardrobe tab. Select the item of clothing and add to the scene. Click on File → Initialize 3D Photoshop Bridge. This should add the Bridge to your scene panel.
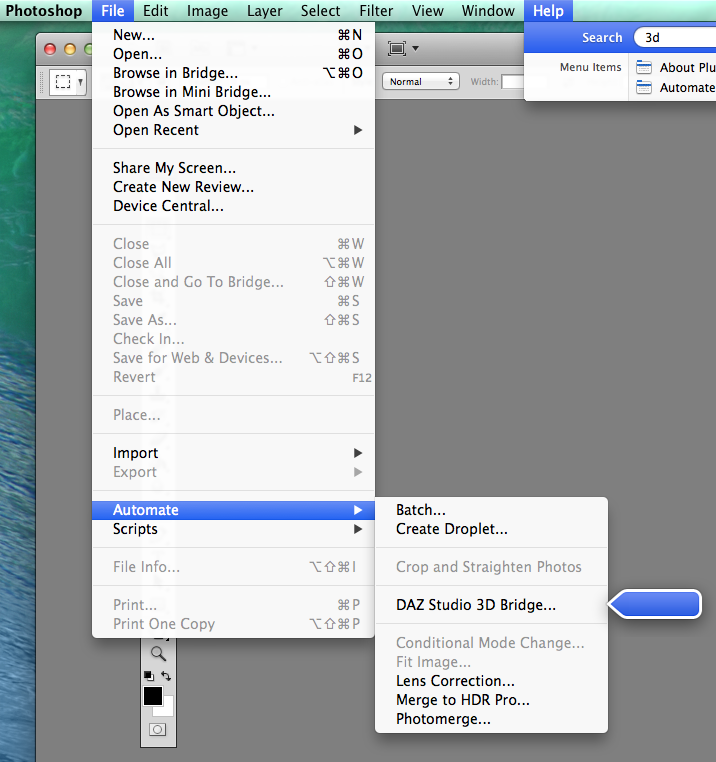
Open Photoshop, and if you haven’t already done so, create a new workspace. Then select File → Automate → Daz Studio 3D Bridge.
This will then open the following dialog box
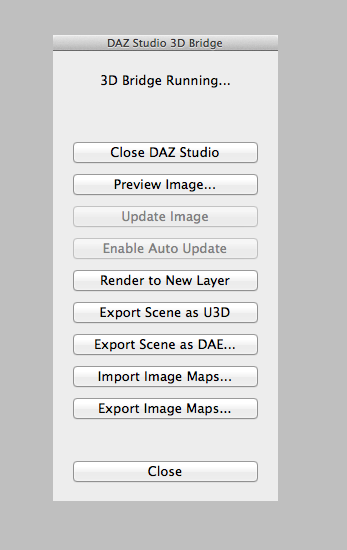
Double check that you have an item of clothing open in a scene in DAZ Studio and then click Import Image Maps in Photoshop. A dialog box will pop up showing the available image maps that you are able to import from DAZ Studio.
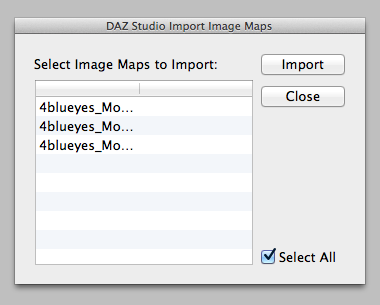
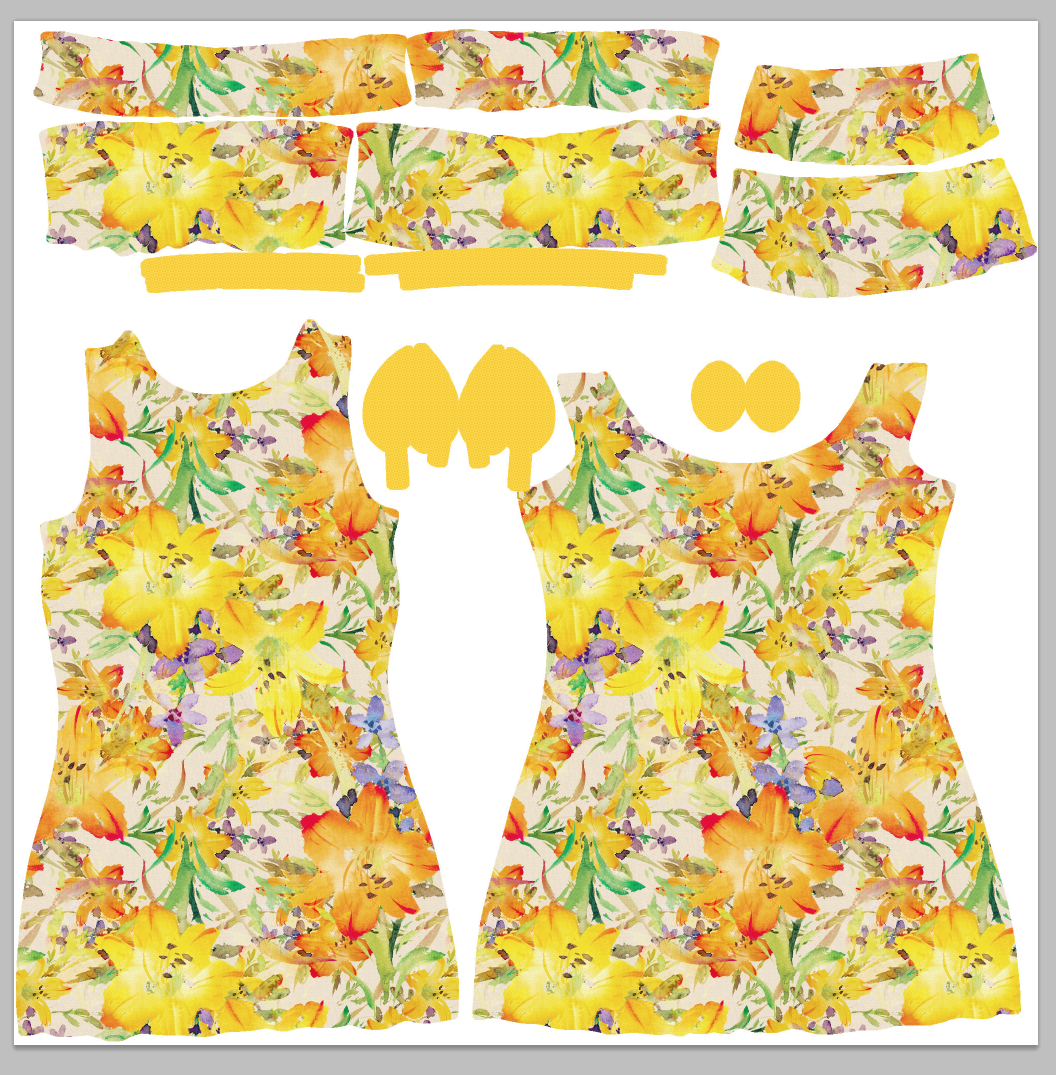
If you are happy to import all the image maps shown then leave the Select All box ticked. This will then import your image maps into your new Photoshop document. If you untick the box you can select which files you wish to import manually. After you click the Import button you should see something similar to this in Photoshop:-

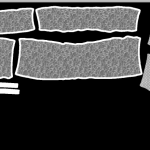

Depending on how many image maps you selected will depend on how many files are imported into Photoshop. It is important to do this step with only the item of clothing in DAZ Studio or the 3D Bridge will import everything in the scene and it will be harder to select what you need from the import menu.
Now you can add your own pattern or texture to the item of clothing. You can find out how to do that in my article Making Textures for 3D Models
Once you are happy with your textures click on export image maps and your new pattern will appear on the clothing back in DAZ Studio.
Now you can continue building your scene in DAZ Studio, add a figure and see what your new creation looks like.
Now you know how to use the 3D Bridge Camera in DAZ Studio and Photoshop – what are you going to make?