Crochet

I’ve known how to knit for quite a while but have always been fascinated with the amazing things you can make with Crochet. There are the classic and well known Granny Squares turned into amazing blankets and afghans, intricate lace, the wonderful world of Amigurumi and everything else in-between.
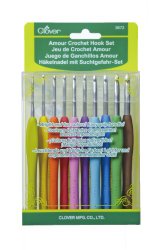
Ergonomic Handles are more comfortable to hold

You can’t start to learn something without the right tools. Recently, I ordered some crochet hooks and a pouch to store them in. There are many different types of crochet hook you can buy, but after some research I decided to buy the Clover Ergonomic Hooks as they looked sturdy with lots of reviews about how great they are compared to their thinner counterparts.

This set features a soft easy grip that is warm to the touch and gives the user the most comfortable finger placement as well as tireless functionality.

The polished Aluminum hook is the perfect shape for smooth crocheting.

Each of the 10 sizes features a different bright and fun colored handle. The sizes are B-2.25mm, C-2.75mm, D-3.25mm, E-3.50mm, F-3.75mm, G-4.00mm, 7-4.50mm, H-5.00mm, I-5.50mm, and J-6.00mm.
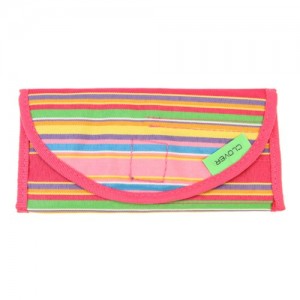
Holds 8 crochet hooks safely and securely

Interestingly, the case matched the one I have to store my Knitting Needles (you can find out more about them here), so I was really pleased about that. Obviously a much smaller version to accommodate the size of the hooks and perfect to throw in your bag for crochet-on-the-go.

It’s called the Clover Getaway Case for Soft Touch Crochet Hooks
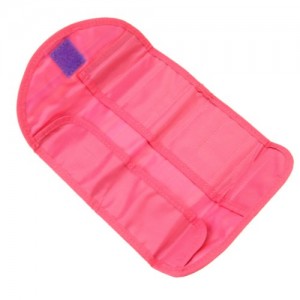
Lots of room and well made

There is only space for 8 hooks but I have managed to pop the other two on top and fold down the inside flap. Once the pouch is rolled up it holds them all securely, so I haven’t found this to be a problem.

Considering you’ll most likely have a couple of projects on the go anyway, will help solve the storage problem.

The timing of my order was perfect as my Mother-in-Law was visiting and set me up and running on the basics – starting chain and practicing the single crochet stitch (sc) back and forth. I even managed to change color.

However, she couldn’t stay forever so I had to practice on my own and also find some more help. Thank goodness for the wonderful world wide web. You can pretty much find anything you want especially videos to help you learn many things – crochet, luckily for me, being one of them.

I’m part of a knitting/crochet community on Ravelry and someone suggested the best beginner crochet tutorials she had found with really clear instructions were with help from the Crochet Geek. She really explains the stitches well, has slow motion segments in her videos, so you can really following along, and before you know it I’d made my first crochet hat. Considering I’d only been doing crochet three weeks up to that point, I astounded myself. Give it a try…if I can do it you can too!

Read more

Miami Pixel Art

I had to go to Miami International Airport the other day to meet someone visiting. From time-to-time there are art exhibitions and artwork around the airport.

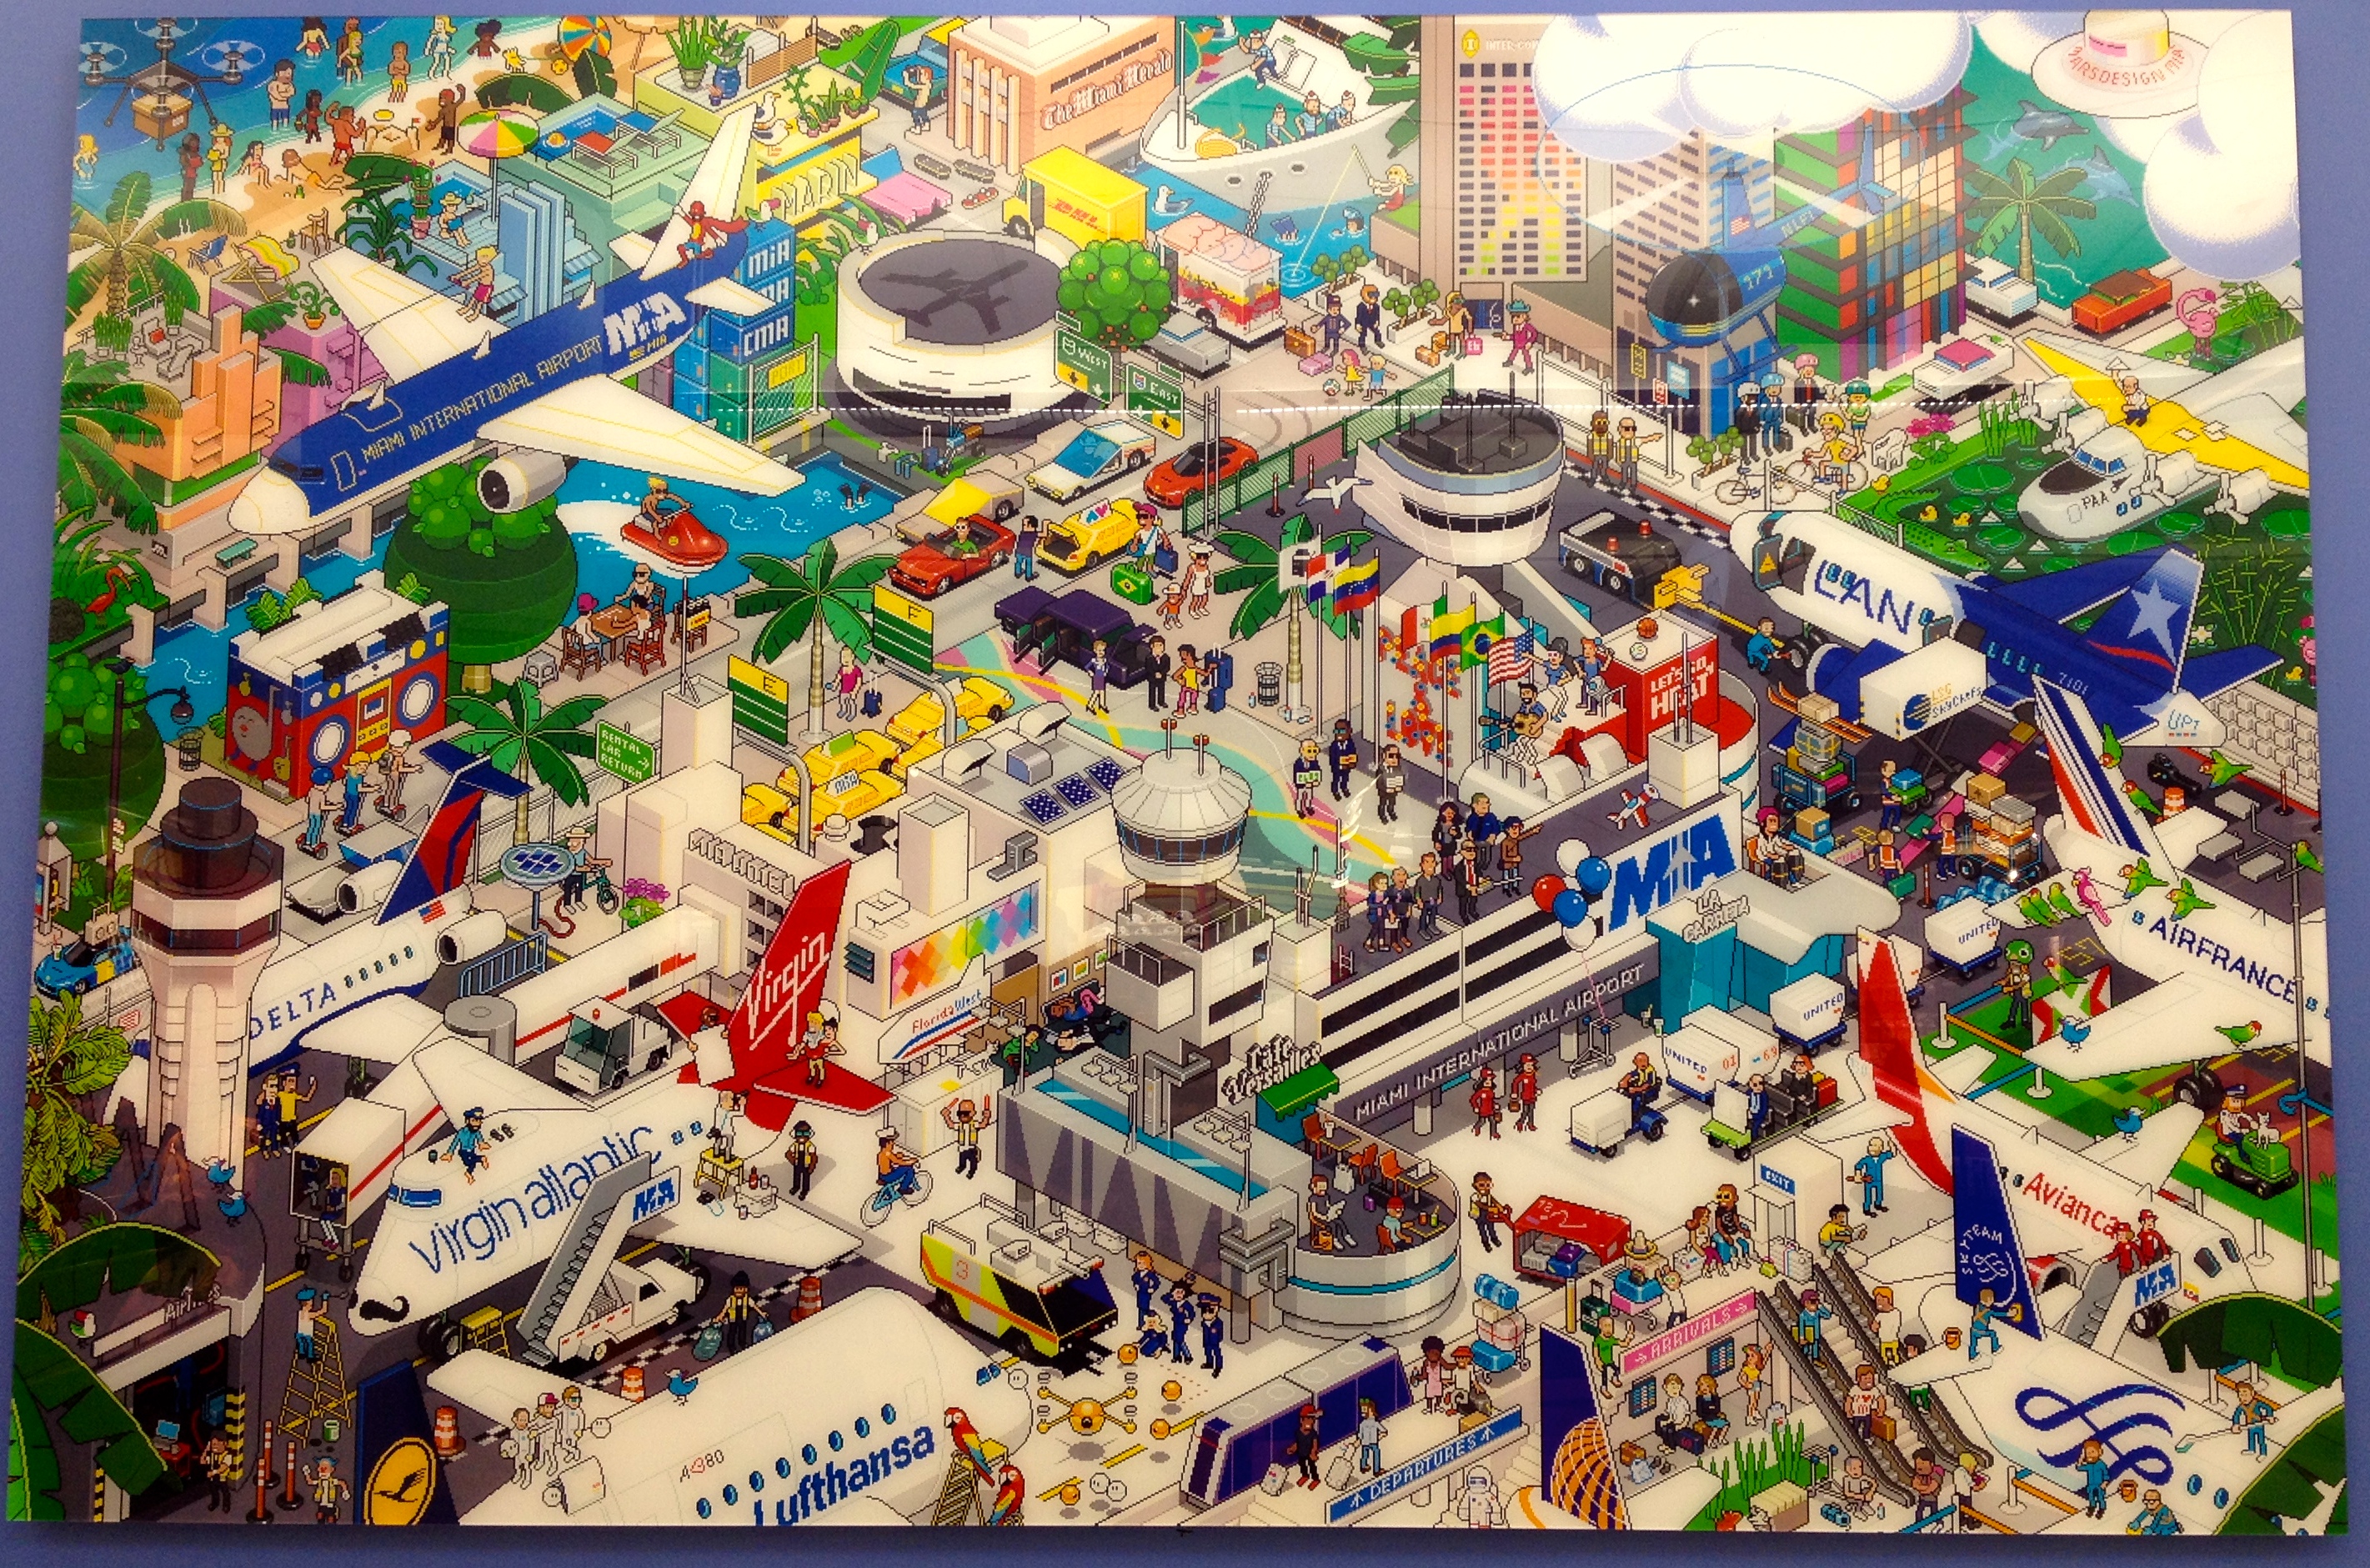
If you happen to be in Terminal J look out for a big bright and colorful piece of Pixel Art of MIA.

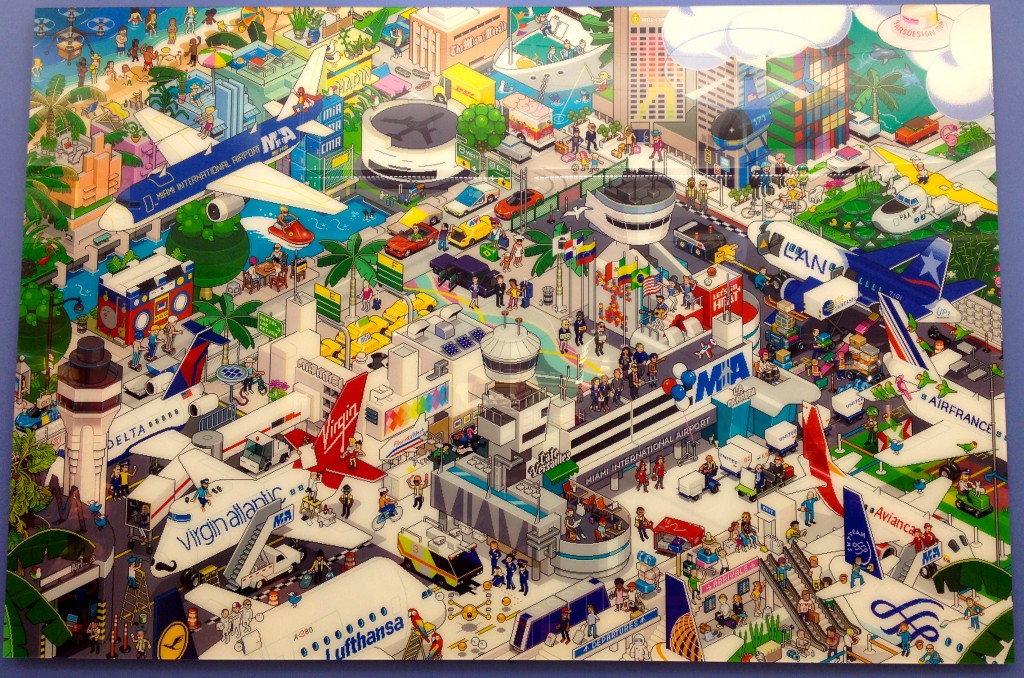
For those of you too far away to see it up close and personal, here’s a photo I’ve taken so you can see how fun it looks 🙂

Miami International Airport eBoy Miami by Mars Design Miami.
This is the artwork currently displayed at Miami International Airport. Oct 2015.

eBoy explain that a Pixorama is a mix between the words : Pixel & Panorama. It is a Digital Art Work that is created pixel by pixel on a computer. It is a new technique of Art creation and its it allows great creativity.

For the first time, Mars Design Miami and eBoy bring their talent to a very specific project by pixelising MIA as a “city” itself.

The eBoyMIA Pixorama landing took place at the Miami International Airport with a presentation of a big print of the Artwork on the walls of the MIA.

For more information about the above artwork please visit eBoy Miami

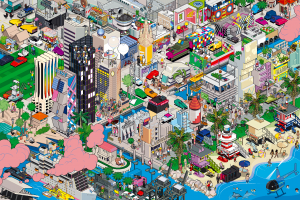
The Beach and surrounding areas pixel style. Click the photo for more info.
The Beach and surrounding areas pixel style. Click the photo for more info at eboymiami.com

They also depict areas of Miami and Miami Beach in another colorful pixel artwork.

It’s fun to pick out areas that you recognize.

Can you spot the funky Lifeguard Huts on the beach, The Living Room from the Design District, the art deco hotels?…take a look and see what you can find. There’s so much packed into the artwork it may take you a while.


If you liked this, you may also be interested in
Give Your Walls Some Love


Writing Paper – A Dying Art

I was reminded recently about how I used to have a proper writing set. A fountain pen with various colors of ink and blotting paper. It was fun to write with and could get messy, especially if the cartridge leaked. There was also a huge selection of interesting writing paper and matching envelopes to buy for all those thank you notes to family members at Christmas and Birthdays as well as pen pals to write to. I even used my fountain pen at school.

The fountain pen is becoming part of the dying art of writing. You can still buy them which is good to know...but for how long?
The fountain pen is becoming part of the dying art of writing. You can still buy them which is good to know…but for how long?

With the introduction of high tech, email and tablet devices, the art of writing a letter to someone using a pen and paper is becoming instinct.

I wrote an article about this – The Art of Letter Writing where I explain how a Round Robin letter works, and that some of us are attempting to keep the tradition alive.

It’s interesting, because once you start writing again, you realize your hand muscles are out of training and half way down a letter you can feel the real workout your hand is getting. Do you remember the little indentation you used to get where the pen pressed against your middle finger? Look at your finger…depending what “era” you are from and how old you are, you should have a nice writer’s bump by now 🙂

We've always found ways to communicate.
We’ve always found ways to communicate.

We’ve come along way from the times when our ancestors scratched across the papyrus with a quill and ink pot. Technological advancement and clever minded inventors make it much easier to have a similar experience without plucking any feathers today!
Although complete writing sets are harder to find nowadays, you can still come across some interesting writing paper should you wish to join me in keeping snail mail alive and brighten up someone’s unloved mailbox!

Let me share some fun stationery with you. I hope I can inspire you to keep the dying art of writing alive as well as some ideas on how you can ensure people still know how to write with pen and paper in the future!


Writing Paper

As Autumn/Fall is approaching I recently purchased some seasonal writing paper.

I found the above pumpkin paper, made by Gartner Studios, at the Office Depot store, where they had a huge selection of fancy writing paper. They don’t always come with matching envelopes but you can always jazz up a plain envelope by using special stamps or stickers…but plain and simple is perfectly fine too.

With this range you can also visit their online site and download templates which are relevant to the design you selected.
With this range from Gartner Studios, you can also visit their online site and download templates which are relevant to the design you selected…if you really can’t stay away from technology!
Stationery by Gartner Studios. Click on the photo for more info.
Candy Corn Stationery by Gartner Studios. Click on the photo for more info.

If that’s not spooky enough paper for you they also have a candy corn Hallowe’en design. Be careful of colors that are too bright or designs that takeover the paper – you want your recipient to enjoy the fun paper, but you also want them to be able to read your writing!

You can also find fancy writing paper online. I bought this Sea Flowers paper from Amazon. This set came with mix and match paper and envelopes together with some stickers to brighten up your letter or pop on the envelope.

Mix and Match Stationery by Jill Bliss
Mix and Match Stationery by Jill Bliss. Click on the photo for more information.

Depending on the type of letter writer you are, don’t forget to check the paper sizes. The Hallowe’en style paper above was nice and large but the Jill Bliss Sea Flowers paper was much smaller in size and actually had fewer sheets – 16 stationery sheets as opposed to 40 sheets.

Once you’ve thought about the paper, you may like to check out a few other essentials like pens and notebooks as well as exploring creative ways to write such as Calligraphy. I’ll be covering these topics soon.

So next time your WiFi gives out and you’re sitting there twiddling your thumbs and feeling completely cut off from the world…you’ll be completely ready for the internet outage apocalypse. Whip out your stationery set, pen and paper and get writing to someone…but try not to mention that your internet connection is down, there are more exciting topics you can think of I’m sure 🙂


I WANT TO HEAR FROM YOU

When was the last time you wrote or received a handwritten letter?

Do you have a secret stationery supplier that you can share with me?

Do you think letter writing is becoming a dying art?

Let me know below.

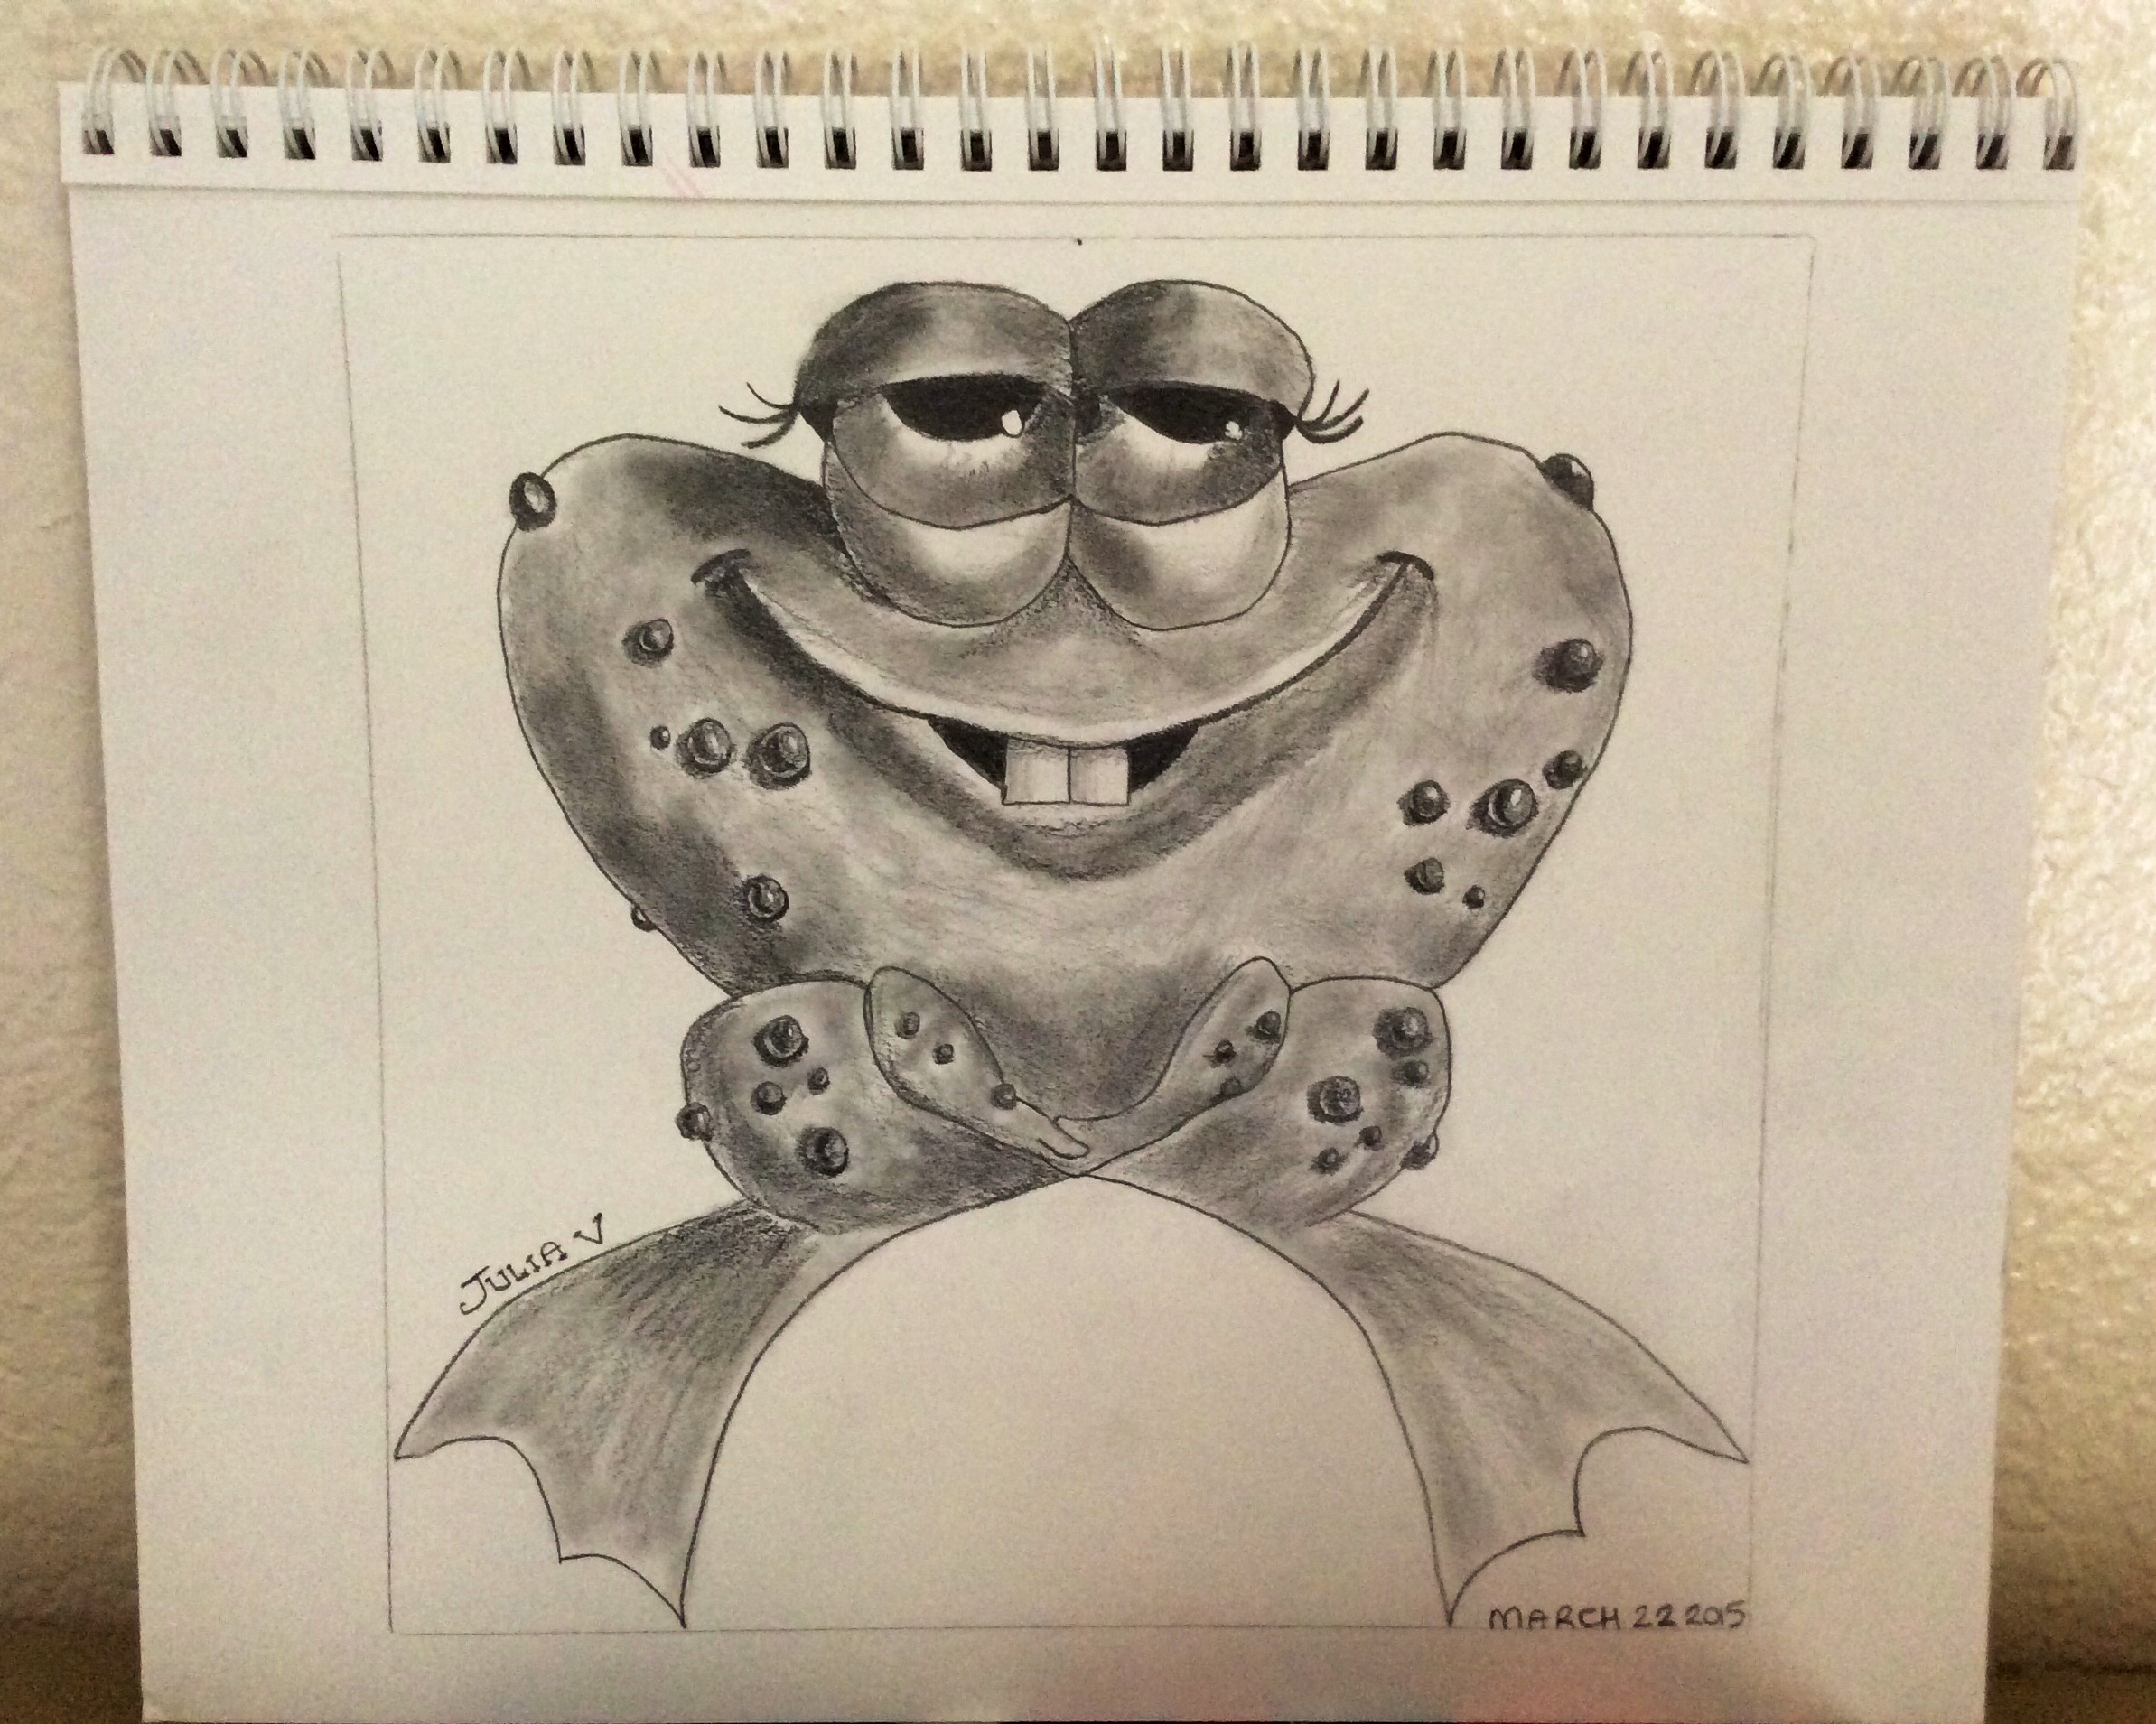
Sketch Sunday: Funny Frog

As part of my new feature series, Sketch Sunday, I will sketch a new drawing and explain how I made it. My first sketch is a comical looking frog.


For this sketch I used the following:-

  • Different grades of graphite pencils: 2H, HB, 2B, 4B and 6B
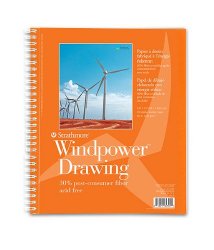
  • Strathmore Windpower Drawing Sketchbook
  • a kneaded eraser
  • pencil sharpener
  • Q-tip

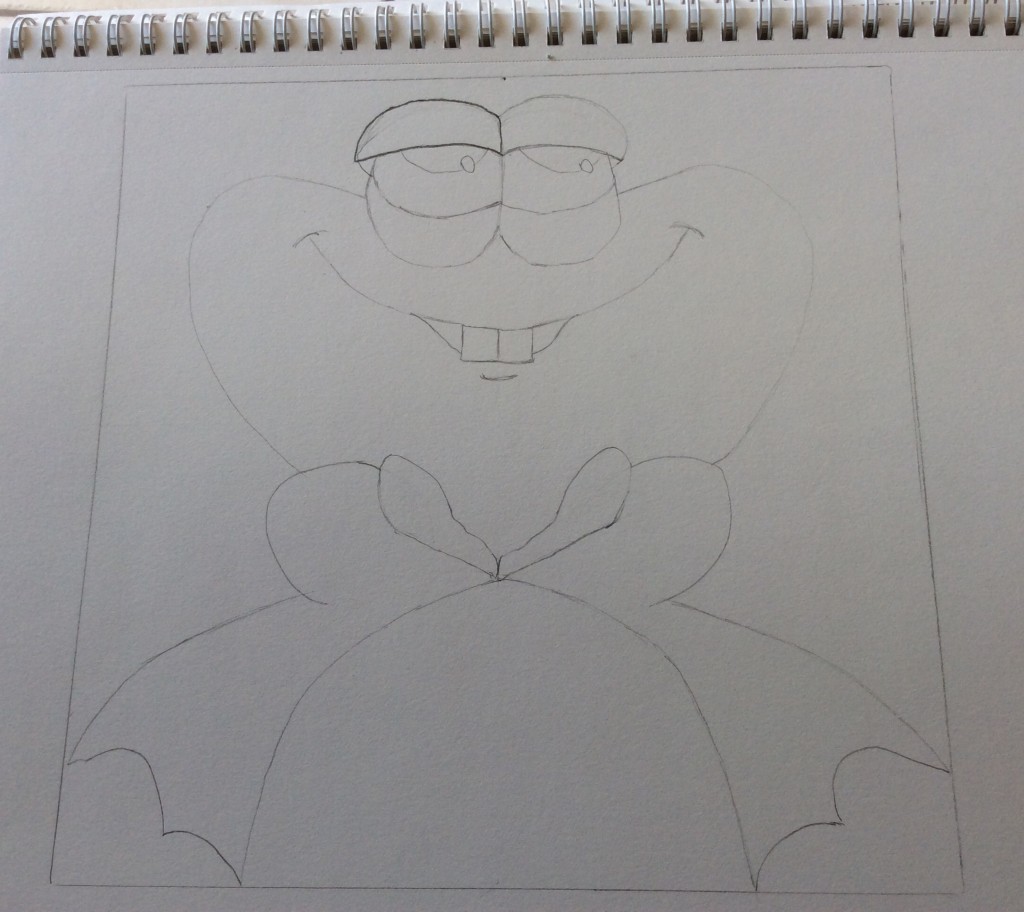
First I drew a square box on the paper to help contain the proportions of my sketch. I then drew a dividing line down the center as an aid to get the symmetry of the frog on either side.

I then drew the top half of his face and body and a couple of lines to mark where the legs and feet would go.

Roughly sketch the outline of the frog using a H pencil.

Two ovals become eyes. A slight curved line becomes a mouth with a couple of goofy teeth. I then erased all the guide lines and center marks so I was left with a plain frog sketch.

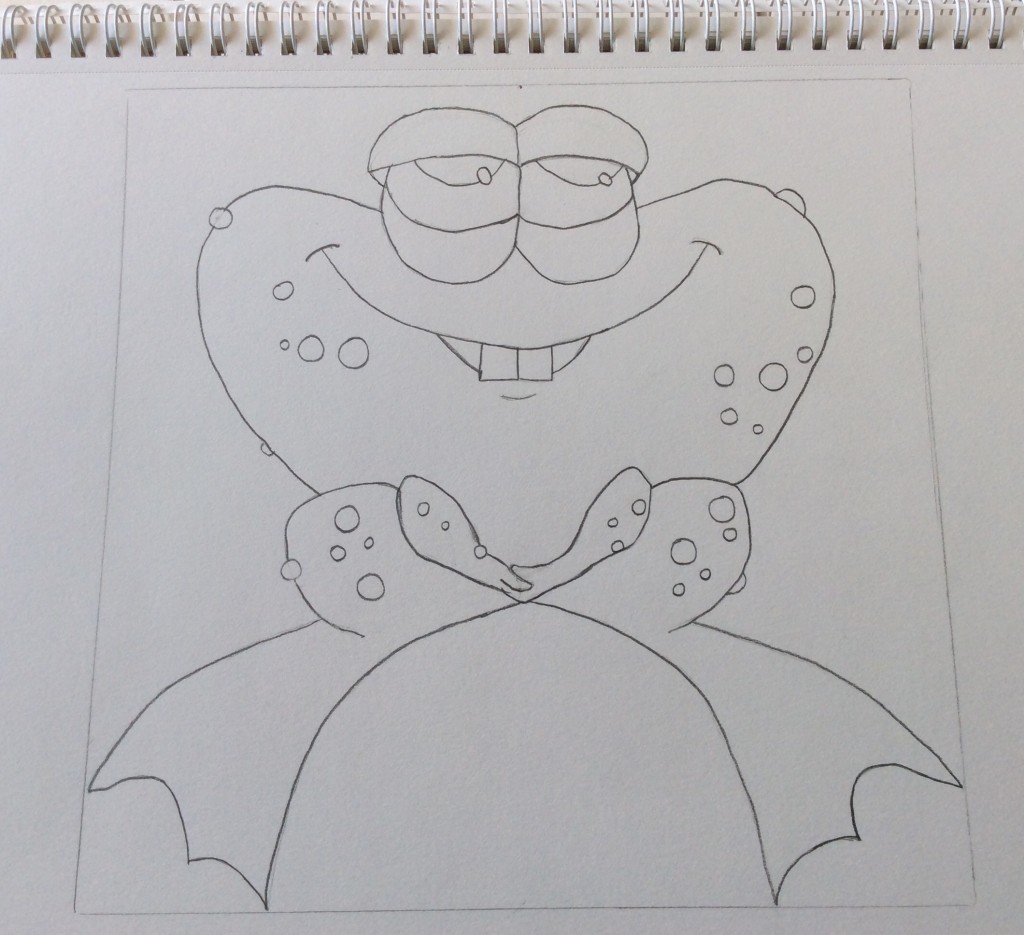
Next I used a 2B pencil to make some neat thin dark lines around the eyes, mouth and teeth. I then added some circles of different sizes that would become warts over his body. I finished off marking up the rest of the drawing with thin dark lines.

With a 2B pencil define the frog outline with a nice dark edge.
With a 2B pencil define the frog outline with a nice dark edge and add some different size circles to make warts on his upper body.

Next up is shading. First of all I used a HB pencil and added light shading to the frogs eyes, body, legs and feet. As I was shading I followed the contours of the lines, for example the curves in the eyelids. I continued in the same manner across the body and the legs with the darker shadows on the left and the lighter shadows on the right.

Read more

The Drawing Pencil Guide

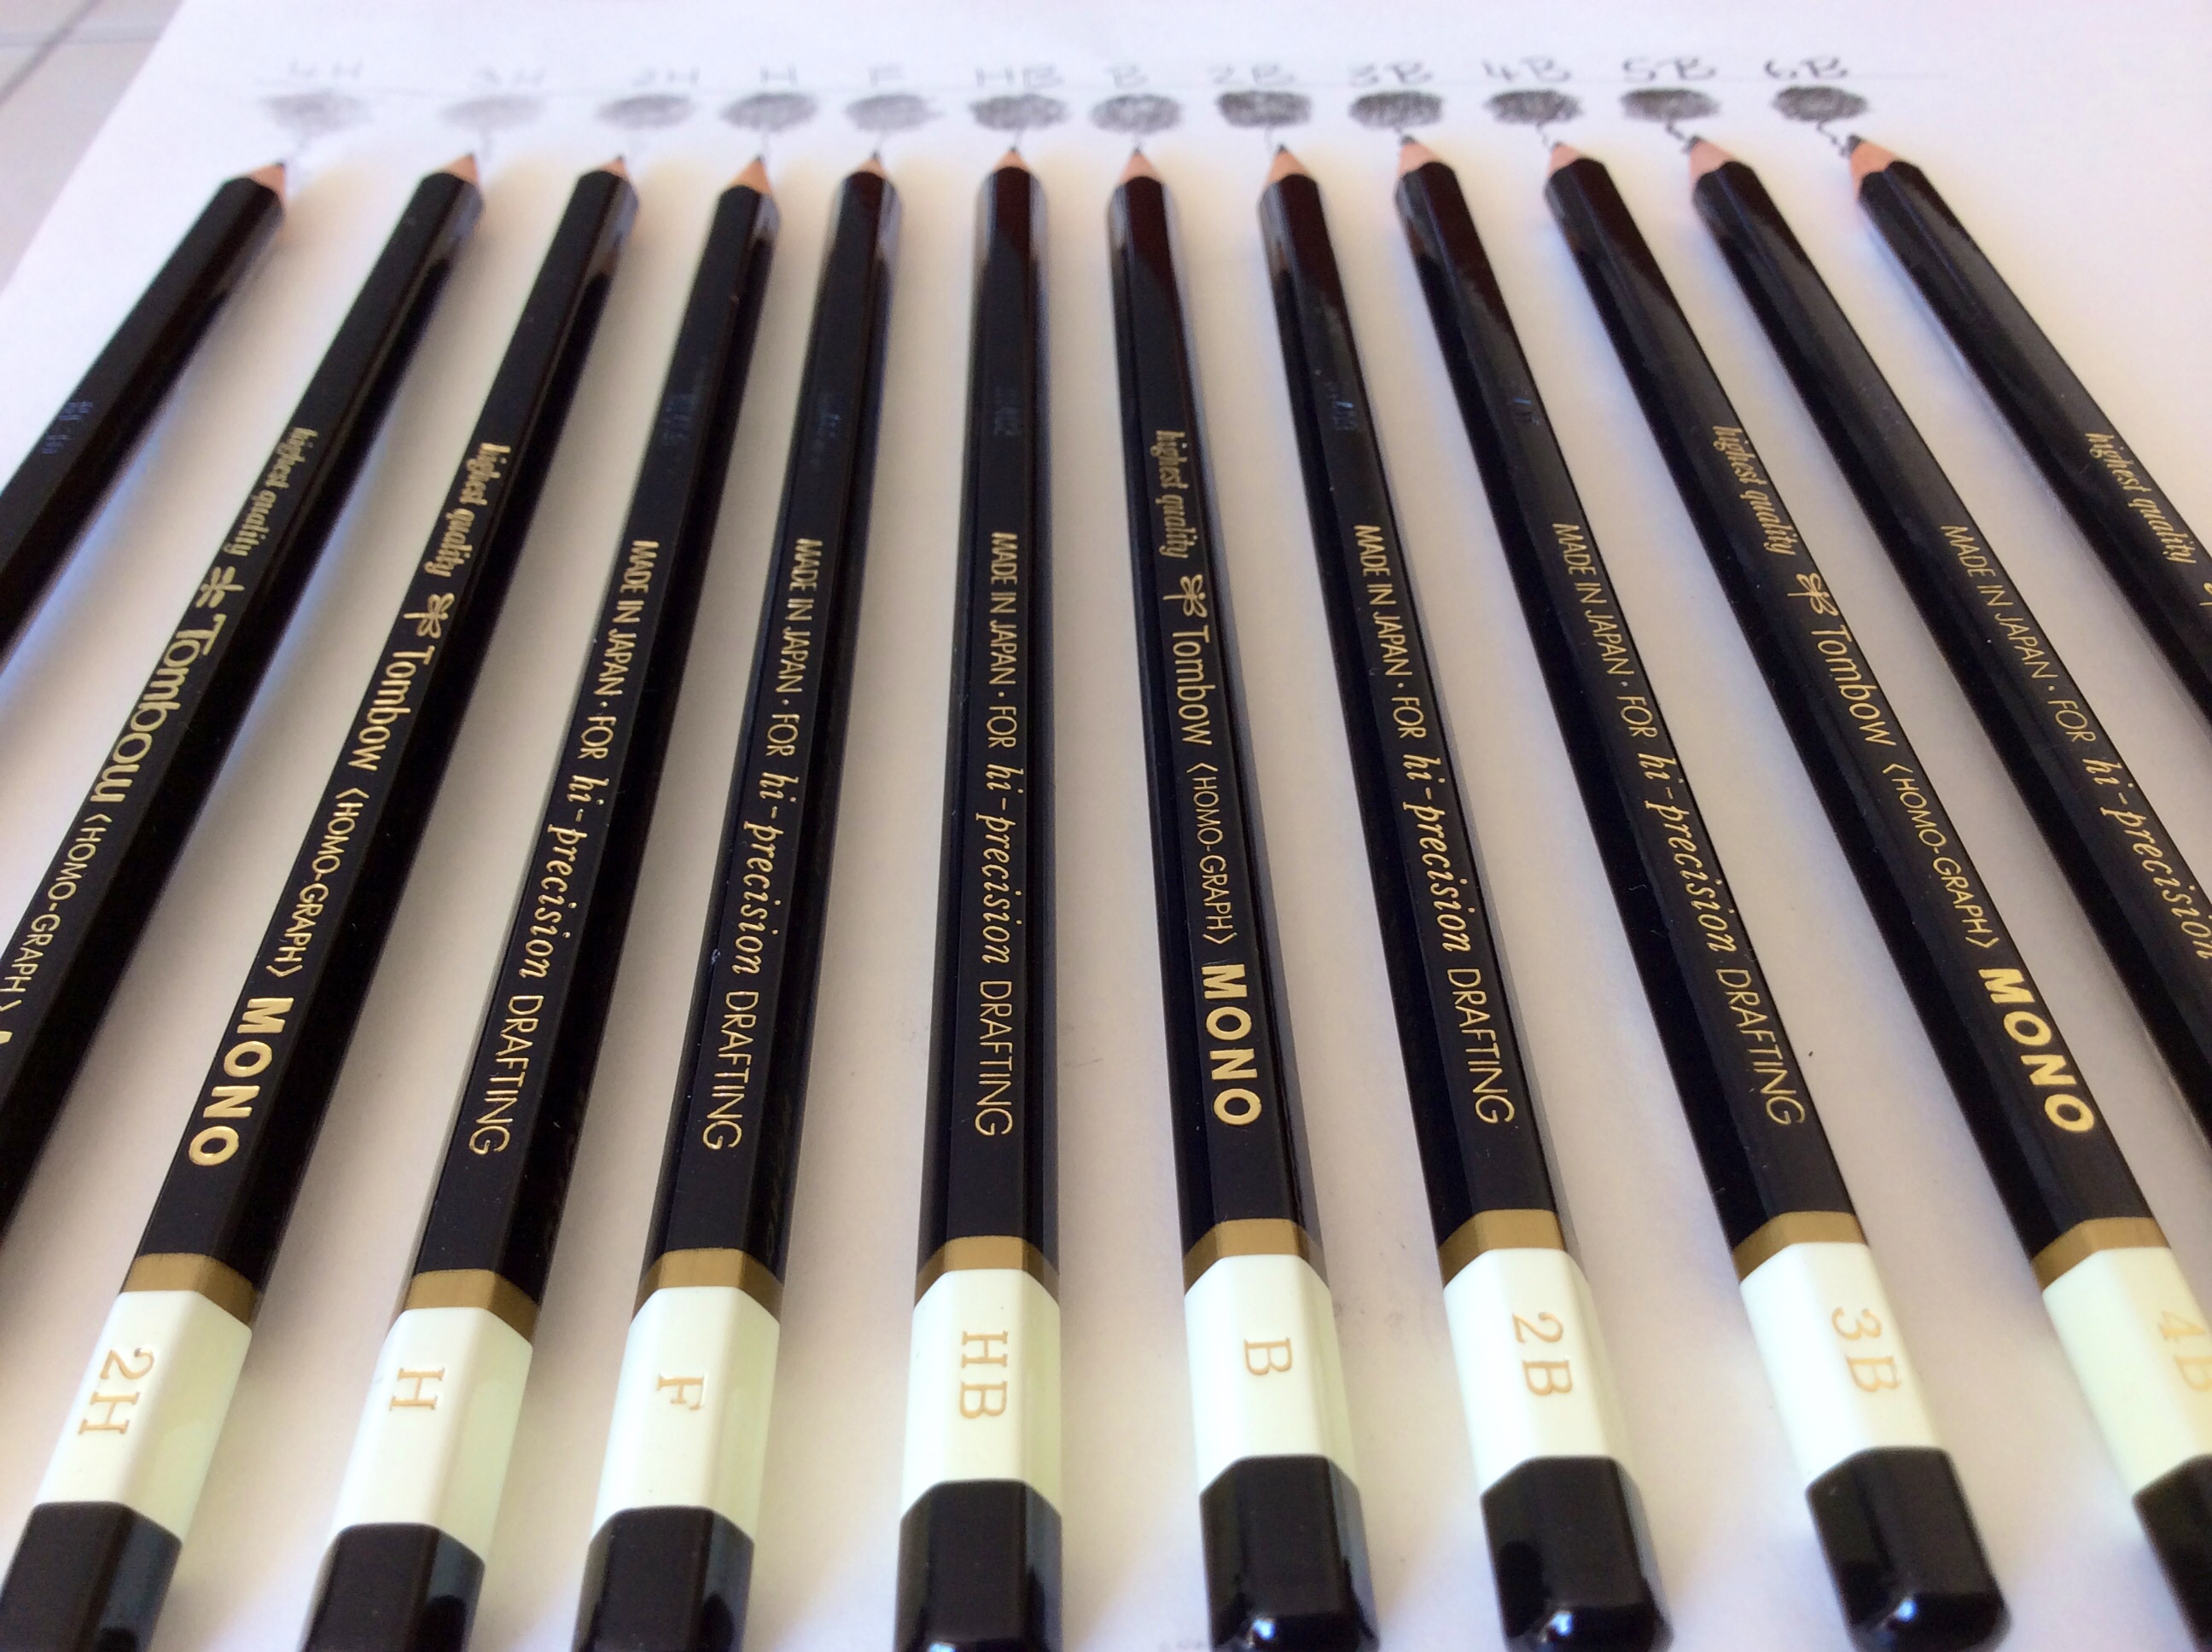
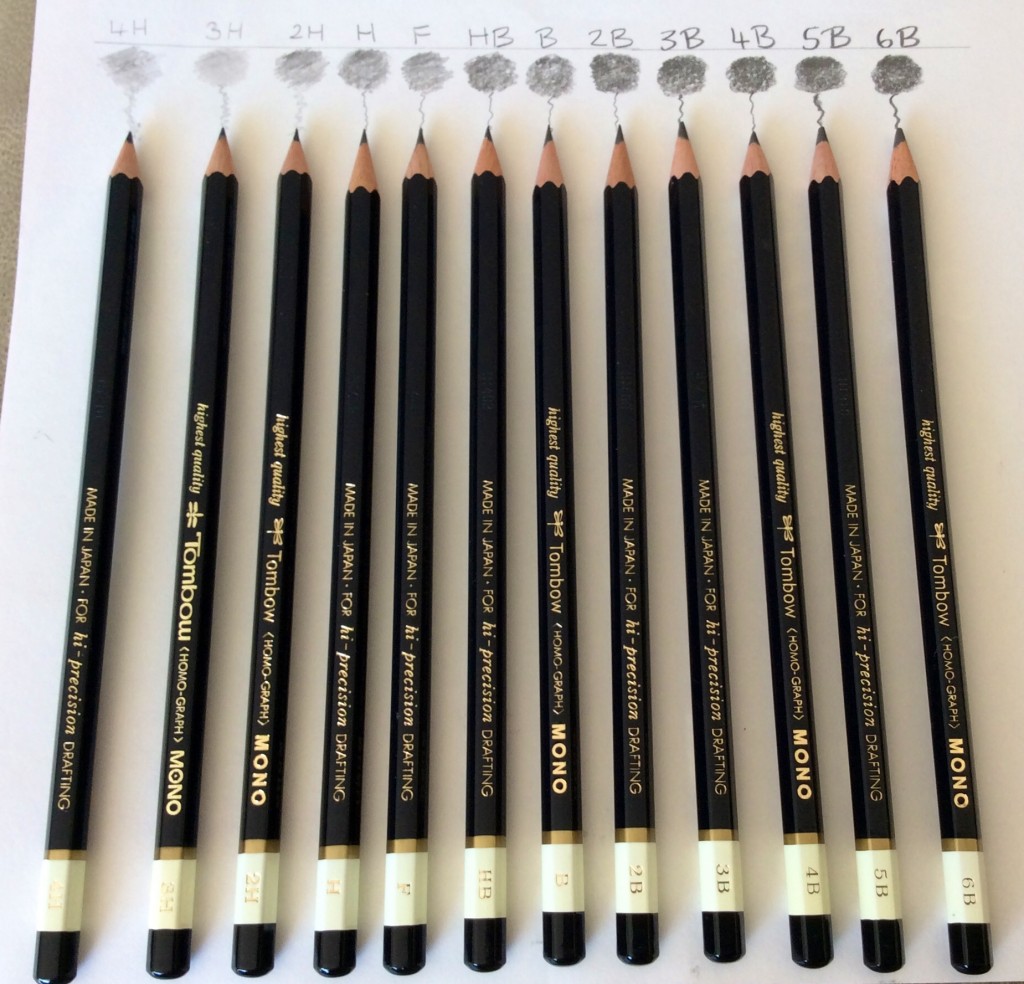
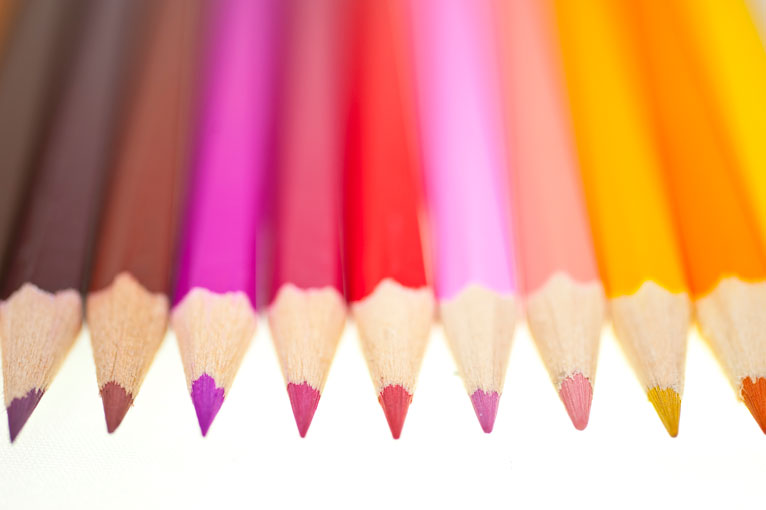
I’ve recently bought some Tombow Mono Pencils. They range from 4H to 6B but what do those numbers and letters mean?

Tombow Professional Drawing Pencils

Let’s find out in this quick Drawing Pencil Guide:-

The grading scale number first gives a clue of how hard the graphite in the pencil will be. The higher the number, the harder the graphite, and the lighter the mark will be on the paper. The higher the number, the darker the mark will be on the paper and the graphite in the pencil will be softer.

The second grading scale on the pencil is the letter. The letter H indicates a hard pencil whilst the letter B indicates the blackness of the pencil and a softer graphite pencil.

The letter F is the middle point pencil sitting between HB and H and has a very fine point. This pencil has a limited amount of graphite and more clay in the mixture.

A 4B pencil would be softer than a 2B and a 3H harder than an H.

Drawing Pencil Grades

Hard4H to 3H

Medium Hard2H to H – This pencil makes light marks. It is good for drawing details and preliminary drawings that are not permanent
MediumF to HB
Medium SoftB to 2B  – good for outlines

Very Soft5B to 6B – these pencils make dark softer marks.
Soft3B to 4B


The B pencil is good for medium to light shading and the 2B for medium to dark shading. You can get more variety of shading from using the B pencils depending on the pressure used.

The H pencil is the harder grade and is good for fine, light and some shading.

I’m looking forward to testing them out.


I hope you found this drawing pencil guide useful. Other art related articles you may be interested in:-
Sketching in the Wolfsonian
The Best Stylus
Drawings and Doodles on Tumblr


Making Textures for 3D Models

I’ve been experimenting with making textures for 3D models this week using a few programs to make the magic happen. First of all I used Graphic Stock to source some suitable material.

I can totally recommend subscribing to GraphicStock. For a yearly subscription you can download as many images, textures and patterns that you need knowing that you are not infringing copyright. If you’d like to try it out and would like a discount click here to receive 83% off a yearly subscription.

GraphicStock

Next up is DAZ 3D. I downloaded a number of outfits and then extracted the UV Map which is the base onto which the texture will be applied.

Daz 3D
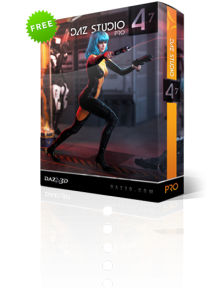
DAZ 3D Software

The UV map is then imported into Photoshop where I applied some textures. This is then exported back into DAZ 3D where it is applied to the clothing ready to set up the scene with the model.

Here are a few tips and tricks on how to make a texture using Photoshop.

Read more

Sketching in the Wolfsonian

Each month The Wolfsonian Museum open their doors to budding artists wishing to practice their drawing skills.

My husband and I attended our first session at the end of February. I haven’t used a pencil and paper in a while but they provided the tools and we were ready to pick a subject to draw. I didn’t want to draw just anything so I wandered around for a while looking for something that looked interesting.

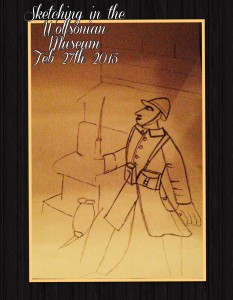
My first sketch attempt going back to using pencil and paper.

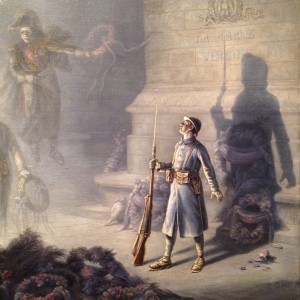
The drawing is from a painting depicting the Battle of La Marne Verdun in the current exhibition ‘Myth and Machine: The First World War in Visual Culture’. The painting was large but I focused on one small section which had amazing light flooding the scene.

It was a completely different experience. I’ve been so used to drawing on tablet devices that it felt strange to use a real pencil. Not only that, as the museum was open to the public I felt a little self conscious drawing as people wandered around. Occasionally they would look over my shoulder and I wanted to say, “I’m not a real artist. Focus on that painting on the wall by someone who knew what they were doing”. I decided not to be distracted by what I thought people were thinking and just concentrated on what I was doing.

It’s an unfinished drawing but it was a good test piece. The proportions are not quite right – his hand is too big, his jacket is too short, but for a first attempt (and my first foray into public drawing) I was happy that it actually looked like a person if not a completely true representation of the original. I’m looking forward to exploring using pencil and paper again and hopefully improving my technique.

A painting depecting the Battle of La Marne
The original – a painting depicting the Battle of La Marne

The session inspired us so much that we ended up visiting our local art shop for supplies. I’m looking forward to seeing improvements in my drawings and Sketching in the Wolfsonian again at the end of March.

Windpower Drawing Sketchbook
Strathmore Windpower Drawing Sketchbook

The sketchbook I selected was a Strathmore Wind power Drawing Pad. This line of artist papers has been made with 100% wind power – a pollution free renewable energy resource. Strathmore is the first (and only) manufacturer in the United States to make paper entirely from wind generated electricity. This heavyweight drawing paper is perfect for finished works of art. The bright white paper is ideal for working with pencil pen charcoal or pastel.

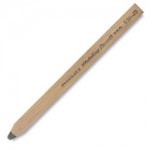
Generals Sketching Pencil 4B

We selected a few charcoal pencils, some interesting erasers and a flat 4B Sketching pencil.

The erasers were very interesting. They each have a specific use depending on what type of pencil you are using and the effect you are trying to achieve. My favorite so far is the Kneaded Eraser.

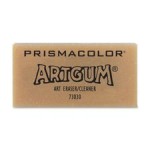
Artgum by Prismcolor
Artgum by Prismacolor

Artgum block shaped, dual purpose eraser and dry cleaner. Containing fine dry powder it cleans the drawing surface by absorbing the graphite and dirt.

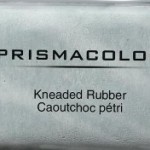
Kneaded rubber
Kneaded rubber

Kneaded Eraser – this one is excellent for highlighting and cleaning chalks, charcoal, pastels and colored pencils.

Plastic Eraser – easily removes pencil marks from a range of surfaces.

The Anatomy of Sock Knitting

In my, Knitting: Making Socks article, I talked about how my journey into sock making began, the dread of having to deal with four to five needles and how to knit the seemingly complicated sock shape.

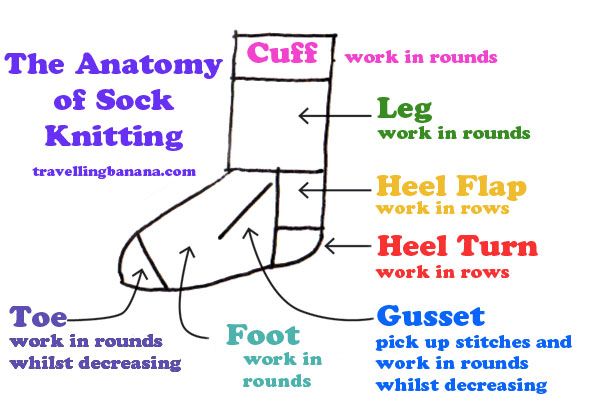
Now it’s time to understand The Anatomy of Sock Knitting which hopefully will help you understand how the sock is constructed, so when it’s time to knit you won’t be phased by the pattern instructions and you will have a piece of work that resembles a sock. I’ll also be referencing helpful video tutorials so you can see the magic loop method in action.

If you haven’t checked out my article Knitting: Making Socks check that out first as I explain a much easier method to help you get up and running on your sock knitting journey using the magic loop method.

The Anatomy of Sock Knitting

Socks are broken down into different areas and each section is knit differently.
(Fig ii) Socks are broken down into different areas and each section is knit differently.

The sock is an amazingly well put together collection of different areas. The foot is a complicated shape so it goes hand-in-hand that the sock has a lot going on too. As you can see from my sock diagram (Fig ii) the sock is broken down into seven distinct areas:-

Knitting: Making Socks

I’ve been knitting for quite a while but have never adventured anywhere near the art of making socks. Recently I really started to get the bug to try and knit some socks. Even one sock, I’d even be happy with just the top of the sock because mastering the art of all those needles just looked like a disaster waiting to happen.

If you look at how socks are put together the construction looks very complicated so you can be forgiven in thinking the task of knitting a sock would be impossible. However, hundreds of knitters say they get hooked on making socks once they have mastered the art but how do you receive those special super-powers that I just don’t seem to possess?

Knitting with two needles is easy once, like anything, you have learned the basics and I guess you can feel quite daunted by those at first but everyone always say if you can knit, purl, increase and decrease you can knit a sock. Well, yes I can do all of those things but if you’ve ever seen pictures of what knitting a sock looks like you can be holding anything up to five needles which is why sock knitters look like they have some special power to command all of these needles, as well as not poke out an eye and end up with a fully functional sock after all that hard work. It just seems to happen for them.

Double pointed needles for sock making but you can use circular needles.
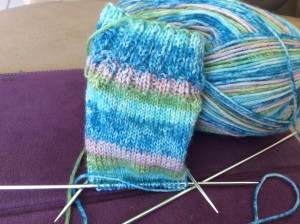
My first attempt at making socks using four double pointed needles but you can also use circular needles and the magic loop method.

I did venture forth unfazed by all that seemed to be before me. I bought some double pointed needles and sock yarn thinking this was the right direction to go into. This method of knitting socks has been tried and tested by many experienced knitters…so what could go wrong.

The first hurdle to master are the amount of needles involved. I was using four but you can use five. Getting going was tricky. You take one needle and cast on the amount of stitches required for your sock pattern. Then the fun begins. You need to distribute your stitches across the three needles. For example, if you have cast on 54 stitches across three double pointed needles, then you need to put 18 stitches on each needle so you begin to work in the round. You also need to join your stitches in the round too.

Here are a few handy videos to help you master casting on for knitting in the round as well as joining in the round.

I soon had a revelation at this point that I didn’t have to be an Octopus. Each needle is actually independent from one another and you only ever knit with two needles at any one time. Eureka!

Hold on – What’s working in the Round?

Read more