So I’ve made it to the end of the first week of the Photo101 assignments and have covered topics ranging from Home, Wider Views, Water, Bliss and Solitude.
Now it’s a free for all weekend where we can revisit some of these topics and put into practice what we have learned. I’m using today to showcase some of the other photos that fit into the Home, Wider View and Water category.
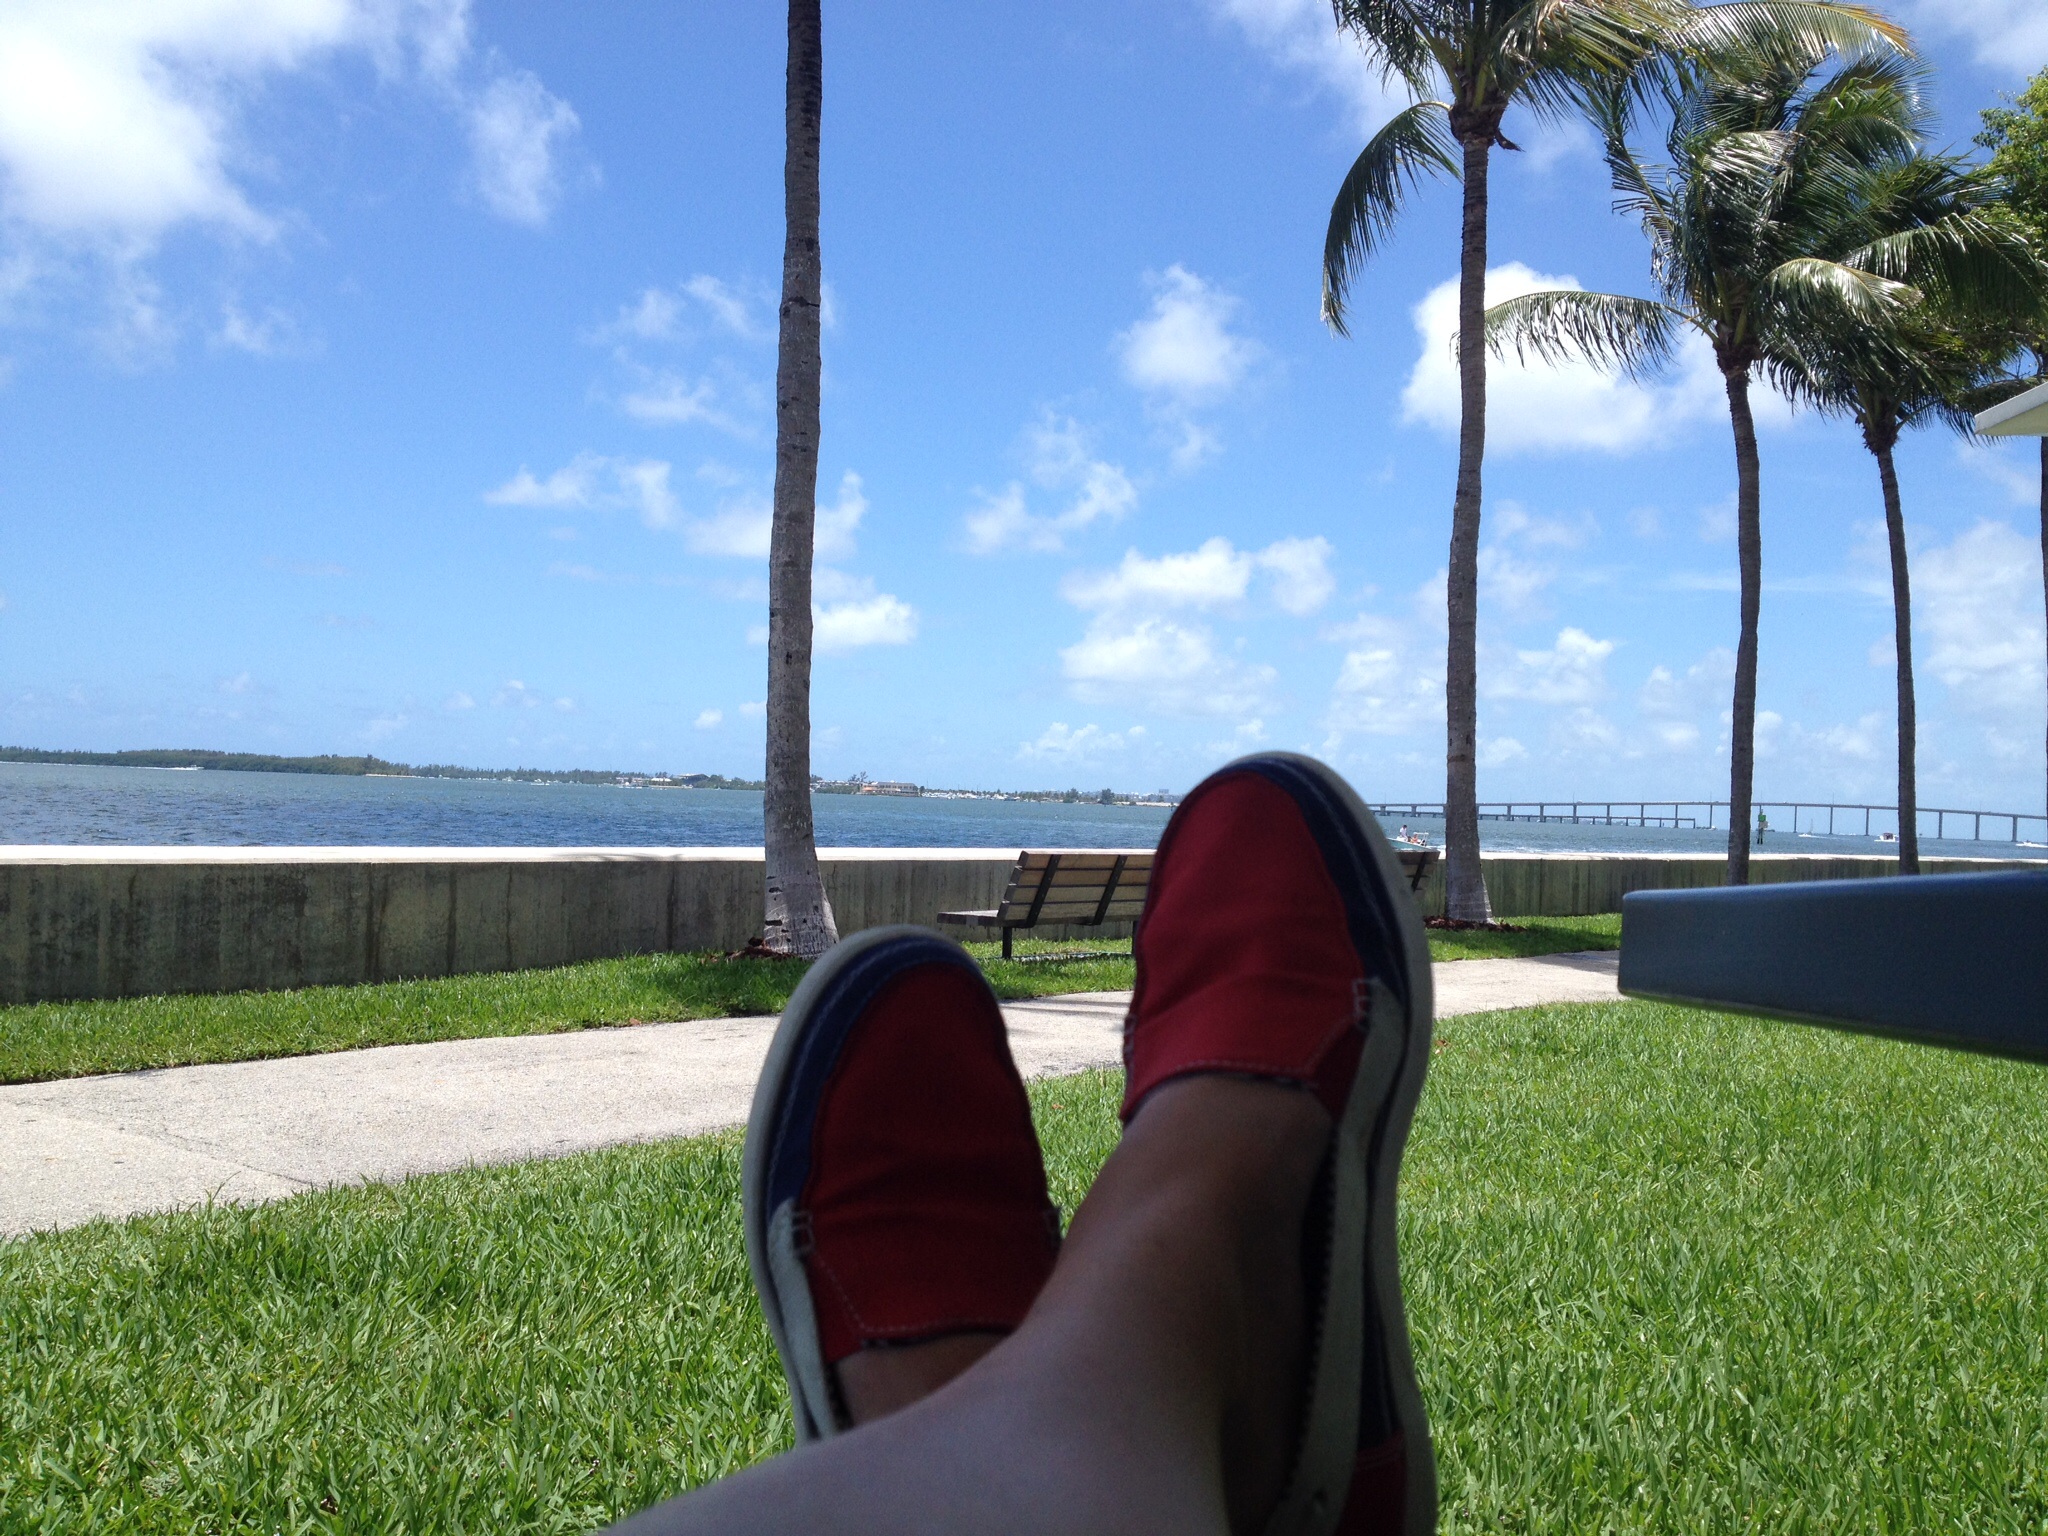
Home

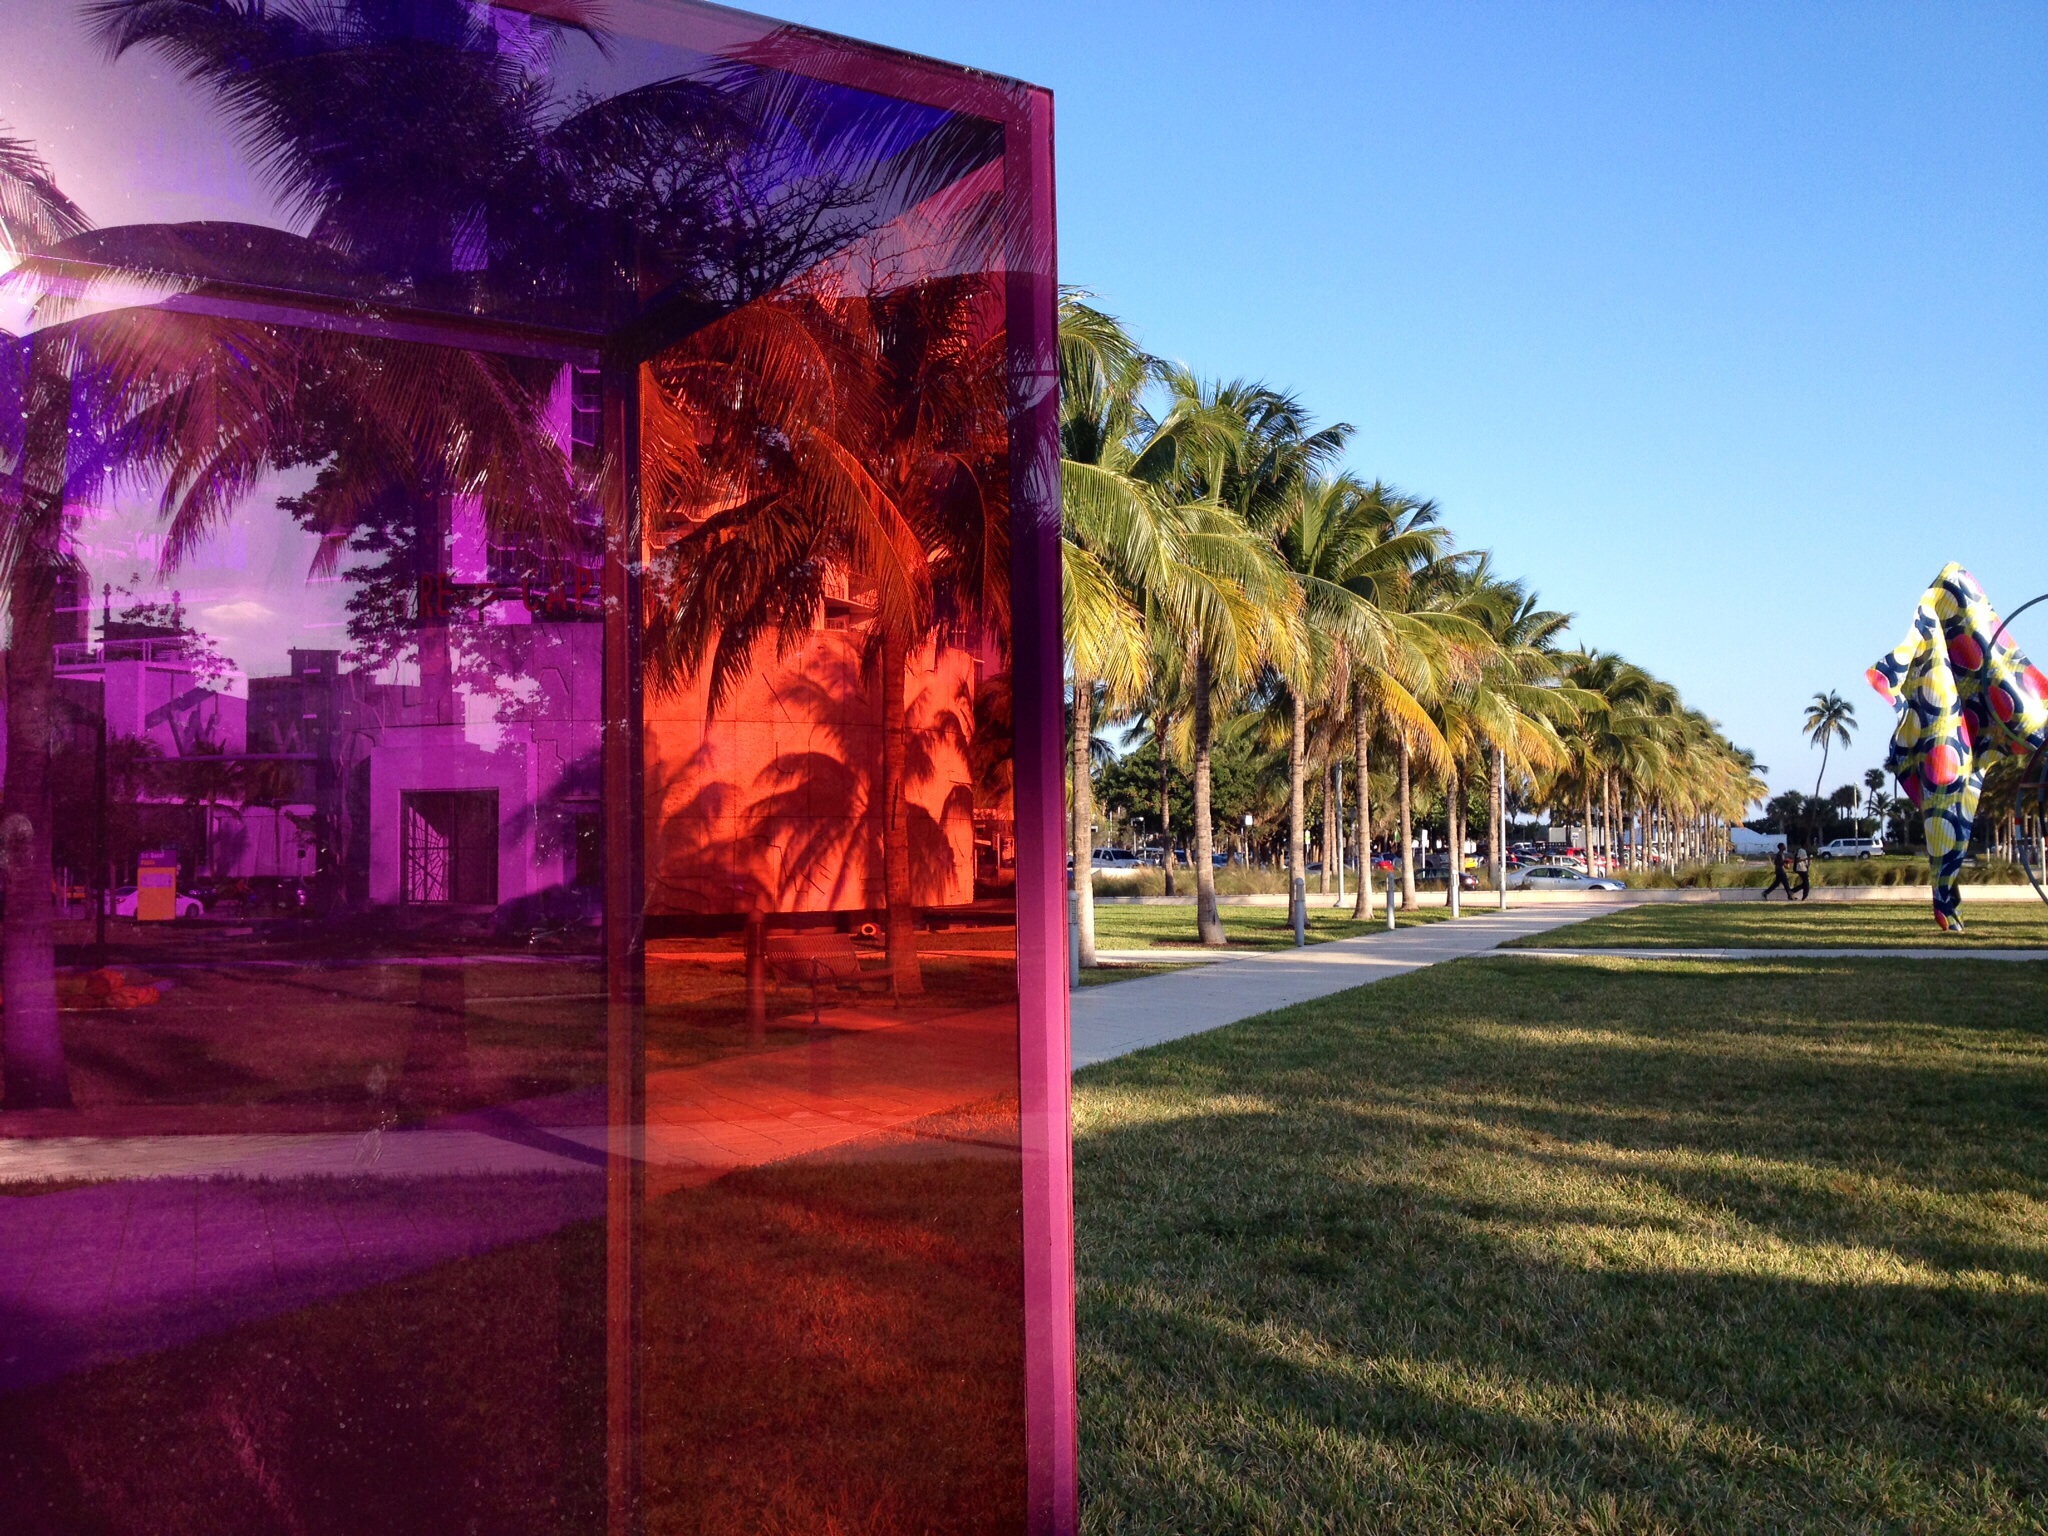
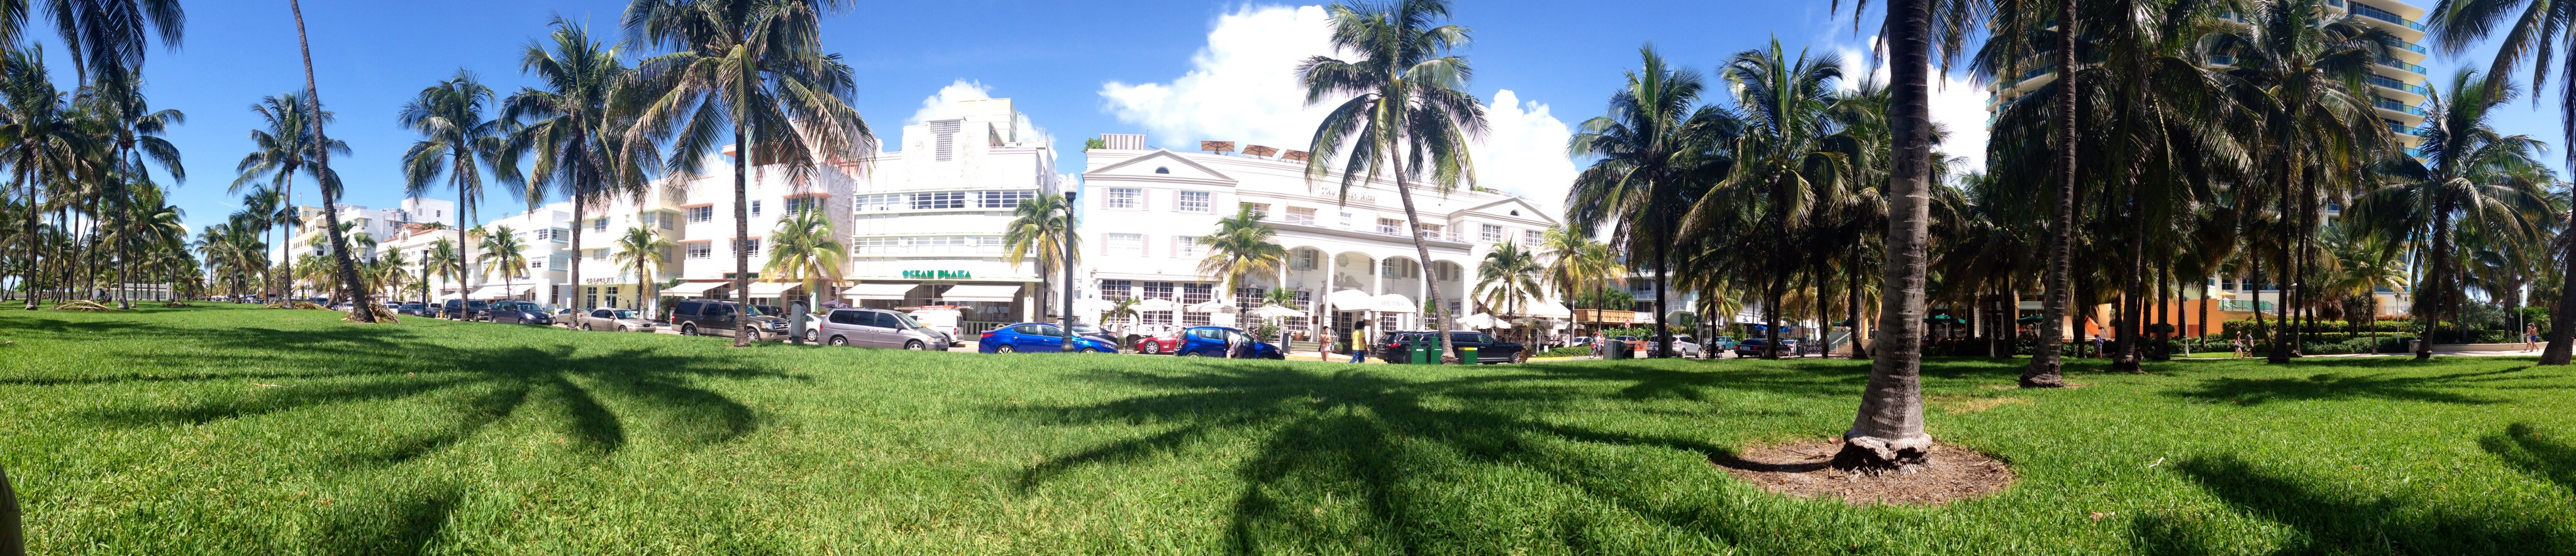
Palm Tree lined street

A bench with a view

The local park

Dinner Alfresco

Smores

Bottoms Up

Crocodile

Mosquito Sticks

Shells
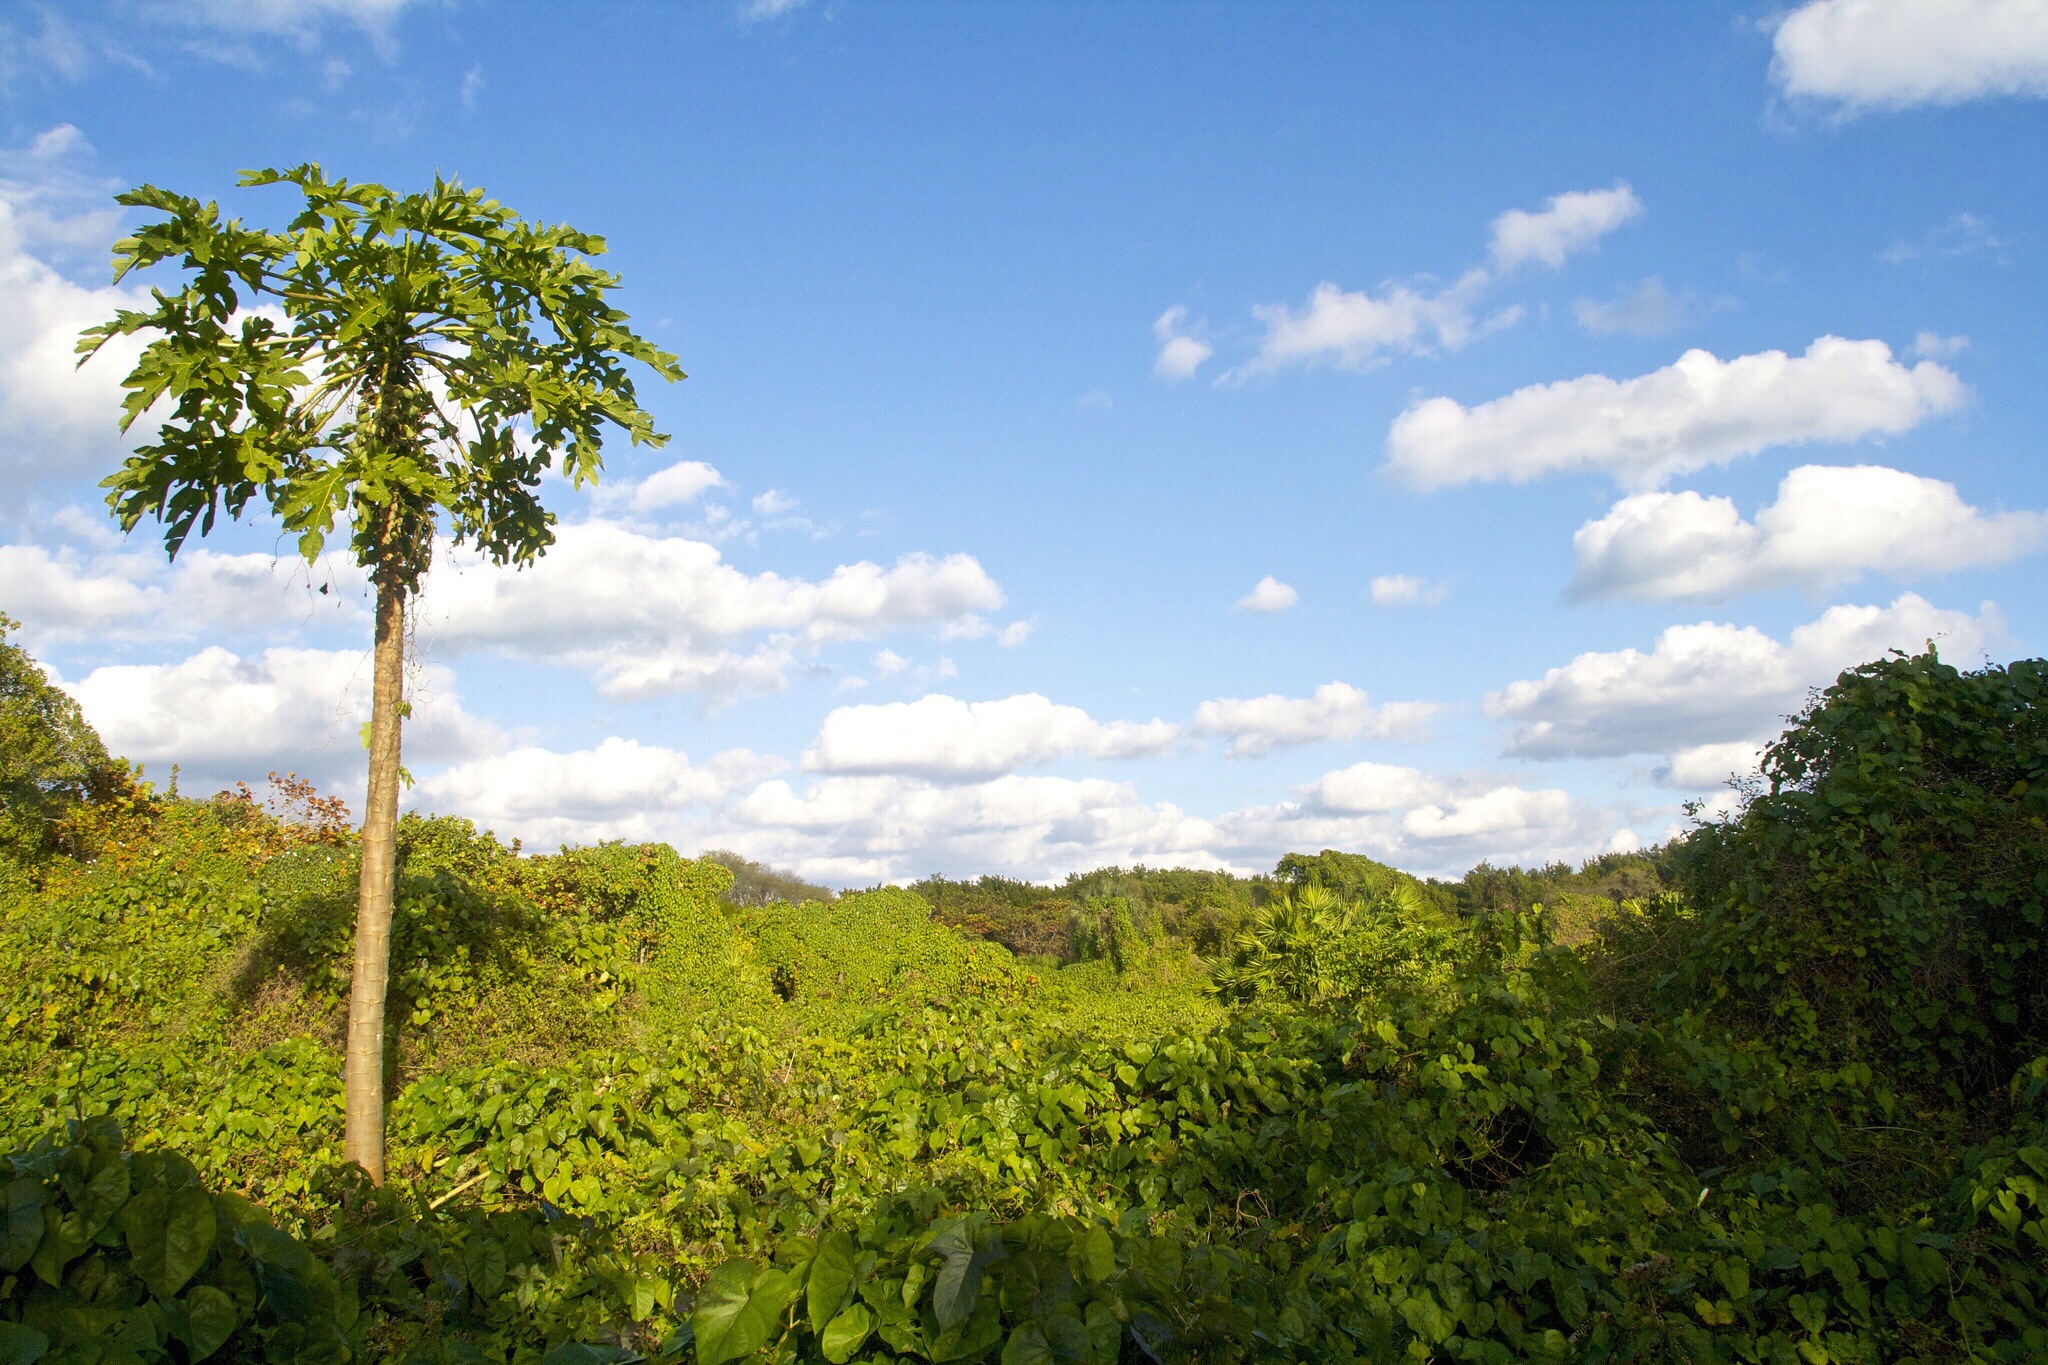
Wider Views

Beautiful Tree of Flowers

Interesting Shapes formed by nature

A Magnificent View

Lighthouse Sunset
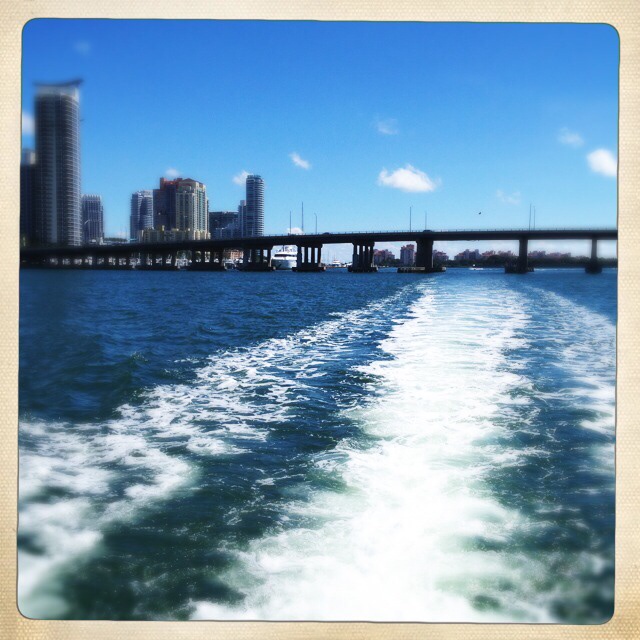
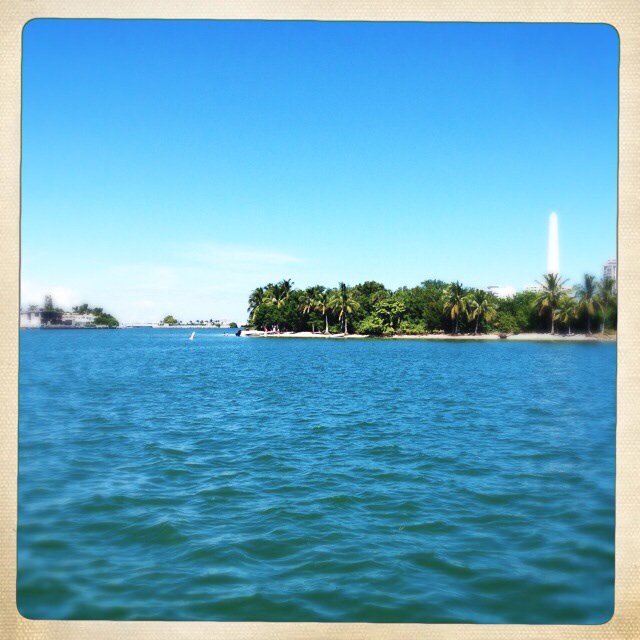
Water

Airboat – Everglades

Manatee Zone

Everglades National Park

A Serene Beach Scene

Stiltsville

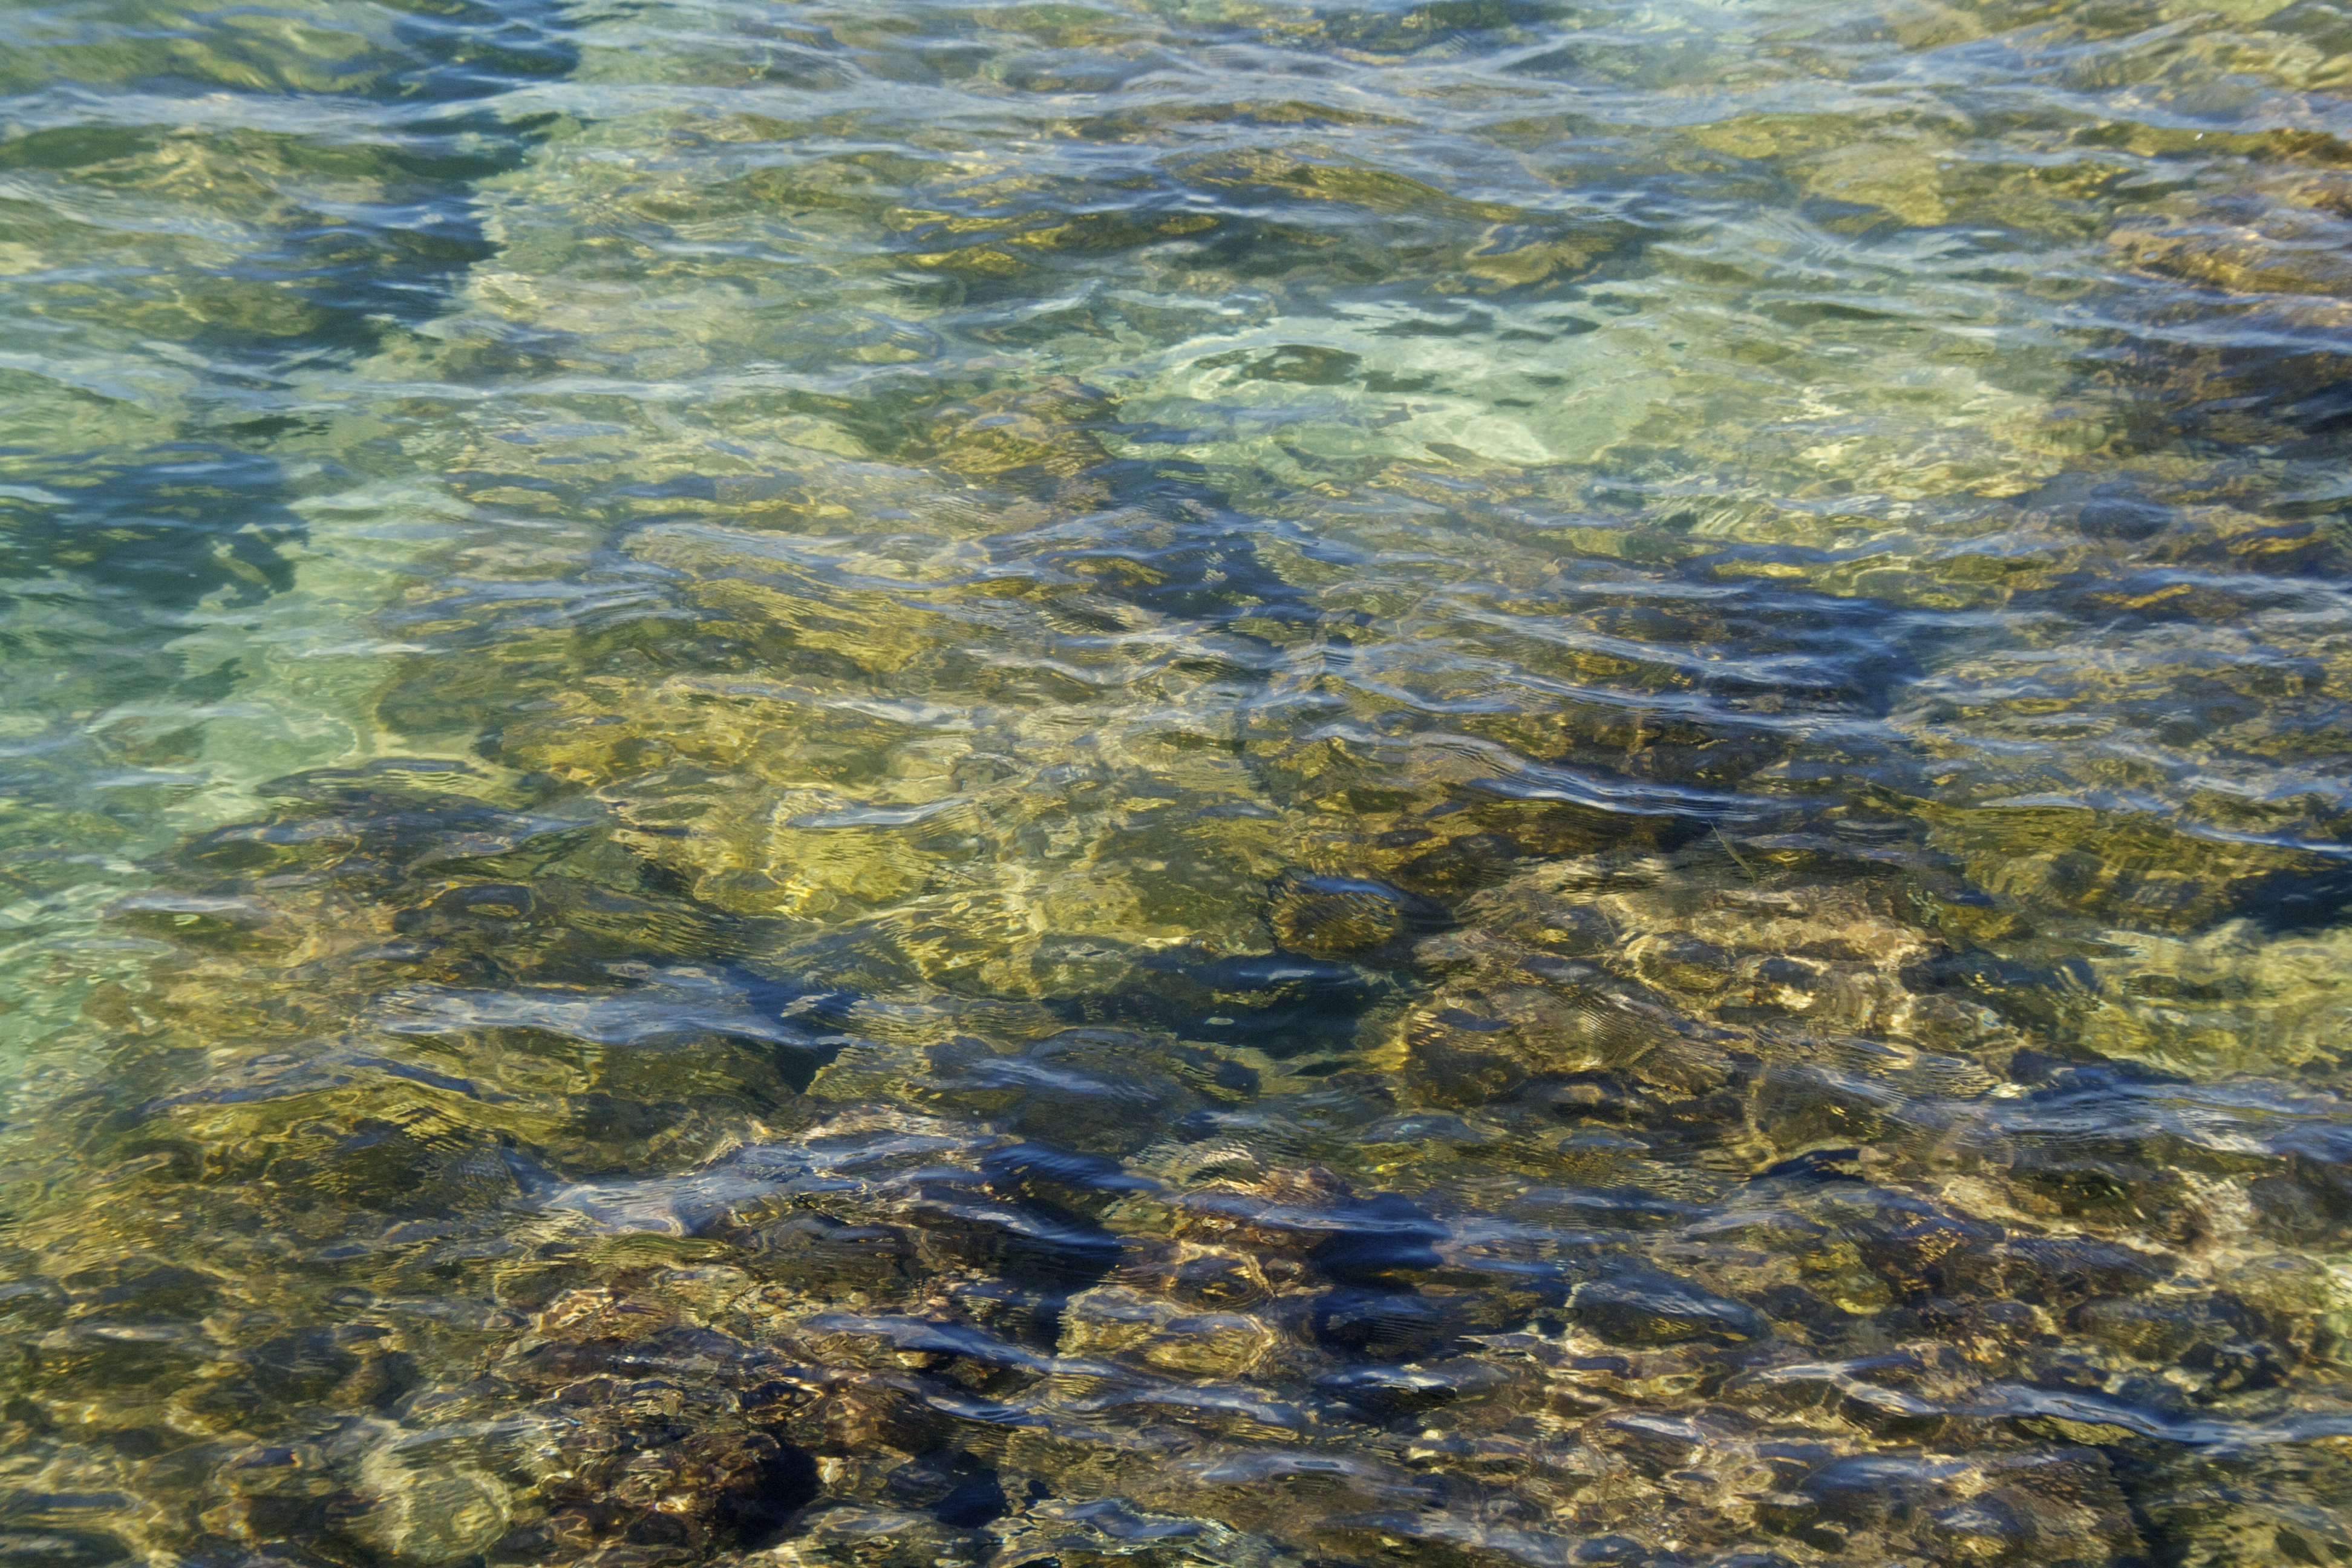
Clear Waters
Come back tomorrow to see my gallery of pictures depicting shots of Bliss and Solitude from the Photo101 assignments.
If you enjoyed this article, why not check out the original assignment posts related to each of the above categories.