How to use the new Midjourney /describe command.

Just when you thought AI, and Midjourney in particular, couldn’t get any more mind blowing, they turn around and deliver another tool to fuel your creative journey.

How do you use the /describe command feature?

I was excited to see the introduction of this new command. I will be using an image that Midjourney created from my own prompt. Then, I will use the new /describe command feature to see what results it will return.

Here are the THREE easy steps to get you going.

Step 1

First you will need access to Midjourney. There’s a fantastic Midjourney Bot you can connect with Discord too.

Learn How To Connect the Midjourney Bot to your Discord account here.

Once you have that set up you can chat directly with the Midjourney Bot via Direct Message which is awesome.

You can learn about the free and paid options available to you, by visiting the Midjourney Website.

Step 2

Next up, find an image. This can be anything from photos stored on your computer, images already generated by Midjourney, or your AI of choice and anything in between.

Here’s the image I used to demonstrate the new Midjourney /describe command.
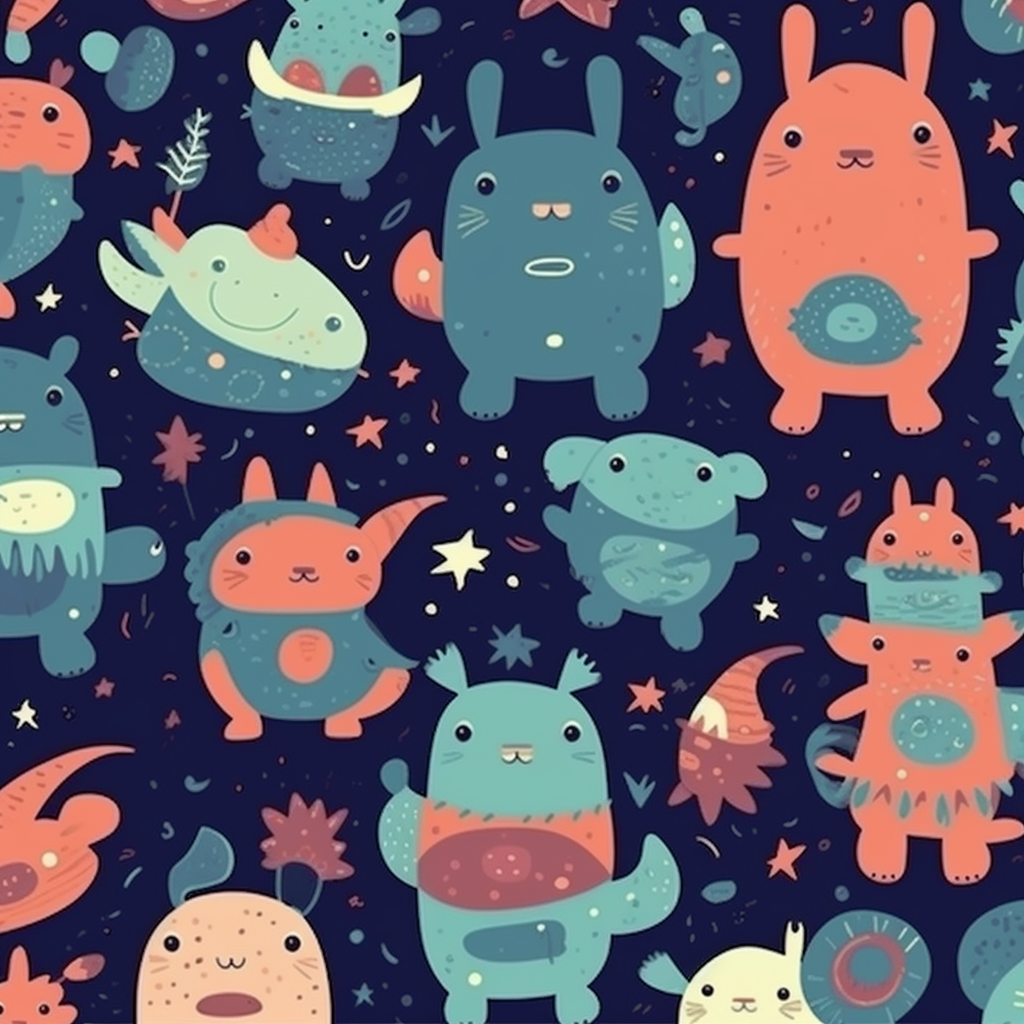
Image created using Midjourney
How I asked Midjourney to create the original imageit even ignored my typo. Clever Bot!

What a cute design. I generated this image using Midjourney but I’m struggling to describe what I’m looking at. Well, that’s not strictly true. I did provide Midjourney with the prompt to create this image. However, I’m now interested to see how the Midjourney Bot will /describe this image back to me. It did create it after all, so it should know right?

Step 3

the Midjourney /describe command

Add the /describe command to the text field and use the image URL of the image you want to use in the prompt box.

add an image for Midjourney to /describe

Attach an image file by dragging and dropping it inside the box or clicking to upload a file from your computer. When you’ve found the perfect image, hit enter and wait to see the results.

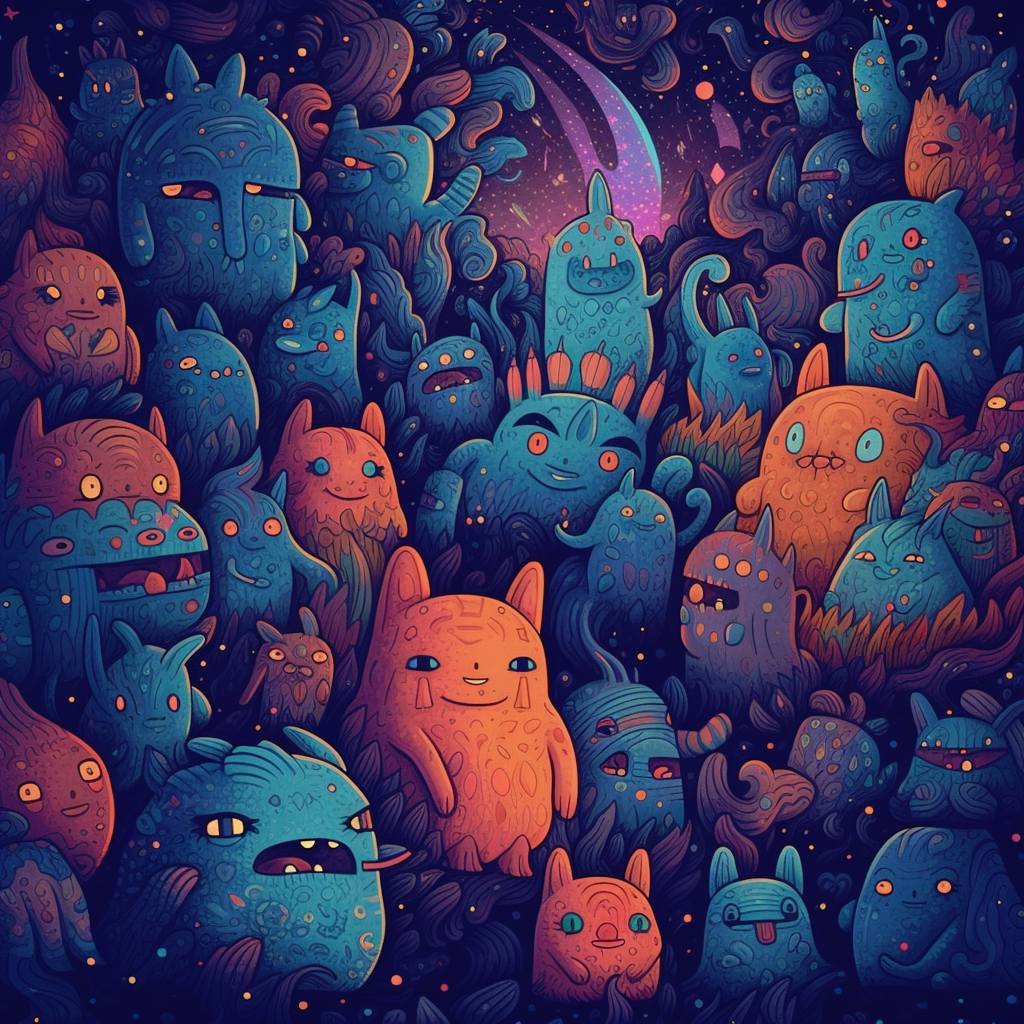
After a few seconds, here are the four prompt descriptions Midjourney provided after analyzing the image.

Midjourney’s prompts using the new /describe feature

Click on any of the numbers to generate a brand new image based on the prompts it made from the image provided.

Let’s go crazy and see what the new results are from all of these prompts.

At this point you can also change the aspect ratio or add any other details before hitting Submit. The new pop-up safety reminder and asking you to confirm you want to Imagine This!

Click Submit and wait for the magic to happen. Here’s what Midjourney delivered.

Prompt 1

Prompt 1 – Color Monsters and Stars

Prompt 2

Prompt 2 – Color Monsters and Stars

Prompt 3

Prompt 3Color Monsters and Starsure

Prompt 4

Prompt 4Color Monsters and Stars

Result

Whoosh…I now have 16 new images! Looking at the prompts Midjourney returned, I see new interesting words, artist names, and descriptions. Learning how Midjourney sees images this way will help improve our own vocabulary to better communicate with our AI friends.

A few words in the prompts stood out to me…I want to find out more!

What, for example, is a bunnycore? or furaffinity? an angura kei?

Midjourney also picked up on the styles of various Artists in the original image.
Julio Shimamoto, Victor Nizovtsev, Ryan Stegman, James Jean, and Alena Aenami.

Find out more about their styles and work by clicking on the names above.

  • Do you see any of the artist’s styles reflected in the original image?
  • Which is your favorite remix of the original image or do you prefer the starting image?
  • Do you find Midjourney’s new /describe feature helpful in learning how to feed better prompts to the AI, to achieve the results you are looking for?

Let me know your thoughts in the comments below.

I know…you need to know!

According to urbandictionary.com here are the definitions of those interesting prompts:

bunnycore – this is a quite rare aesthetic that is centered around bunnies, obviously. The visuals include bunnies, vegetable gardens (or gardens in general)

furaffinity or Fur Affinity – a art community of furry artists.

angura-kei – a movement who influenced many manga artists

You can learn more about using images and prompt commands in my article:
How do you use an image as part of a prompt in Midjourney?
The Rising Tide

Today is a guest post from my friend Marion. She recently visited an open air exhibit with a difference and shared her pictures with me. It would have been something I would have loved to see in person.

However, we are lucky to have technology at our fingertips to make sharing our experiences much easier…so now I’m able to share her pictures with you too.


The Rising Tide by Jason deCaires Taylor (London, England)

The first London commission of world-renowned underwater sculptor Jason deCaires Taylor, The Rising Tide, is concealed and revealed by the daily ebb and flow of the tide on the Vauxhall foreshore. These four proud horses and their riders highlight the role of the Thames as the lifeblood of London, shaping the city’s great history as an ever evolving centre for culture, industry and commerce.

Marion stayed to capture the photos from low to high tide (do you know how long that would have taken?) Due to her tenacity and patience we can see how the sculptures are covered by the River Thames over time.

“As it was such a stunning day I watched the incoming tide flow around them until they disappeared…. it was like a meditation .. not just watching the sculptures but the river too.”

The Houses of Parliament


You can find out more about the artist and the sculptures here


All photographs in this article taken with thanks  © M Sumerfield

Miami Pixel Art

I had to go to Miami International Airport the other day to meet someone visiting. From time-to-time there are art exhibitions and artwork around the airport.

If you happen to be in Terminal J look out for a big bright and colorful piece of Pixel Art of MIA.

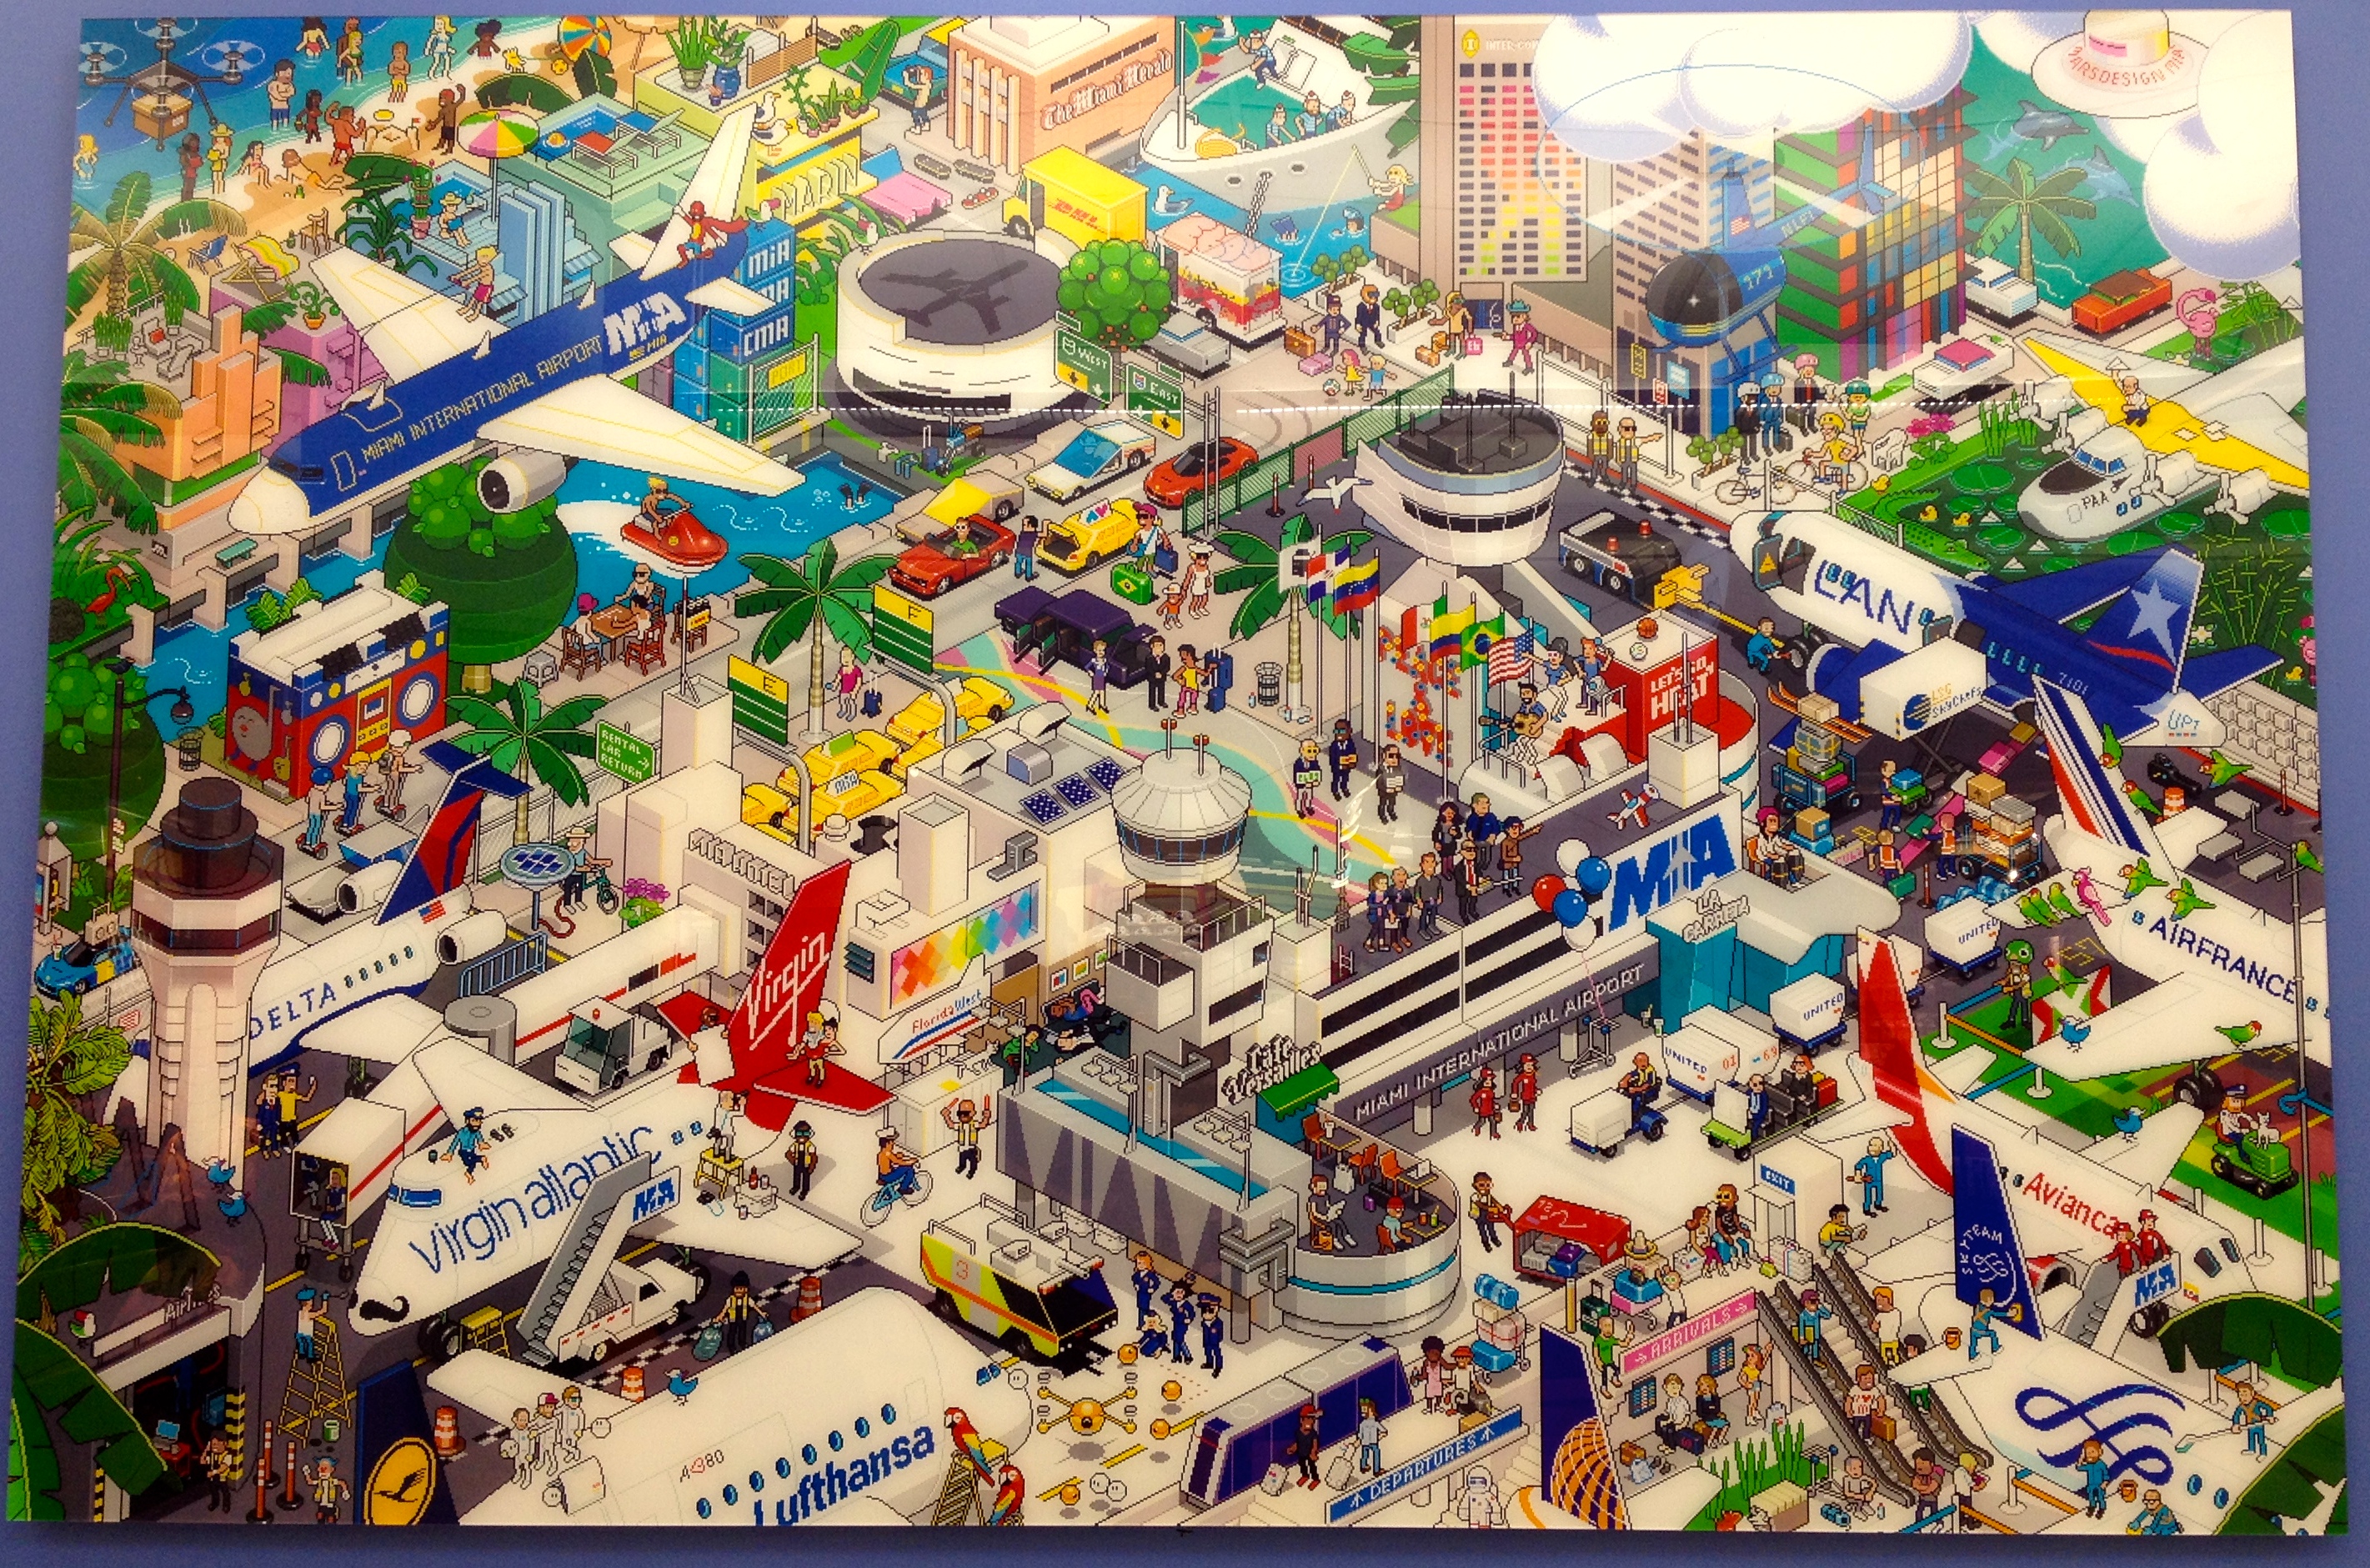
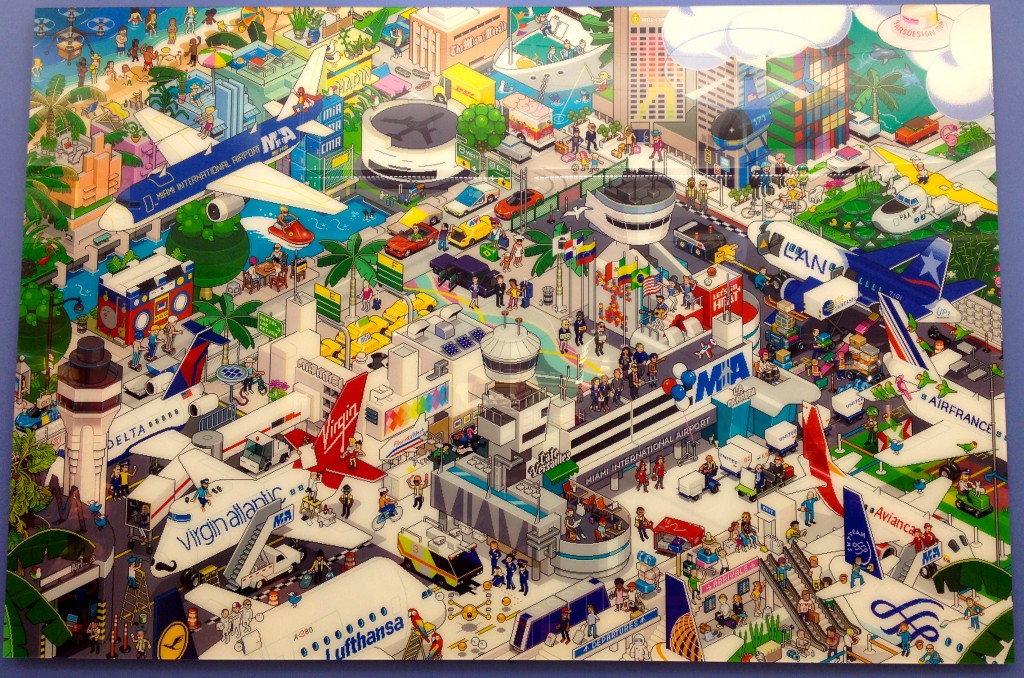
For those of you too far away to see it up close and personal, here’s a photo I’ve taken so you can see how fun it looks 🙂

Miami International Airport eBoy Miami by Mars Design Miami.
This is the artwork currently displayed at Miami International Airport. Oct 2015.

eBoy explain that a Pixorama is a mix between the words : Pixel & Panorama. It is a Digital Art Work that is created pixel by pixel on a computer. It is a new technique of Art creation and its it allows great creativity.

For the first time, Mars Design Miami and eBoy bring their talent to a very specific project by pixelising MIA as a “city” itself.

The eBoyMIA Pixorama landing took place at the Miami International Airport with a presentation of a big print of the Artwork on the walls of the MIA.

For more information about the above artwork please visit eBoy Miami

The Beach and surrounding areas pixel style. Click the photo for more info.
The Beach and surrounding areas pixel style. Click the photo for more info at eboymiami.com

They also depict areas of Miami and Miami Beach in another colorful pixel artwork.

It’s fun to pick out areas that you recognize.

Can you spot the funky Lifeguard Huts on the beach, The Living Room from the Design District, the art deco hotels?…take a look and see what you can find. There’s so much packed into the artwork it may take you a while.


If you liked this, you may also be interested in
Give Your Walls Some Love


A Wider View

Today’s Photo Challenge is capturing a wider view of a scene with the emphasis on looking at the basic elements in the scene – what will be in the foreground and in the background of the picture.

I think this photo taken at the Bass Museum of Art hits the spot.

Some interesting artwork in the grounds of the Bass Museum of Art

Sketch Sunday: Caricature

For this Sunday Sketch I drew a caricature style figure and again looked at various shading and hatching techniques.


For this sketch I used the following:-

  • Different grades of graphite pencils: 2H, HB, 2B, 4B and 6B
  • Strathmore Windpower Drawing Sketchbook
  • a kneaded eraser
  • pencil sharpener

First of all draw a square on your sketchpad as a border. This will help contain the drawing area and make it easier to keep the proportions aligned well for your caricature to sit and to help you shade the background easier.

Next with an HB pencil lightly sketch the outline of the hair. Add outlines to show the position of the ears. At the midway point add eyebrows and eyes.

Lightly sketch in the nose and mouth.

Outline the neck, the collar of the shirt and the shirt.

Before continuing check that you are happy with the position of all elements and amend anything using the eraser.

Now it’s time to add the shading using various pencils, such as HB, 2B, and 4B. For example, an HB makes lighter lines than 2B or 4B.

Read more

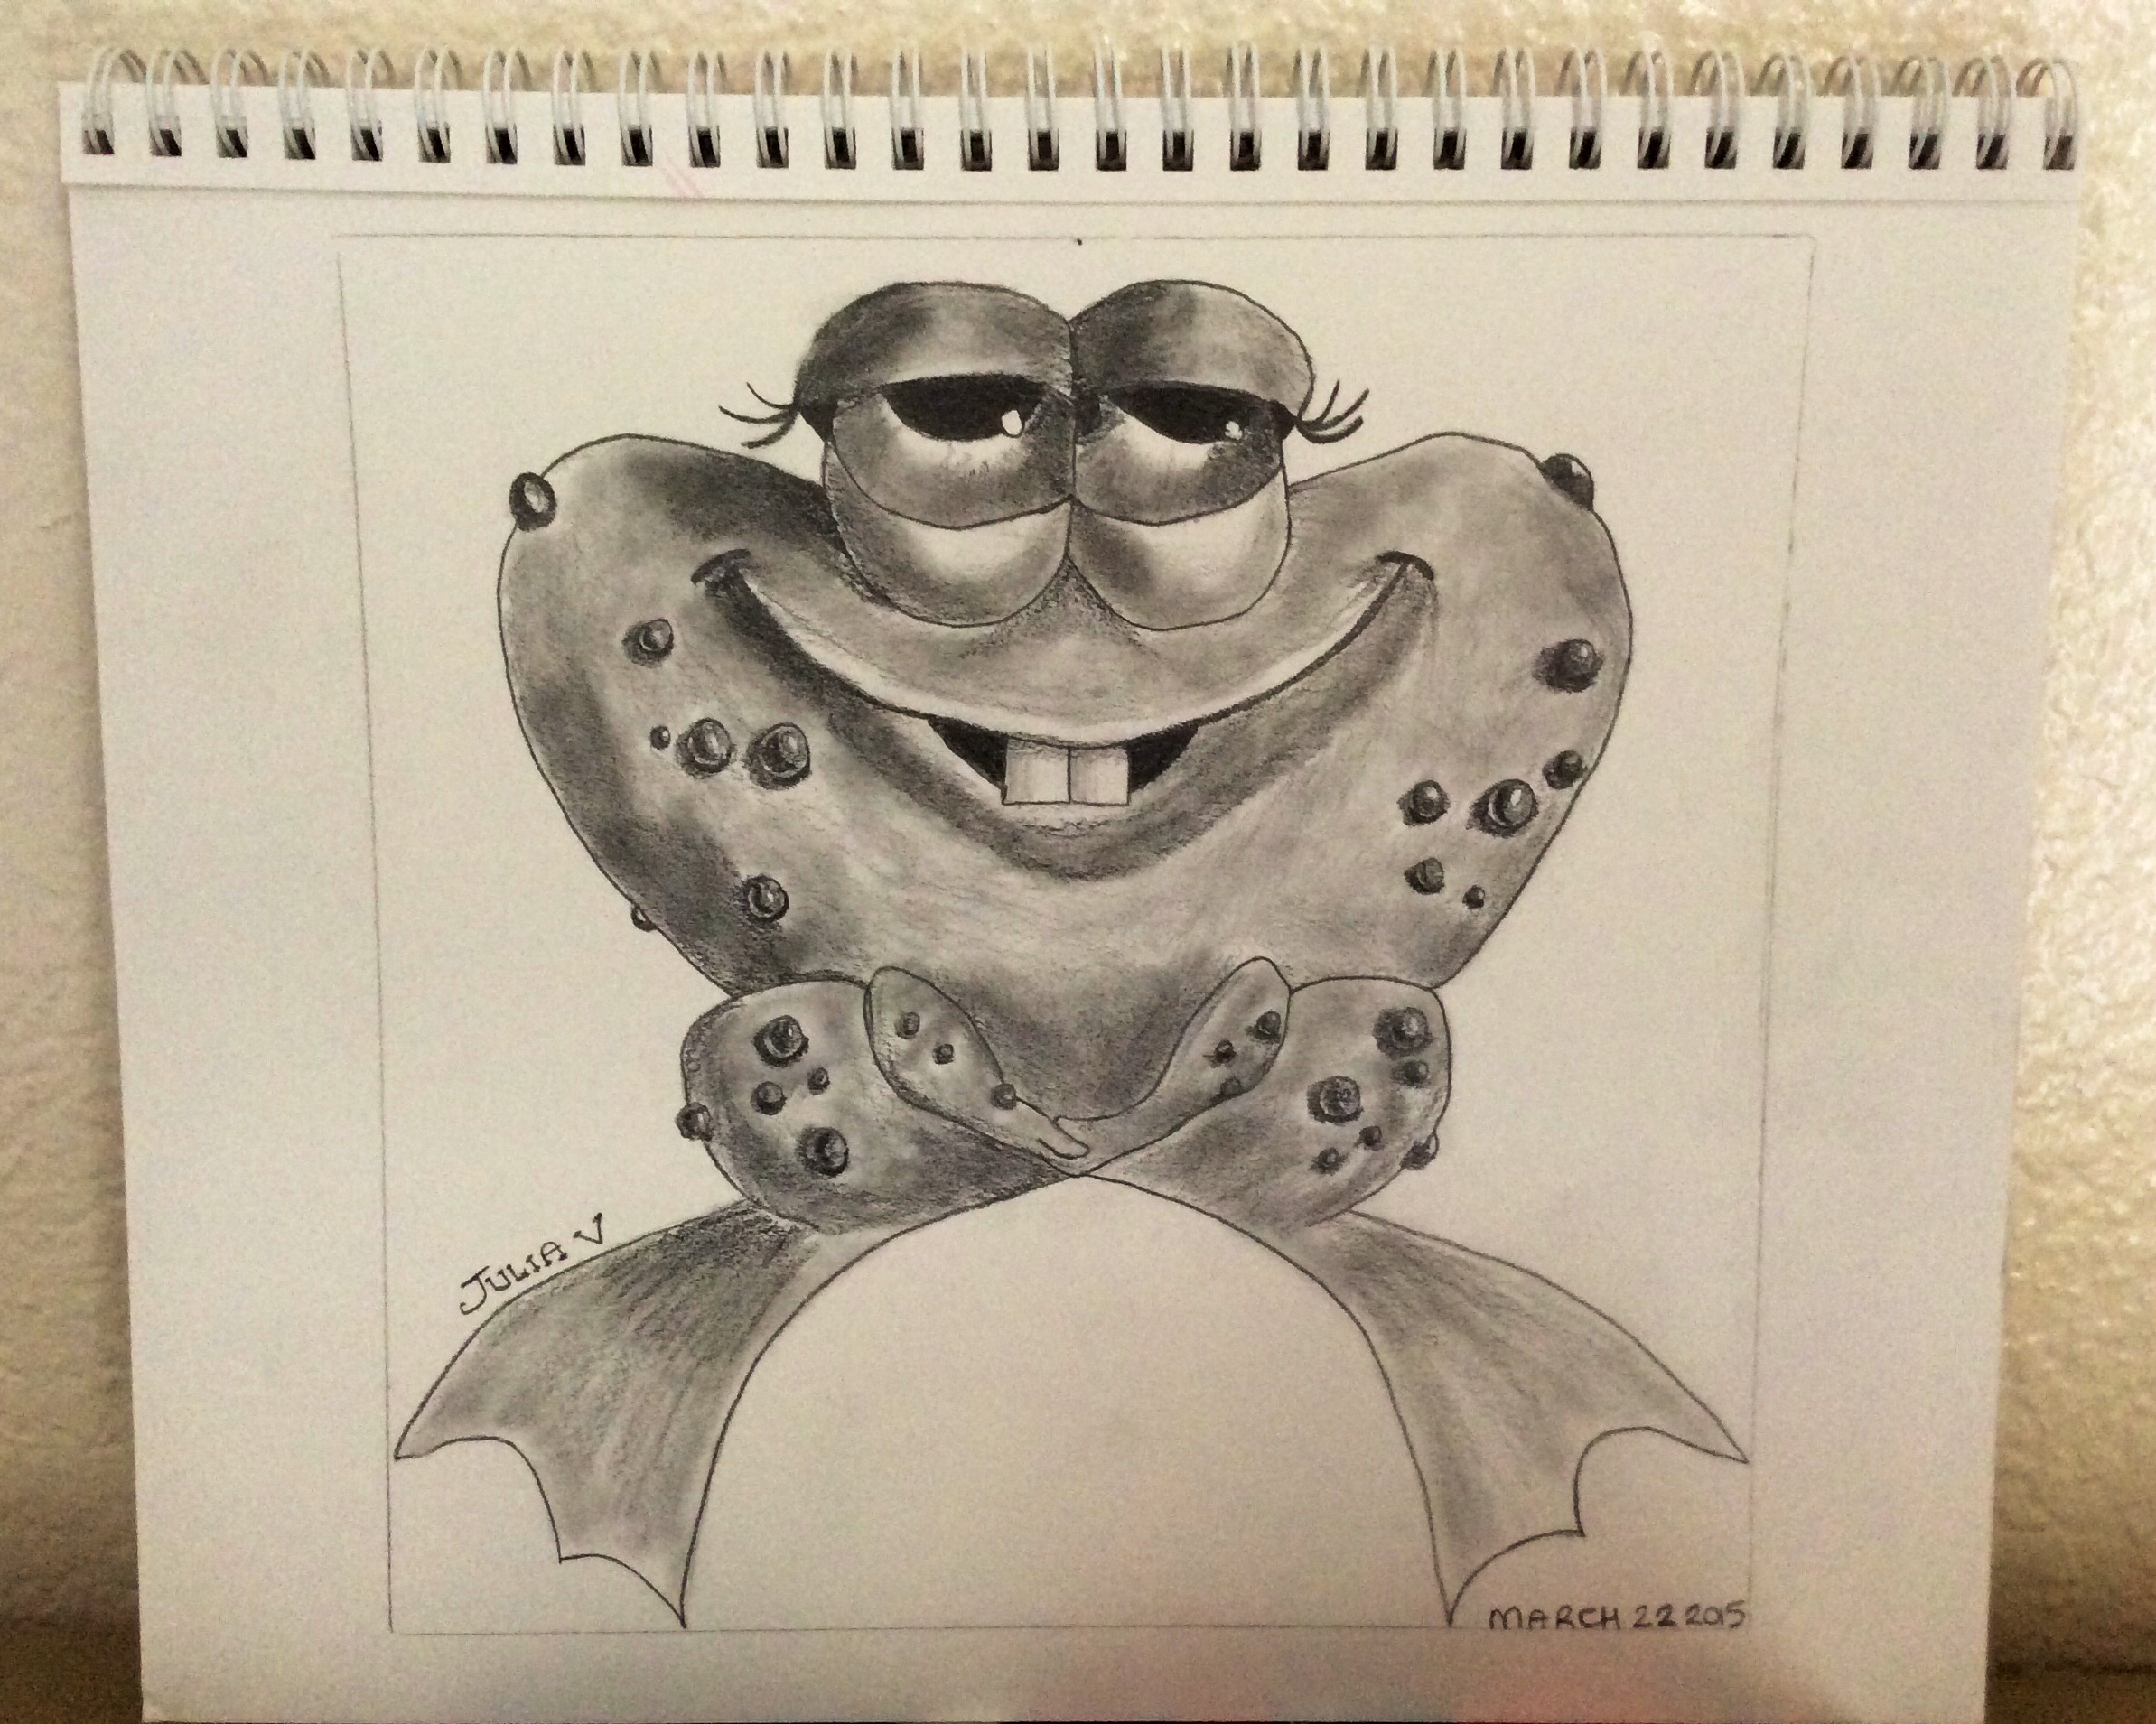
Sketch Sunday: Funny Frog

As part of my new feature series, Sketch Sunday, I will sketch a new drawing and explain how I made it. My first sketch is a comical looking frog.


For this sketch I used the following:-

  • Different grades of graphite pencils: 2H, HB, 2B, 4B and 6B
  • Strathmore Windpower Drawing Sketchbook
  • a kneaded eraser
  • pencil sharpener
  • Q-tip

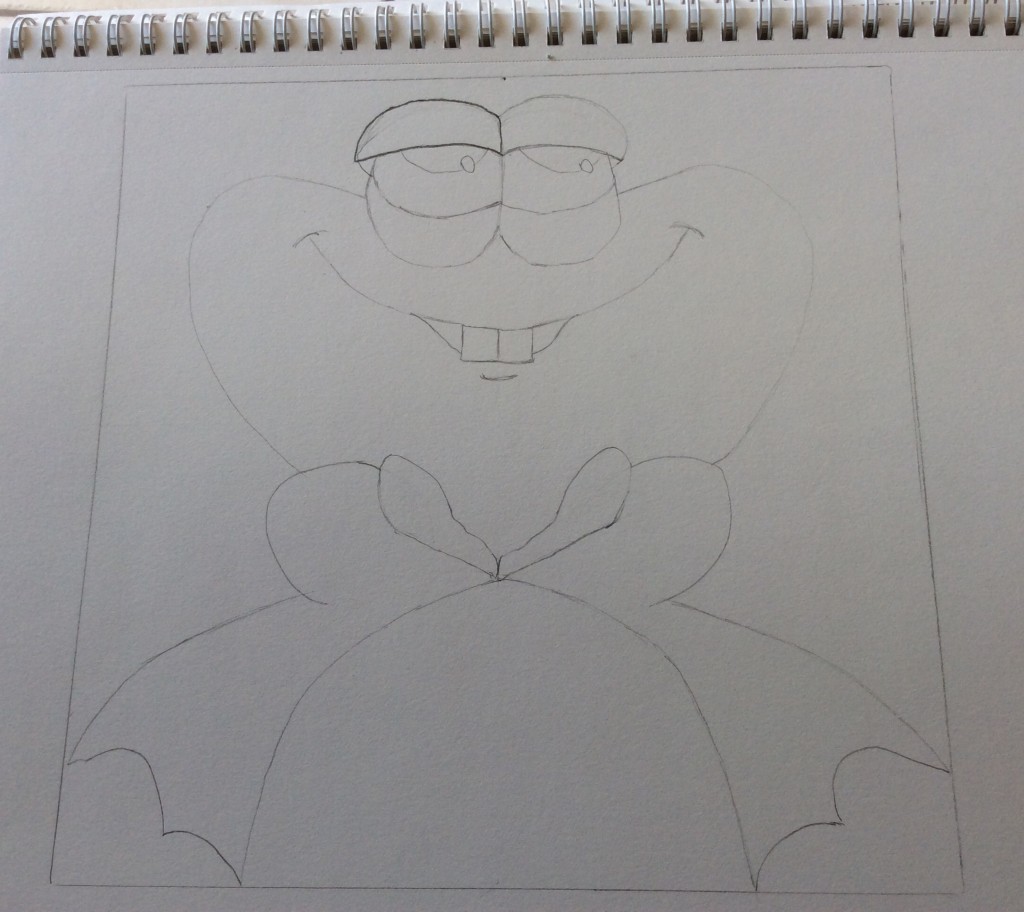
First I drew a square box on the paper to help contain the proportions of my sketch. I then drew a dividing line down the center as an aid to get the symmetry of the frog on either side.

I then drew the top half of his face and body and a couple of lines to mark where the legs and feet would go.

Roughly sketch the outline of the frog using a H pencil.

Two ovals become eyes. A slight curved line becomes a mouth with a couple of goofy teeth. I then erased all the guide lines and center marks so I was left with a plain frog sketch.

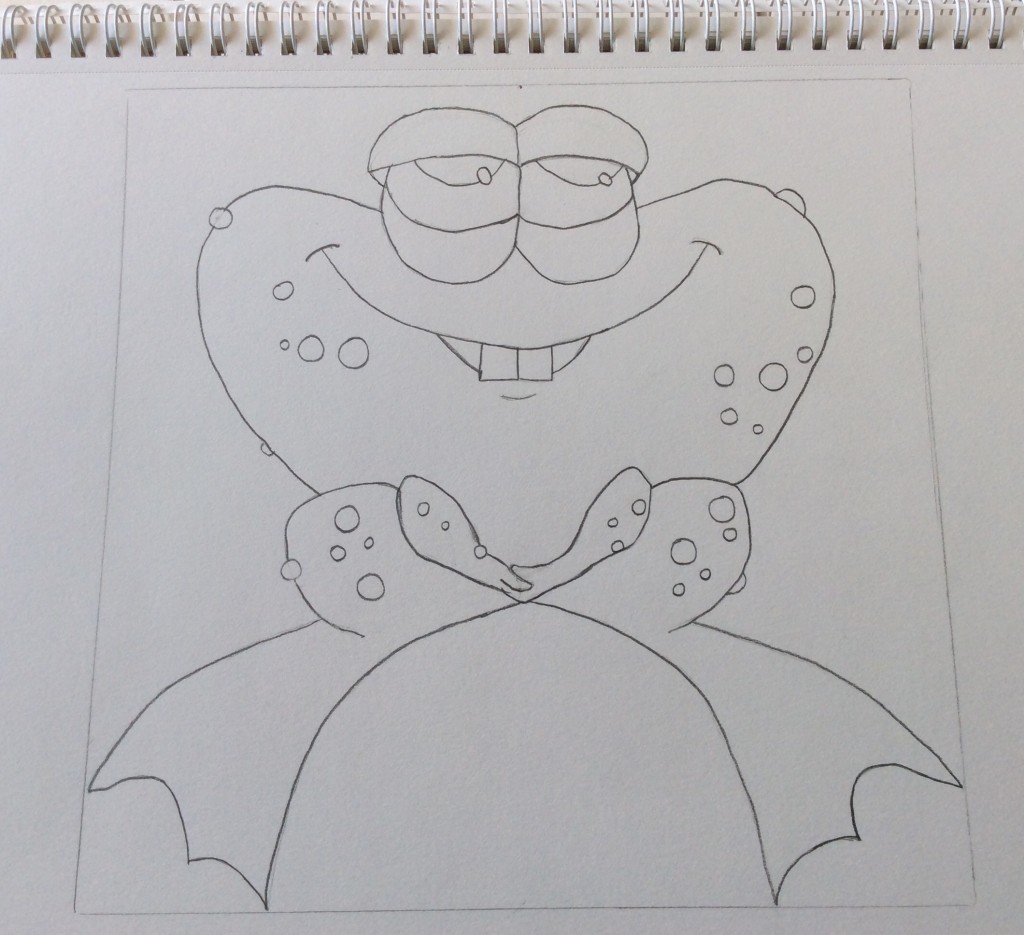
Next I used a 2B pencil to make some neat thin dark lines around the eyes, mouth and teeth. I then added some circles of different sizes that would become warts over his body. I finished off marking up the rest of the drawing with thin dark lines.

With a 2B pencil define the frog outline with a nice dark edge.
With a 2B pencil define the frog outline with a nice dark edge and add some different size circles to make warts on his upper body.

Next up is shading. First of all I used a HB pencil and added light shading to the frogs eyes, body, legs and feet. As I was shading I followed the contours of the lines, for example the curves in the eyelids. I continued in the same manner across the body and the legs with the darker shadows on the left and the lighter shadows on the right.

Read more

The Drawing Pencil Guide

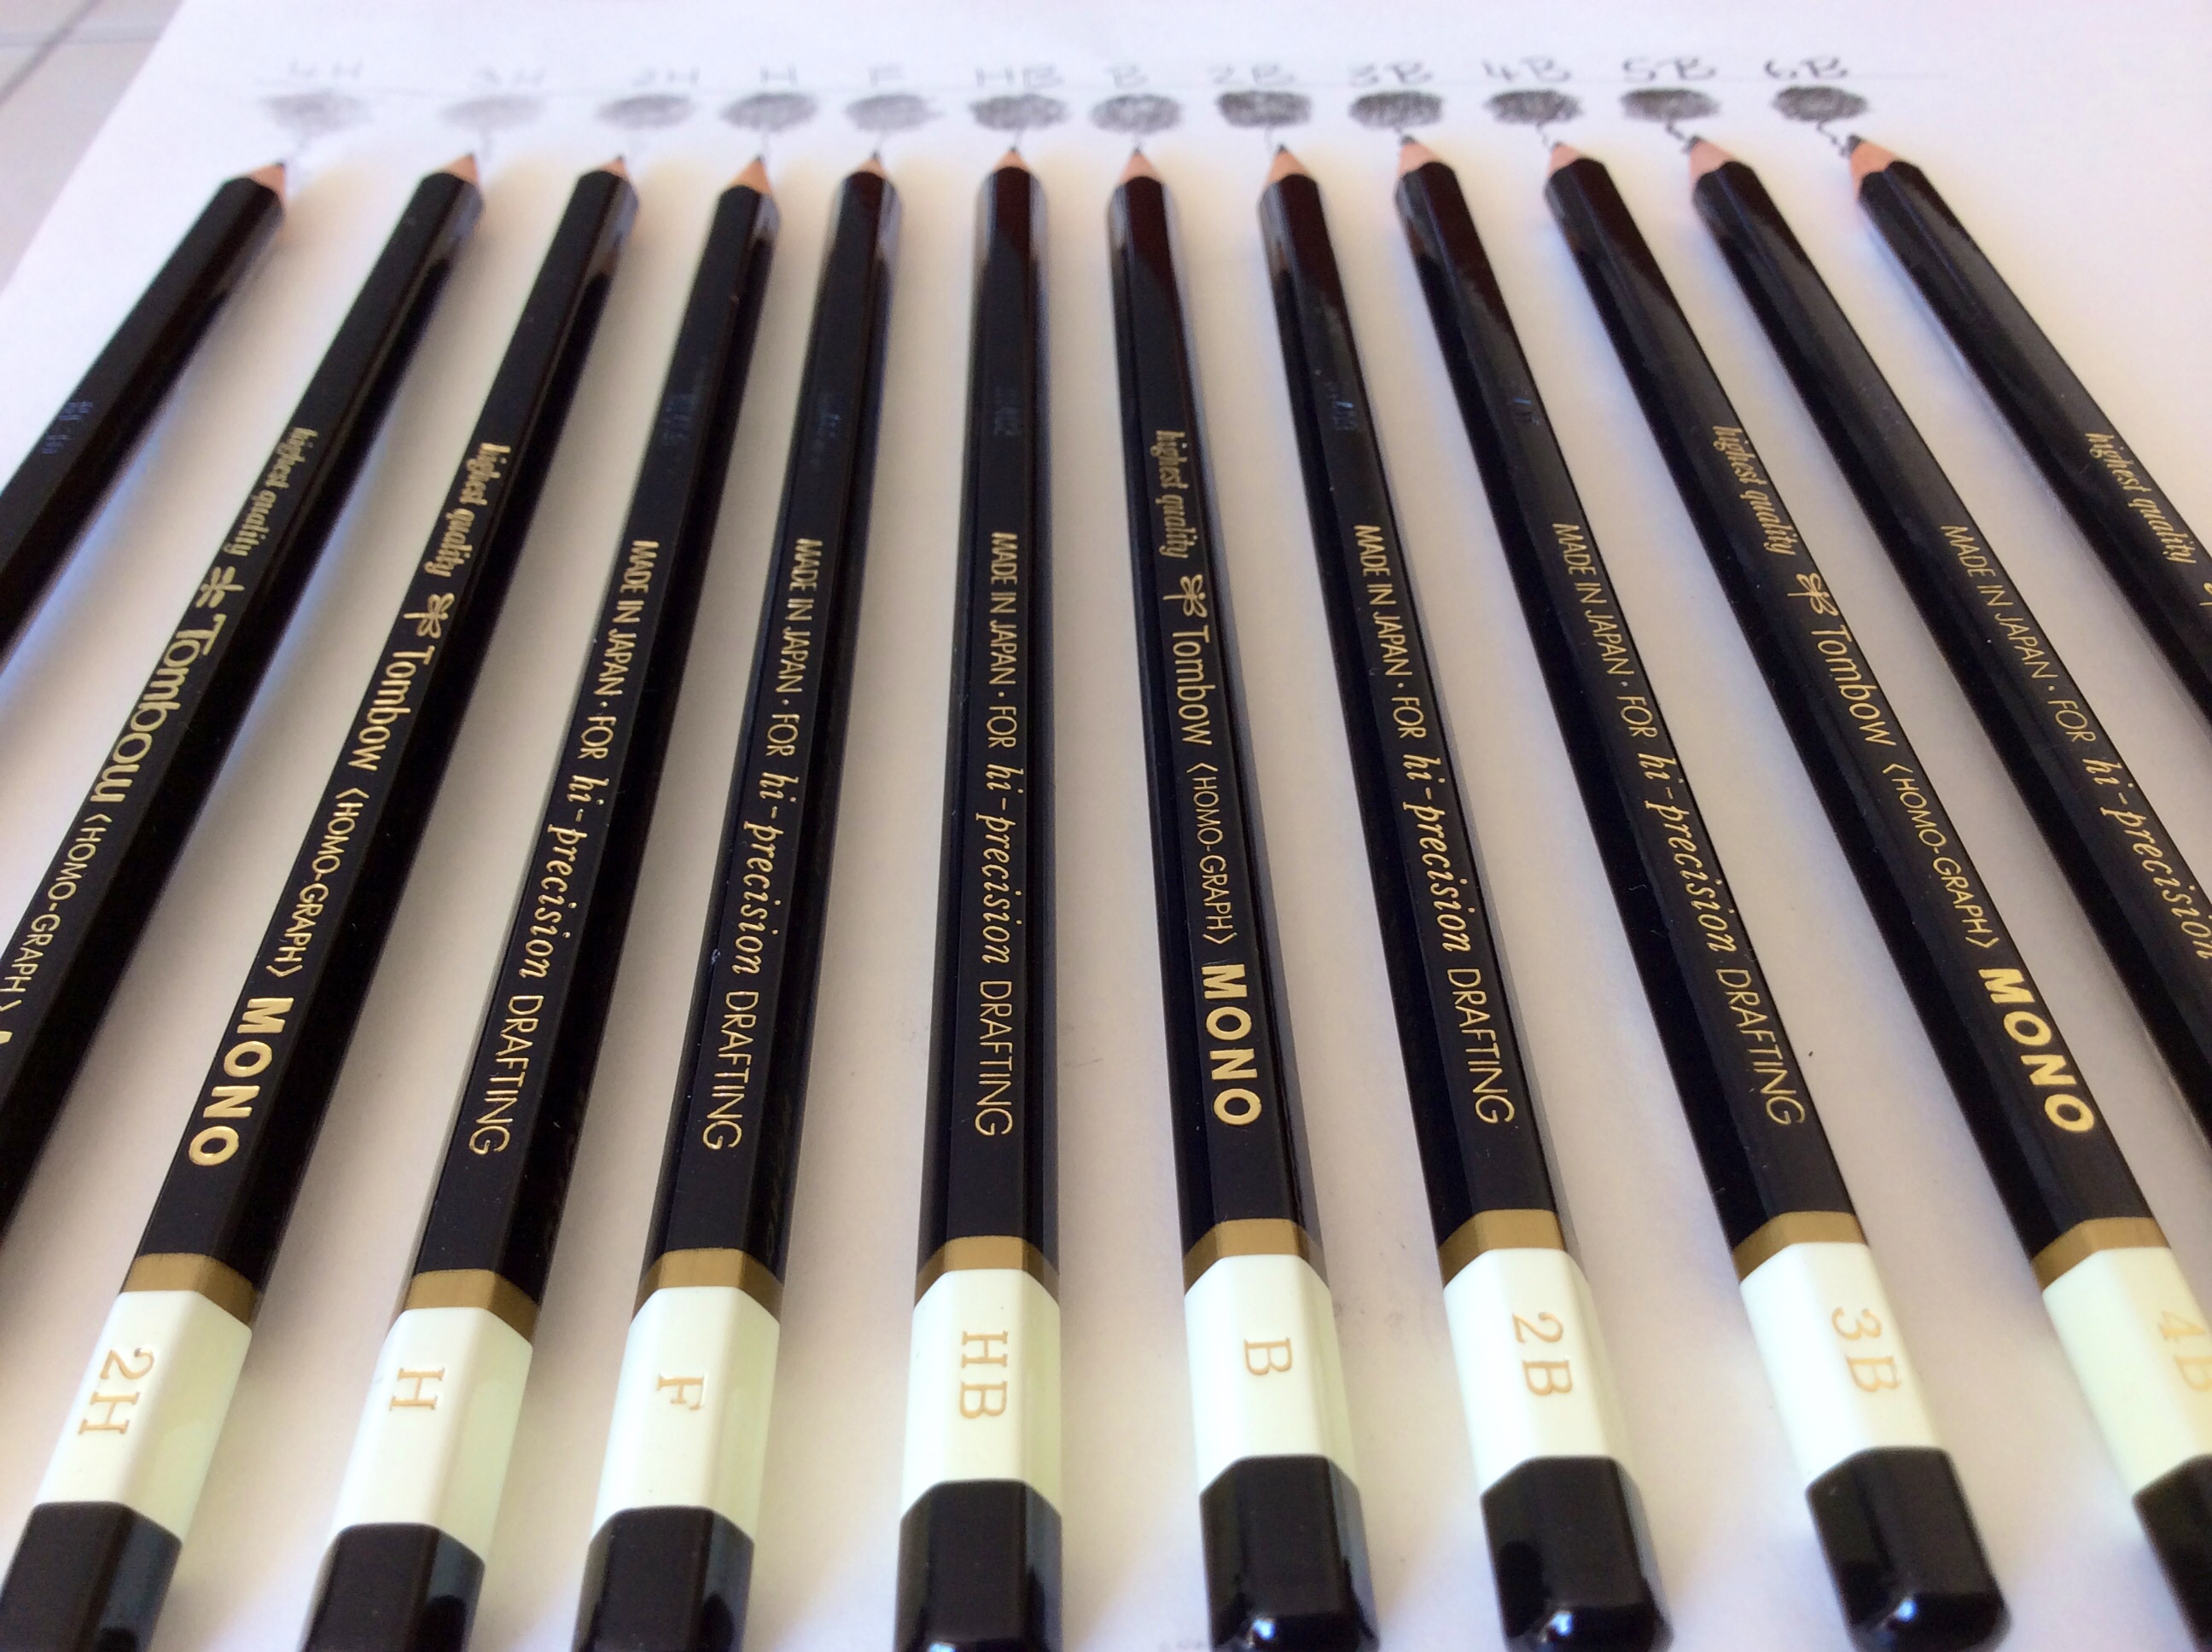
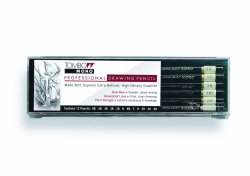
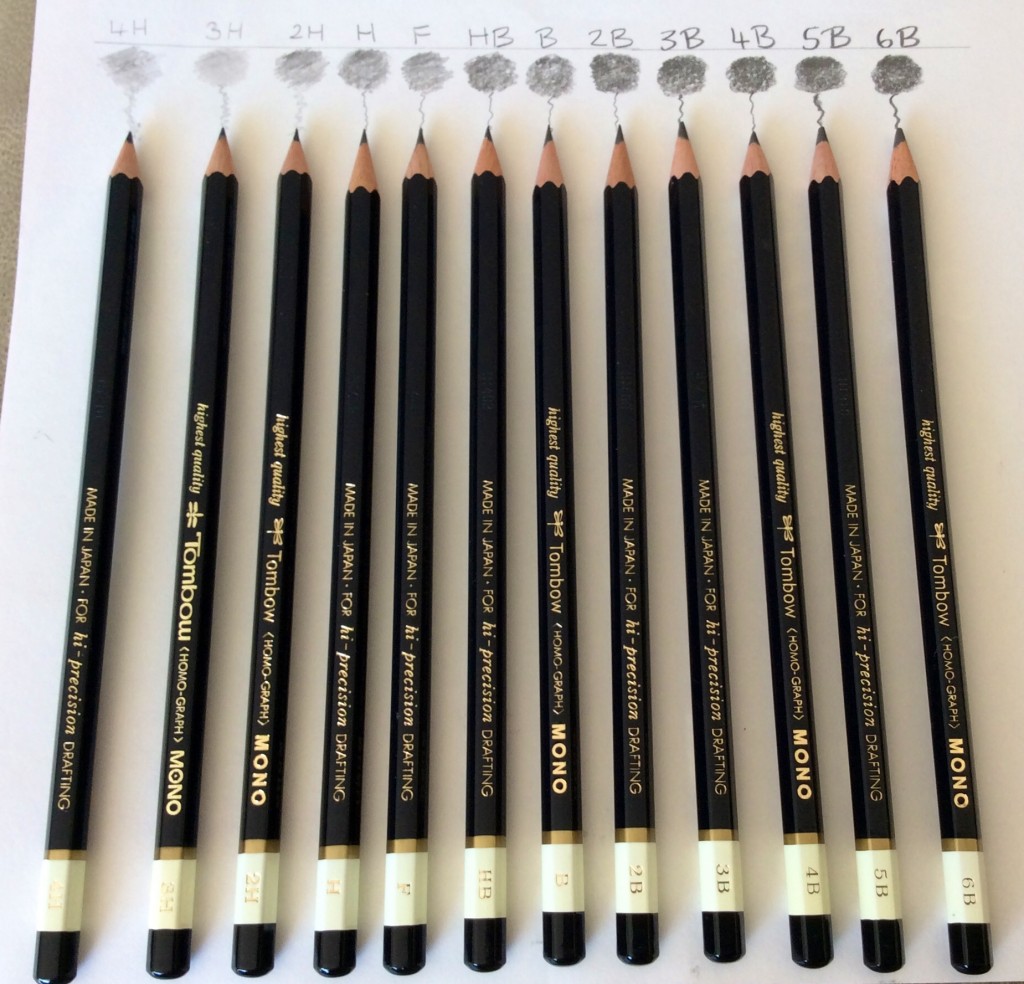
I’ve recently bought some Tombow Mono Pencils. They range from 4H to 6B but what do those numbers and letters mean?

Tombow Professional Drawing Pencils

Let’s find out in this quick Drawing Pencil Guide:-

The grading scale number first gives a clue of how hard the graphite in the pencil will be. The higher the number, the harder the graphite, and the lighter the mark will be on the paper. The higher the number, the darker the mark will be on the paper and the graphite in the pencil will be softer.

The second grading scale on the pencil is the letter. The letter H indicates a hard pencil whilst the letter B indicates the blackness of the pencil and a softer graphite pencil.

The letter F is the middle point pencil sitting between HB and H and has a very fine point. This pencil has a limited amount of graphite and more clay in the mixture.

A 4B pencil would be softer than a 2B and a 3H harder than an H.

Drawing Pencil Grades


Hard4H to 3H

Medium Hard2H to H – This pencil makes light marks. It is good for drawing details and preliminary drawings that are not permanent
MediumF to HB
Medium SoftB to 2B  – good for outlines

Very Soft5B to 6B – these pencils make dark softer marks.
Soft3B to 4B


The B pencil is good for medium to light shading and the 2B for medium to dark shading. You can get more variety of shading from using the B pencils depending on the pressure used.

The H pencil is the harder grade and is good for fine, light and some shading.

I’m looking forward to testing them out.


I hope you found this drawing pencil guide useful. Other art related articles you may be interested in:-
Sketching in the Wolfsonian
The Best Stylus
Drawings and Doodles on Tumblr


The Leopard

The Leopard
The Leopard


Drawn using Artrage, the iPad and the JaJa Stylus

Did you know?
Leopards are nocturnal.
Male leopards are up to 50 per cent larger than females.
They don’t roar as loud as lions, but leopards can also purr.
King John kept leopards in the Tower of London in the 13th Century.
Leopards can take prey as large as antelopes, but will also eat dung beetles and other insects.
They are famously good at climbing up trees, and down – they often descend head first.
A male leopard can drag a carcass three times its own weight – including small giraffes – six metres up at tree.