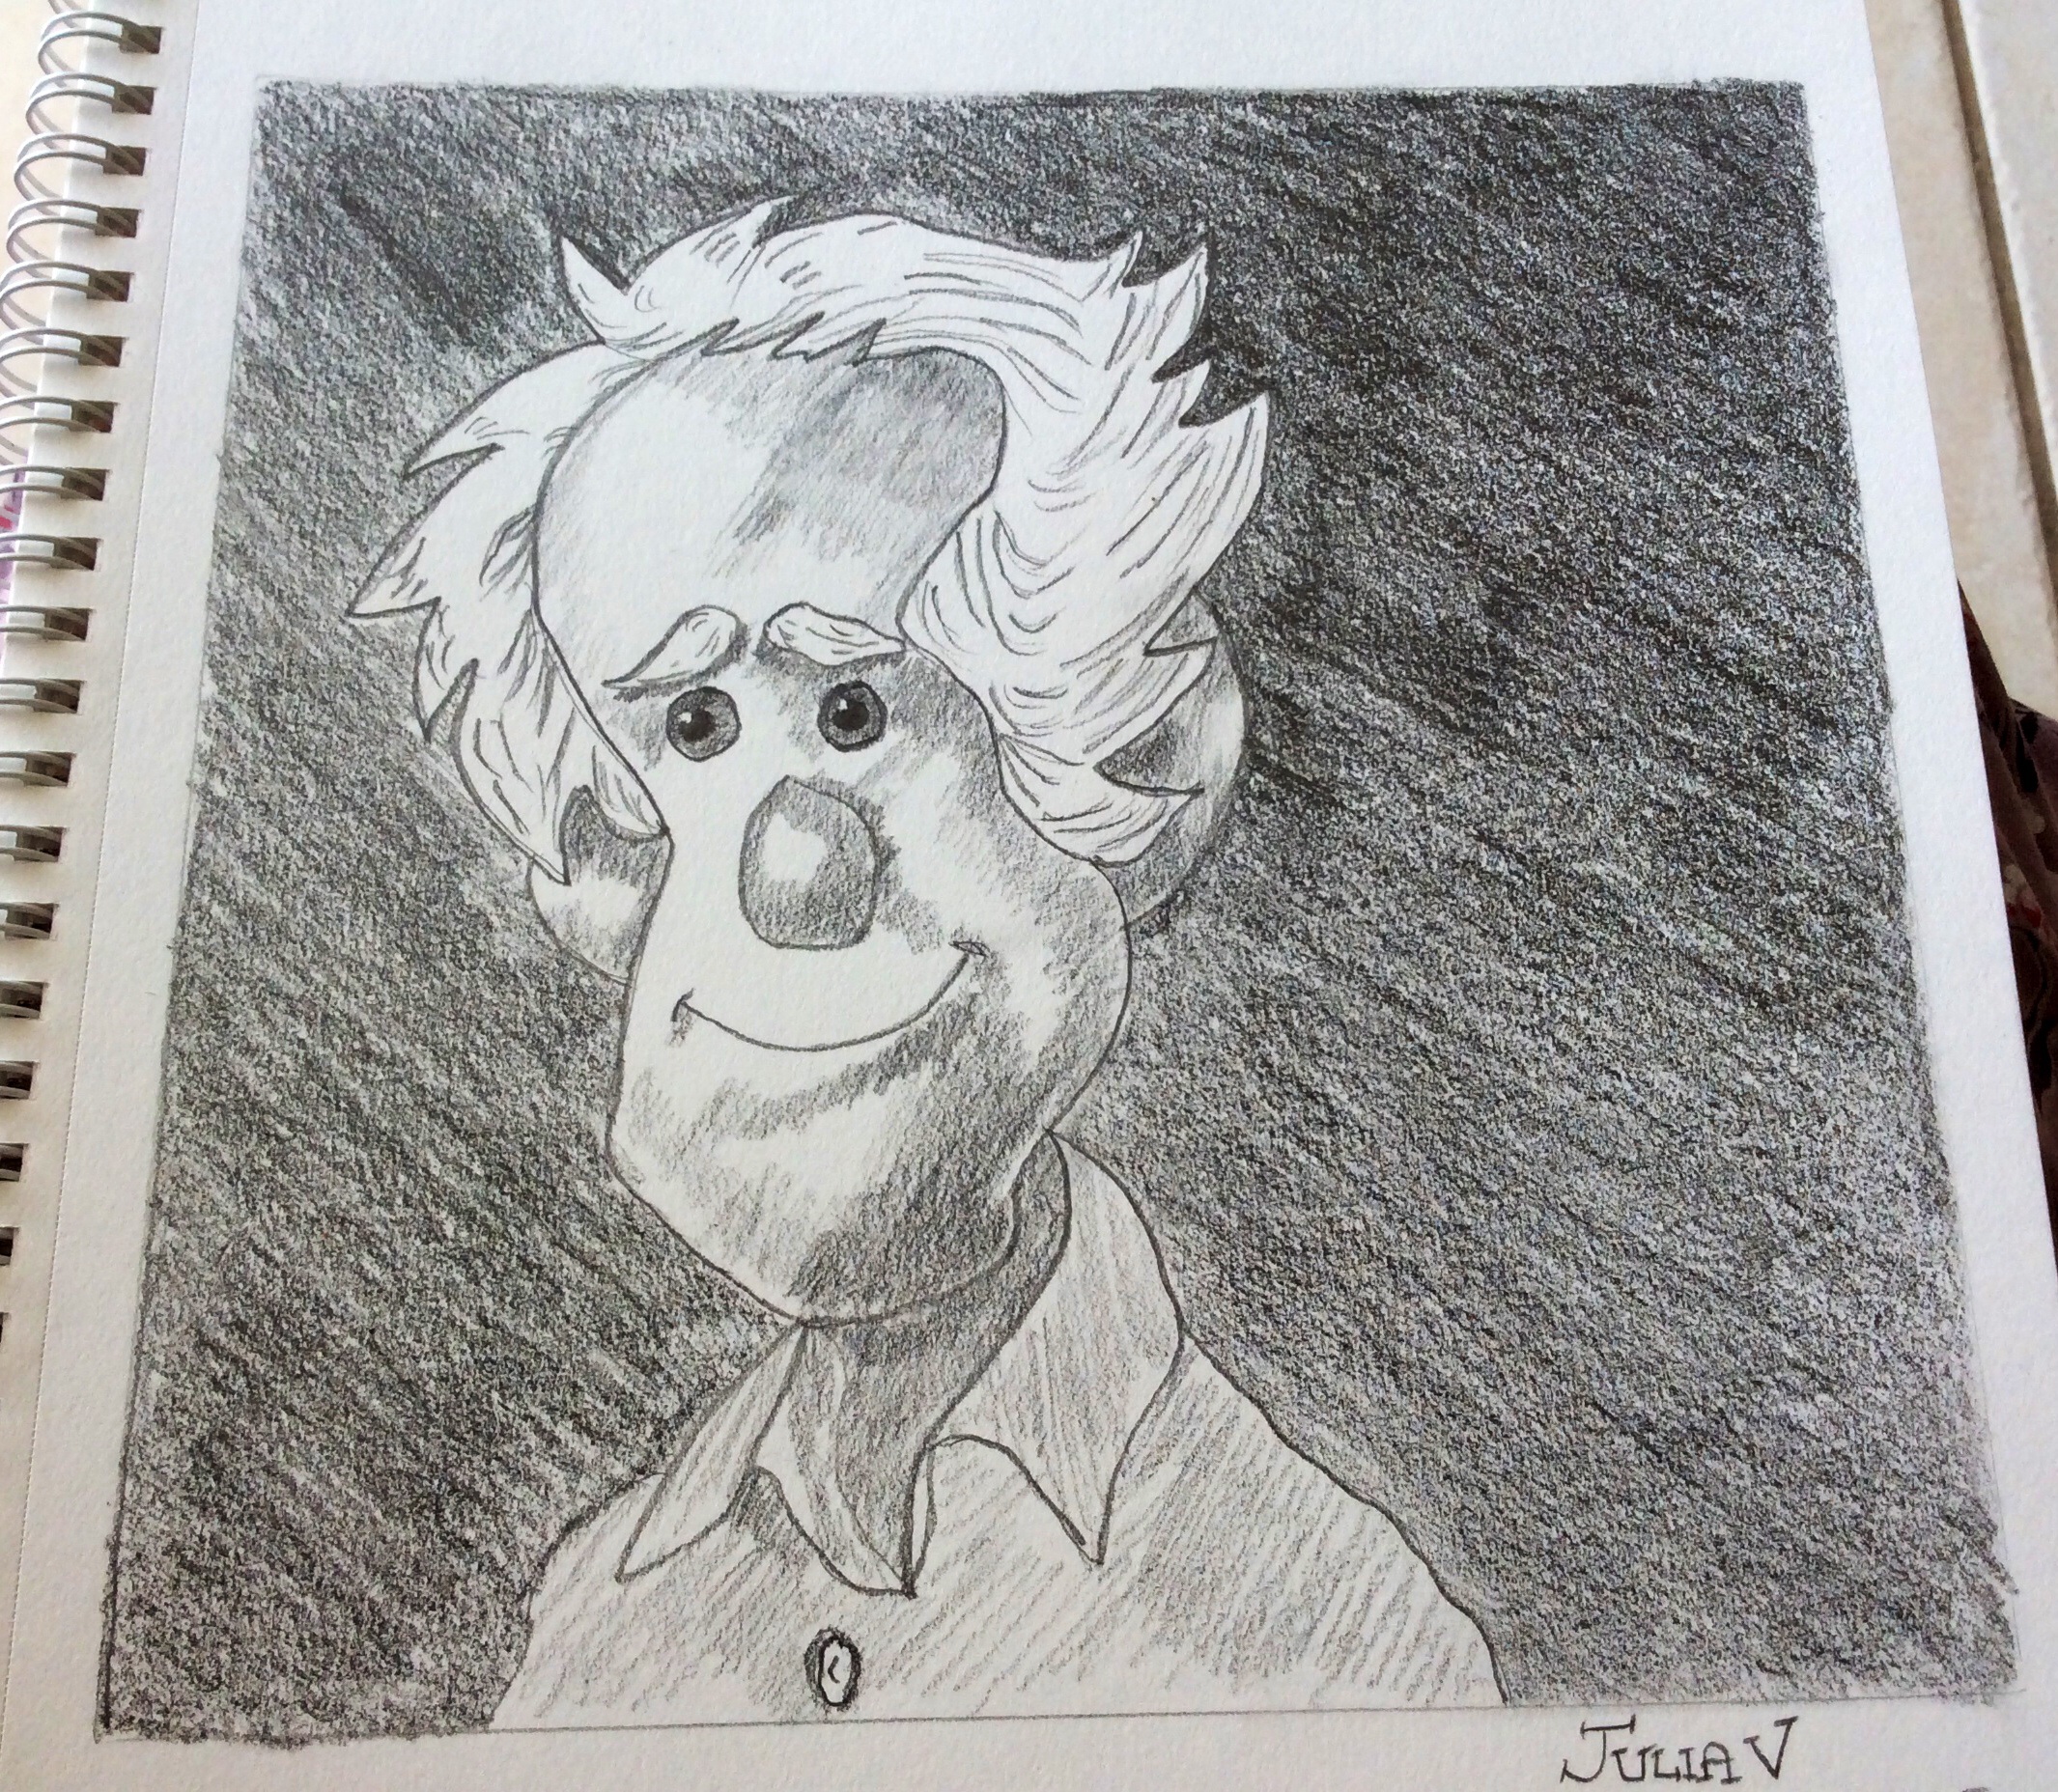
For this Sunday Sketch I drew a caricature style figure and again looked at various shading and hatching techniques.
For this sketch I used the following:-
- Different grades of graphite pencils: 2H, HB, 2B, 4B and 6B
- Strathmore Windpower Drawing Sketchbook
- a kneaded eraser
- pencil sharpener
First of all draw a square on your sketchpad as a border. This will help contain the drawing area and make it easier to keep the proportions aligned well for your caricature to sit and to help you shade the background easier.
Next with an HB pencil lightly sketch the outline of the hair. Add outlines to show the position of the ears. At the midway point add eyebrows and eyes.
Lightly sketch in the nose and mouth.
Outline the neck, the collar of the shirt and the shirt.
Before continuing check that you are happy with the position of all elements and amend anything using the eraser.
Now it’s time to add the shading using various pencils, such as HB, 2B, and 4B. For example, an HB makes lighter lines than 2B or 4B.
The light source in this drawing is from the upper left, which means that the shading is darker on the right and lower right. Light source refers to the direction from which a dominant light originates. The placement of this light source affects every aspect of a drawing. The light source tells you where to draw all the light values and shadows.
Basic hatching graduations comprised of straight lines are used for the shading of the background, shirt, face, nose and ears. Hatching is a series of lines (called a set) drawn closely together to give the illusion of values. Values are the different shades of gray created when you draw by varying both the density of the shading lines, and the pressure used in holding various pencils.
Varying the density of the lines. Density refers to whether the individual hatching lines are close together or far apart.
Varying the pressure used in holding your pencils. For light lines you press very gently with your pencil. Press harder with your pencil to make darker lines.
Beginning in the upper right hand corner, add shading to the background.
Using a 4B pencil begin shading darkly in the upper right corner of the background.
Graduate the shading to medium toward the left and bottom using a 2B pencil. For the lighter values, use an HB pencil. The lightest values are created by pressing very gently with this type pencil.
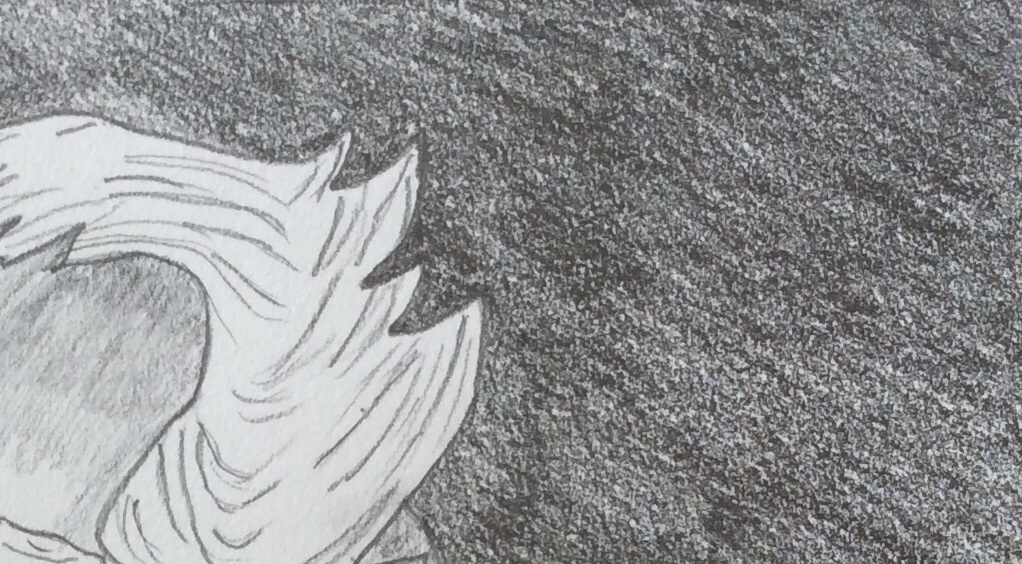
Sharpen a HB pencil and begin to draw in lines for the top section of the hair. This will give the illusion of wavy hair. Add more lines to the rest of the hair.
Add light shading to the right ear.
Continue adding shading to the background and as you get to the left use a HB pencil to make it lighter on the left hand side.
With HB and 2B pencils add shading to the face.
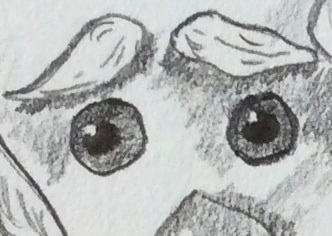
Draw two small circles in the upper left of the iris of each eye as the highlights. The highlights help make the eyes look shiny. Draw the pupils and highlights in the iris of each eye. Shade in the pupil area with a 6B pencil. With a HB pencil add shading around the eyes. Shade the area around the iris. With a HB pencil in the lower area and a 4B pencil towards the top to show a darker area. Finally using a 4B pencil define the circle of the eye.
Continue adding shading to the face, eyebrows and lower jaw.
Finally, add shading to the shirt using a combination of the HB, 2B and 4B pencils.

If you would like to try your hand at another drawing to practice your shading technique, why not give Sketch Sunday: Funny Frog a try.

That is brilliant. 🙂
Thank you