Apple’s Pages is their equivalent to Microsoft’s Word and is available on both the iPad and Mac. You may have discovered a few differences on how to achieve the same result or thought that some options are just not available. However, some of the functions in Pages can be accessed a different way depending on what device you are using.
Here are a couple of functions in Pages that are different on the iPad and Mac and how you can still access them by navigating to them a slightly different way.
HOW TO LOCK AND UNLOCK OBJECTS
Sometimes you need to lock or unlock an object such as a photo so that it does not move and stays in a certain area in your document – for example the object moves with text or the text wraps around the object.
Mac version
- Select one or more objects, then tap the brush icon
- Click Arrange, then click Lock. If you don’t see Lock then the object is probably set to Move with Text. To turn that off – Click Wrap and turn off the Move with Text option.
iPad version
- Select the image by tapping on it once.
- Click the Painter Brush icon.
- Select Arrange.
- Tap Wrap.
- Move with Text – toggle on/off as needed. If you want the photo to stay where it is – turn off Move with Text.
- At the top there are options to Wrap Automatically, Around, Above and Below objects, pictures as well as turning the option off altogether.
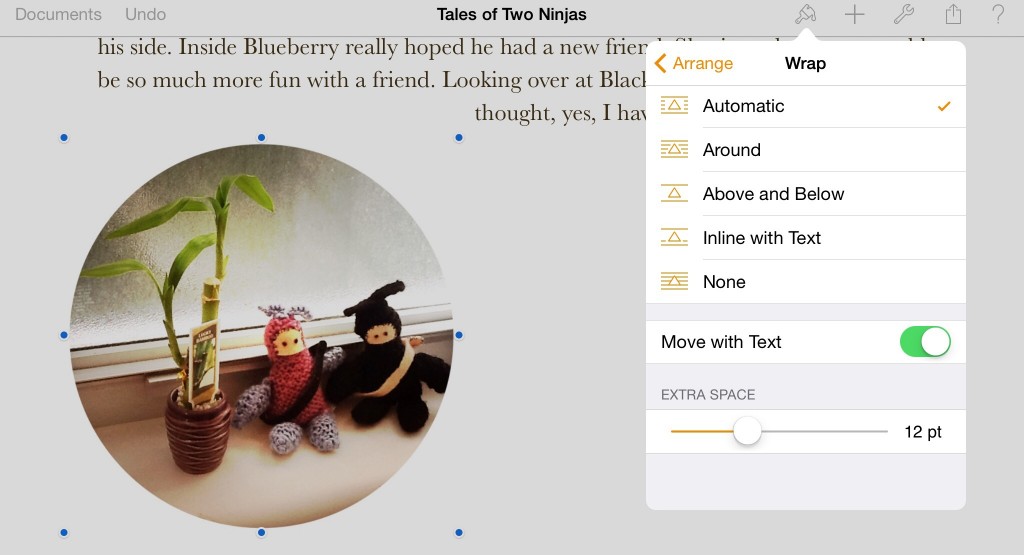
How to Lock or Unlock Images
How to add Shadow options behind text
Mac version
- Highlight text then select Layout.
- Select Background Color. Pick a color and the sections the highlight should affect. For example body etc.
iPad version
Unlike on the Mac version, on the iPad you need a text box before you can put a shadow or shading behind a block of text.
- Place the cursor where the text box should be in your document.
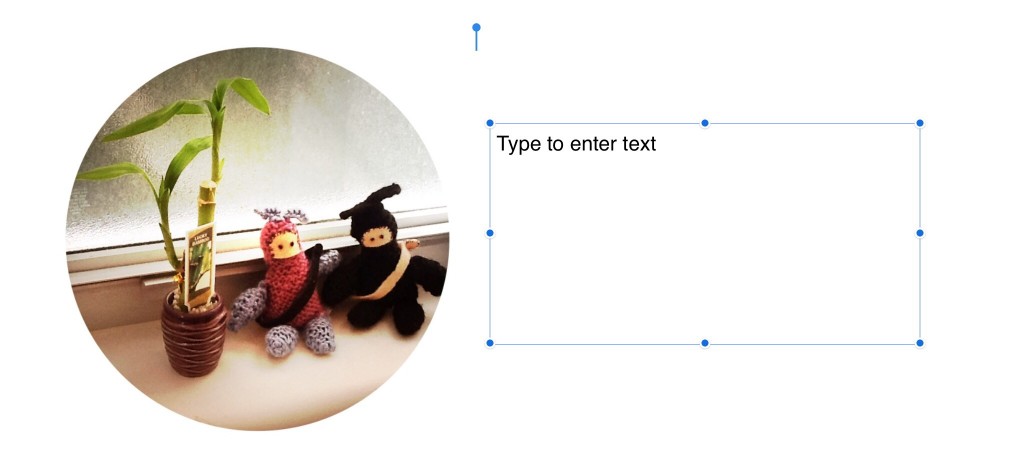
Add a text box - Tap the + sign at the top right.
- Tap the word Text. This will add a text box.
- Type to enter your text within the box.
- When you have finished adding your text, make sure the text box is selected and click the Paint Brush icon (top right).
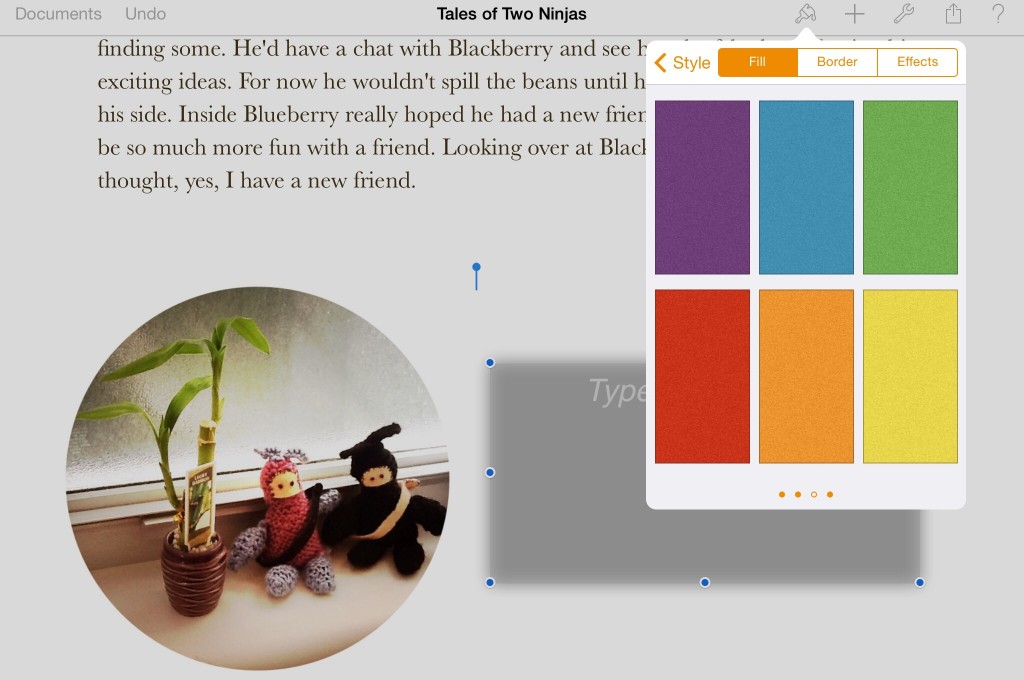
Select styling options - Under Style you can choose what color fill you would like. There are more style options available by clicking on Style Options. Within that section you can experiment with more styles such as Fill, Border and Effects.
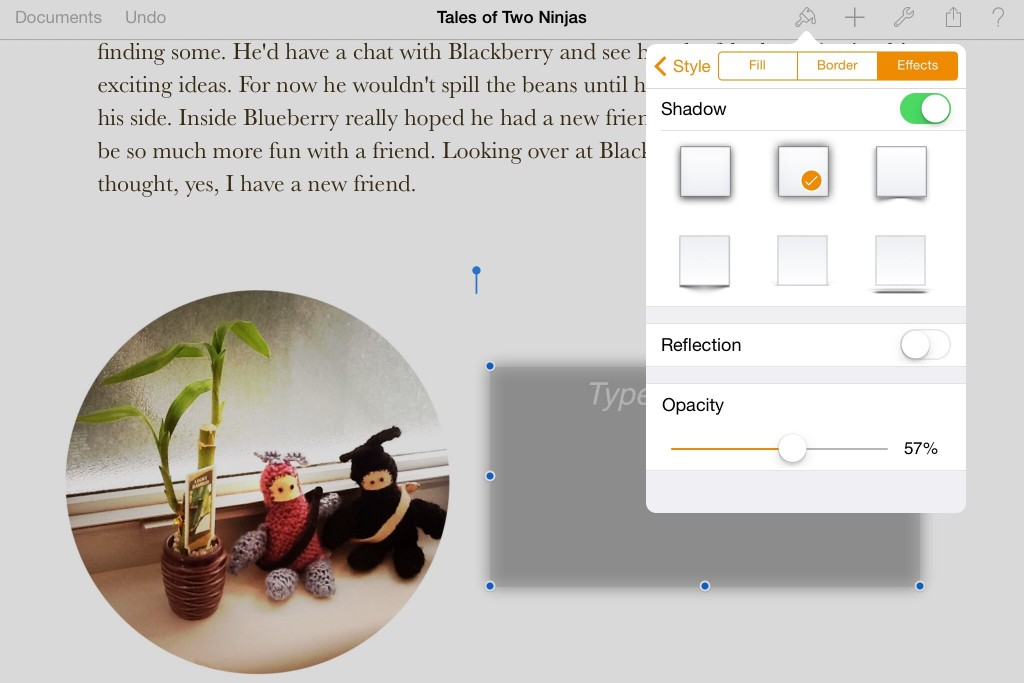
There are many options available so mix and match and see what works best.
The final result with the style options applied
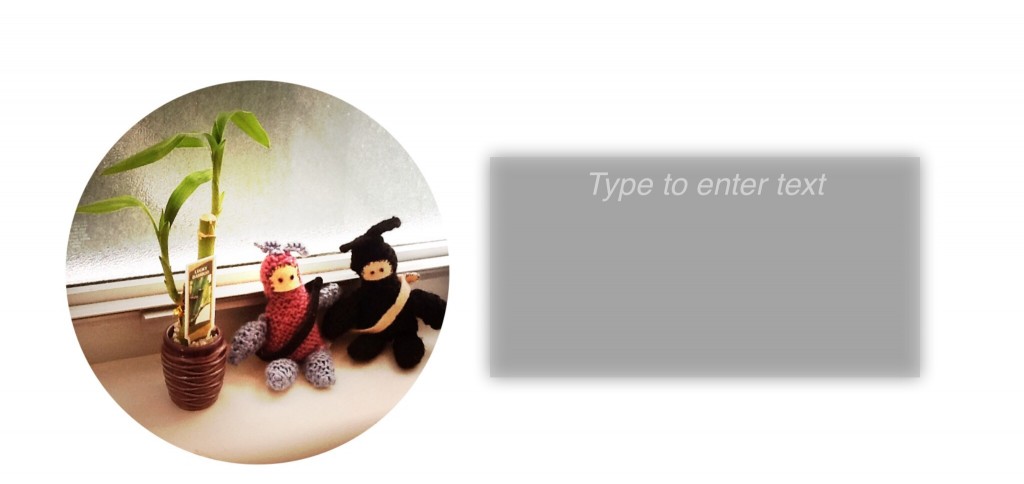
Styling a text box enables you to make certain areas of text stand out. You can add color, border and effects.

