I decided to try my hand at making some realistic looking rivets in Photoshop and share the steps here so you can go ahead and make some too.
I’m using Adobe Photoshop CS5. So if you’re ready, open up Photoshop and get ready to learn how to make realistic rivets that can be used on many things.
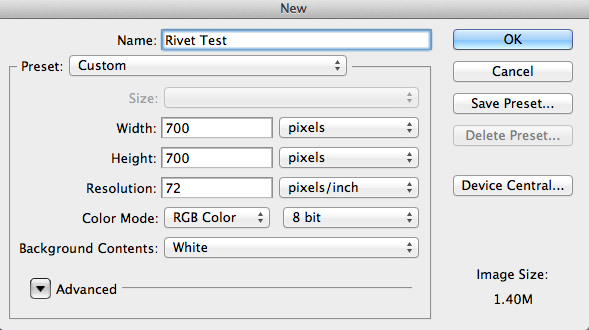
Start by opening up a new file.
File → New. As this is a test document set the size to the following dimensions:-
Double click the background layer to unlock it.
Fill the space with either a pattern or a style of your choosing.
Add a new layer. Check the color you have set as the foreground and change it to a grey color. I used #a3a0a8.
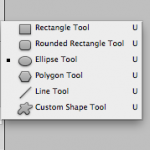
With the new layer active, select the Ellipse Tool and drag the mouse to make four circles near the edge of your pattern. They will autofill with your selected foreground color. You may want to make a new layer per circle so that you can move them about in your scene, especially if you want to line them up one under each other. To make a perfect circle don’t forget to hold down the shift key as you drag the mouse.
They don’t look much like rivets just yet so we’re going to add some effects to these flat looking circles to make them stand out and add some shine.
Right click on one of the circle layers and select Blending Options
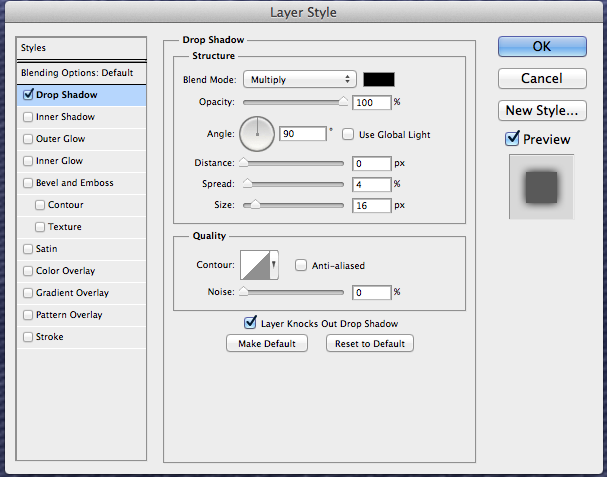
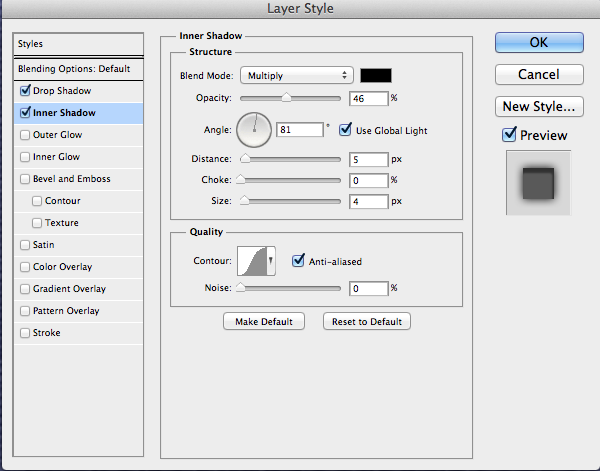
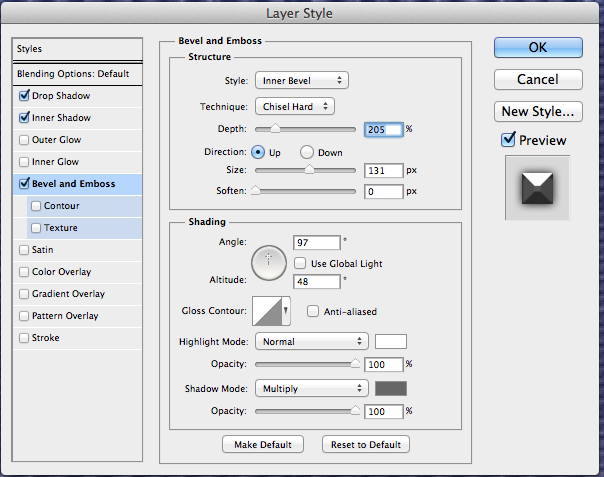
Here we can add some effects. We’re going to add a Drop Shadow, Inner Shadow and Bevel and Emboss. Set your layer styles to the same settings as the following screen shots:-
Now you should have something that looks similar to this image below.
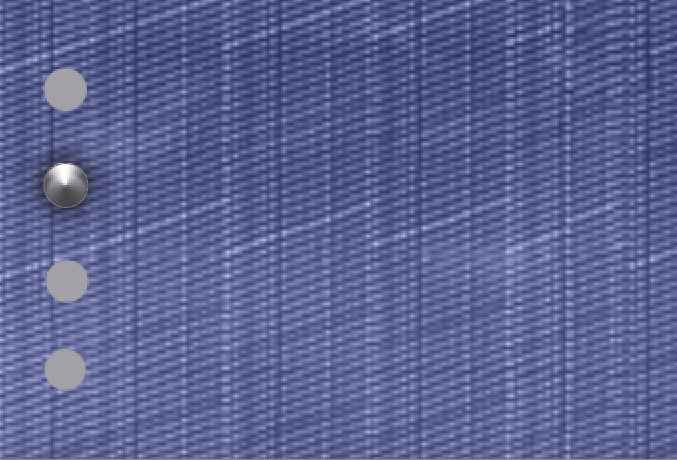
Finally right click on the Effects on the active circle layer and select copy layer styles.
Select all circle layers so they are all highlighted, right click and paste the effect into the layers. You should now see the same effect across all circles.
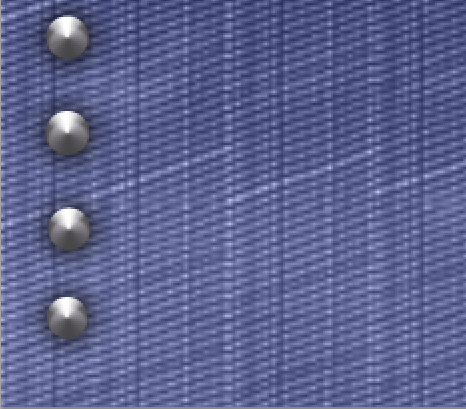
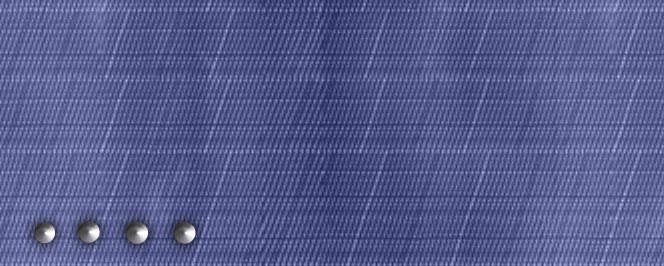
The final effect should look like the image below

1 thought on “How to make realistic rivets in Photoshop”