How to make Lace in Photoshop

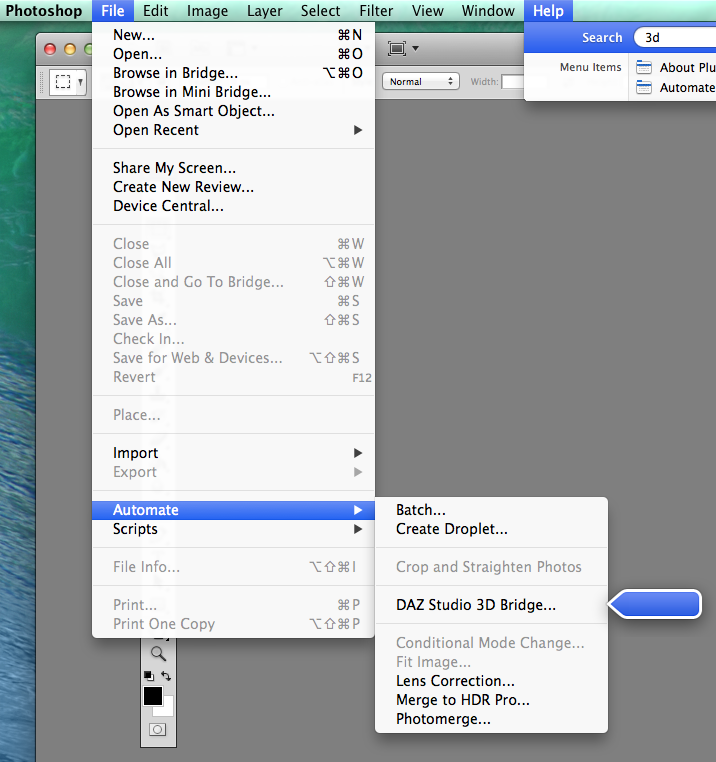
I thought I’d try to make some lace in Photoshop and then define it as a brush preset so that I can stroke a path around some material to make a lace edge. I’m using Photoshop CS5.


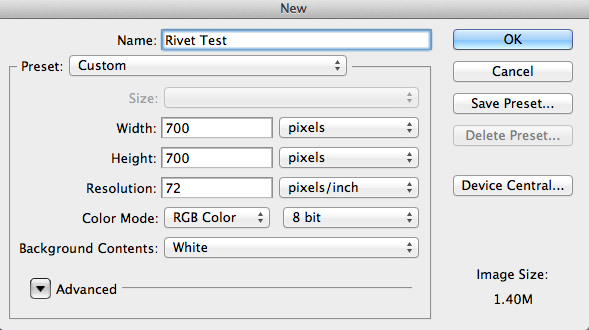
Open a new Document – File → New Document and set the workspace to 270 x 270 px.

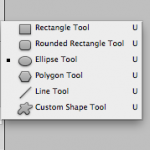
Next, select the Custom Shape Tool

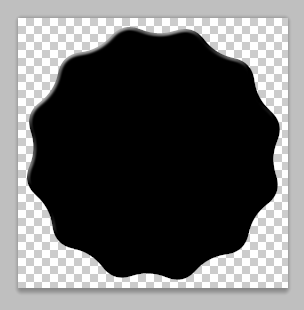
In the options bar, click the Polygon options menu and check smooth corners, star and smooth indents boxes. Change the indent sides by to 10% and the number of sides to 12.

Set the foreground color to black and then drag your mouse so that the polygon shape fits within the document.

Polygon Shape
Polygon Shape

Pick the Ellipse tool and ensure that paths is selected on the options bar. Draw an elliptical path inside the polygon shape.

Select the brush tool and pick a hard round brush. Set it’s size to 20 px and its spacing to 180%.

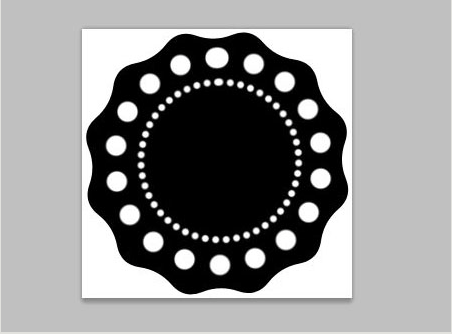
Create a new layer above the polygon layer. Set the foreground color to white. Select the ellipse tool and click on the Paths tab. Drop down the pop out menu and select stroke path. Choose Brush from the menu and the simulate pressure box remains unchecked. Click OK and you should now see the following image.

After stroking the path you should now have a circle of white dots.

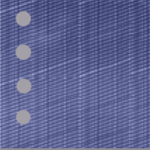
Check that the ellipse tool is still selected and draw a smaller path in the middle of the polygon. Select the brush tool again and change the size to 7 px. Spacing should be set to 150%. In the preview you should see a smaller chain of dots.

Read more

How to make realistic rivets in Photoshop

I decided to try my hand at making some realistic looking rivets in Photoshop and share the steps here so you can go ahead and make some too.

I’m using Adobe Photoshop CS5. So if you’re ready, open up Photoshop and get ready to learn how to make realistic rivets that can be used on many things.


Start by opening up a new file.

File → New. As this is a test document set the size to the following dimensions:-

Set up your file using these dimensions

Double click the background layer to unlock it.

Fill the space with either a pattern or a style of your choosing.

Add a new layer. Check the color you have set as the foreground and change it to a grey color. I used #a3a0a8.

With the new layer active, select the Ellipse Tool and drag the mouse to make four circles near the edge of your pattern. They will autofill with your selected foreground color. You may want to make a new layer per circle so that you can move them about in your scene, especially if you want to line them up one under each other. To make a perfect circle don’t forget to hold down the shift key as you drag the mouse.

They don’t look much like rivets just yet so we’re going to add some effects to these flat looking circles to make them stand out and add some shine.

Read more

How to use the 3D Bridge Camera in DAZ Studio and Photoshop

There is an easy way to transfer image maps to Photoshop so that you can add your own textures or patterns to an item of clothing by using the 3D Bridge Camera available within DAZ Studio.


Open DAZ Studio and click on the Wardrobe tab. Select the item of clothing and add to the scene. Click on File → Initialize 3D Photoshop Bridge. This should add the Bridge to your scene panel.

Open Photoshop, and if you haven’t already done so, create a new workspace. Then select File → Automate → Daz Studio 3D Bridge.

Open the 3D Bridge in Photoshop so that you can import and export image maps from DAZStudio

This will then open the following dialog box

The 3D Bridge in Photoshop allows you to import and export image maps as well as scenes.

Double check that you have an item of clothing open in a scene in DAZ Studio and then click Import Image Maps in Photoshop. A dialog box will pop up showing the available image maps that you are able to import from DAZ Studio.

Select image maps to import

If you are happy to import all the image maps shown then leave the Select All box ticked. This will then import your image maps into your new Photoshop document. If you untick the box you can select which files you wish to import manually. After you click the Import button you should see something similar to this in Photoshop:-

Depending on how many image maps you selected will depend on how many files are imported into Photoshop. It is important to do this step with only the item of clothing in DAZ Studio or the 3D Bridge will import everything in the scene and it will be harder to select what you need from the import menu.

Now you can add your own pattern or texture to the item of clothing. You can find out how to do that in my article Making Textures for 3D Models

Once you are happy with your textures click on export image maps and your new pattern will appear on the clothing back in DAZ Studio.

Now you can continue building your scene in DAZ Studio, add a figure and see what your new creation looks like.

Now you know how to use the 3D Bridge Camera in DAZ Studio and Photoshop – what are you going to make?

Making Textures for 3D Models

I’ve been experimenting with making textures for 3D models this week using a few programs to make the magic happen. First of all I used Graphic Stock to source some suitable material.

I can totally recommend subscribing to GraphicStock. For a yearly subscription you can download as many images, textures and patterns that you need knowing that you are not infringing copyright. If you’d like to try it out and would like a discount click here to receive 83% off a yearly subscription.

GraphicStock

Next up is DAZ 3D. I downloaded a number of outfits and then extracted the UV Map which is the base onto which the texture will be applied.

Daz 3D
DAZ 3D Software

The UV map is then imported into Photoshop where I applied some textures. This is then exported back into DAZ 3D where it is applied to the clothing ready to set up the scene with the model.

Here are a few tips and tricks on how to make a texture using Photoshop.

Read more